At its core, injection molding is a high-speed, cyclical manufacturing process for producing parts in large volumes. The process can be broken down into five fundamental steps: clamping the mold shut, injecting molten plastic into the mold's cavity, applying pressure to pack the material, cooling the part until it solidifies, and finally ejecting the finished component. Each phase is precisely controlled to ensure consistency from one part to the next.
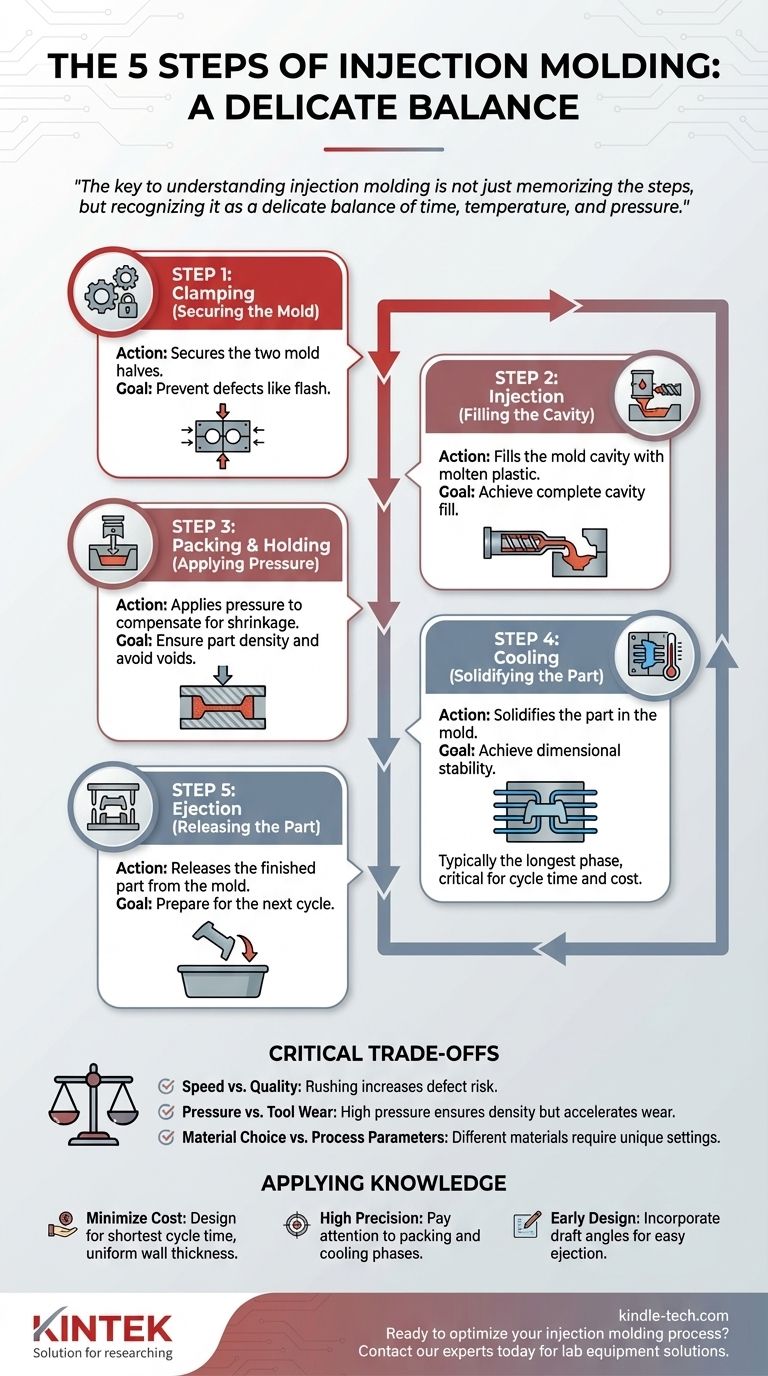
The key to understanding injection molding is not just memorizing the steps, but recognizing it as a delicate balance of time, temperature, and pressure. Mastering this balance is what separates a low-cost, high-quality part from a defective one.
Deconstructing the Injection Molding Cycle
The entire process, from closing the mold to ejecting the part, is called a "cycle." The duration of this cycle is a primary driver of the final part cost. Let's examine what happens in each phase.
Step 1: Clamping (Securing the Mold)
Before any material is injected, the two halves of the mold tool must be securely closed. The clamping unit of the molding machine applies an immense force, holding the mold shut against the pressure of the injection phase.
This clamping force is critical. If it's insufficient, the molten plastic can force its way between the mold halves, creating a thin layer of excess material called "flash," a common manufacturing defect.
Step 2: Injection (Filling the Cavity)
With the mold clamped, plastic pellets are melted in the machine's barrel and driven forward by a reciprocating screw. This molten plastic is then rapidly injected into the mold's cavity under high pressure.
The volume of material injected is called the "shot." The goal is to fill the mold's empty spaces as quickly and completely as possible before the plastic begins to cool and solidify.
Step 3: Packing & Holding (Applying Pressure)
Once the cavity is nearly full, the process shifts from "injection" to "packing" or "holding." This phase, sometimes called dwelling, maintains pressure on the material.
This is crucial because as plastic cools, it shrinks. The holding pressure forces more material into the cavity to compensate for this shrinkage, ensuring the part is dense, fully formed, and doesn't have voids or sink marks.
Step 4: Cooling (Solidifying the Part)
The mold remains closed while the part cools and hardens into its final shape. Cooling channels are built into the mold, circulating water or oil to draw heat away from the part efficiently.
The cooling phase is typically the longest part of the cycle and has a direct impact on the final part cost. While a shorter cooling time means a cheaper part, insufficient cooling can cause warping or other defects.
Step 5: Ejection (Releasing the Part)
After the part has solidified, the clamping unit opens the mold. An ejection mechanism, usually a series of pins or a plate, pushes the finished part out of the mold cavity.
The part then falls into a collection bin, and the machine immediately begins the next cycle by clamping the mold shut again.
Understanding the Critical Trade-offs
The injection molding process is not just a linear sequence; it's a series of interconnected variables where optimizing one can negatively impact another. Understanding these trade-offs is essential for effective part design and manufacturing.
Speed vs. Quality
The most significant trade-off is cycle time versus part quality. Rushing the injection or cooling phases reduces cycle time and cost, but it dramatically increases the risk of defects like sink marks, warping, and internal stresses that compromise the part's structural integrity.
Pressure vs. Tool Wear
Higher injection and packing pressures can produce denser, more dimensionally accurate parts and help fill intricate features. However, this high pressure puts immense stress on the mold tool, which can accelerate wear and tear and reduce the lifespan of this very expensive asset.
Material Choice vs. Process Parameters
Not all plastics are the same. A material like ABS flows easily but shrinks more, while a material like polycarbonate is stronger but requires higher temperatures and pressures. The choice of material dictates the ideal settings for the entire process, from melt temperature to cooling time.
Applying This Knowledge to Your Project
Understanding the five steps allows you to make more informed decisions when designing a part for manufacturing.
- If your primary focus is minimizing part cost: Your goal is to design for the shortest possible cycle time, which means ensuring uniform wall thickness for rapid, even cooling.
- If your primary focus is achieving high precision and quality: Pay close attention to the packing and cooling phases, as allowing adequate time here is critical for dimensional stability and avoiding cosmetic defects.
- If you are in the early design phase: Design with the ejection step in mind by incorporating draft angles (slight tapers on the part walls) to ensure the part releases from the mold easily without damage.
By designing a part that moves efficiently through each stage of the cycle, you directly control its final cost and quality.
Summary Table:
| Step | Key Action | Primary Goal |
|---|---|---|
| 1. Clamping | Secures the two mold halves | Prevent defects like flash |
| 2. Injection | Fills the mold cavity with molten plastic | Achieve complete cavity fill |
| 3. Packing/Holding | Applies pressure to compensate for shrinkage | Ensure part density and avoid voids |
| 4. Cooling | Solidifies the part in the mold | Achieve dimensional stability |
| 5. Ejection | Releases the finished part from the mold | Prepare for the next cycle |
Ready to optimize your injection molding process? The right lab equipment is crucial for testing materials, validating part designs, and ensuring quality control before full-scale production. KINTEK specializes in providing the precise lab equipment and consumables you need to master the balance of time, temperature, and pressure for superior results. Contact our experts today to discuss how our solutions can enhance your laboratory's efficiency and support your manufacturing success.
Visual Guide
Related Products
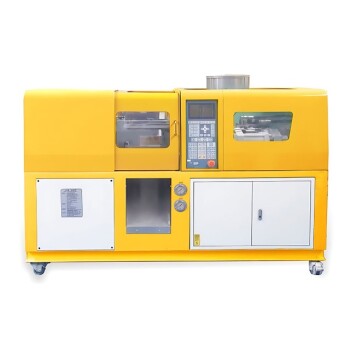
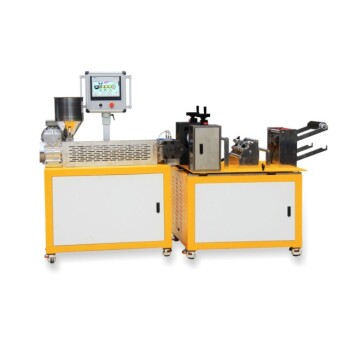
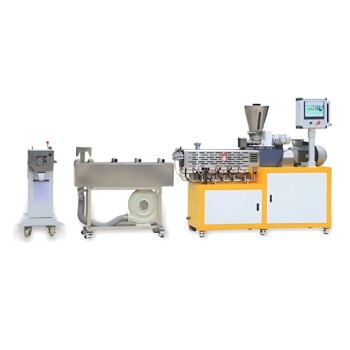
- Small Injection Molding Machine for Lab Use
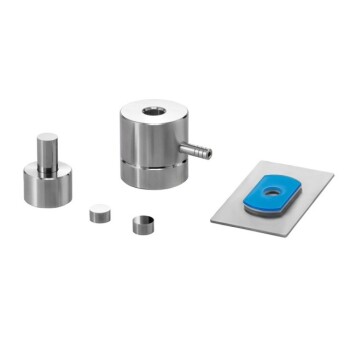
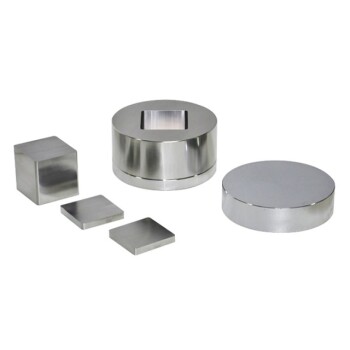
- Lab Infrared Press Mold
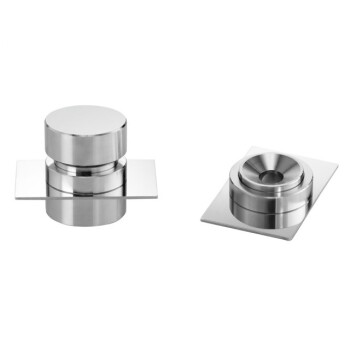
- No Demolding Lab Infrared Press Mold for Laboratory Applications
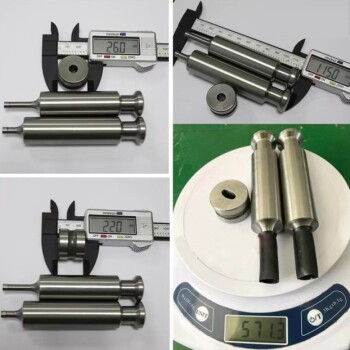
- Ring Press Mold for Lab Applications
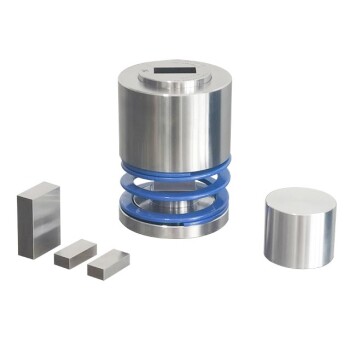
- Anti-Cracking Press Mold for Lab Use
People Also Ask
- What machine makes molding? Injection Molding Machines for Mass Production
- What is short capacity of injection Moulding machine? Optimize Your Shot Size for Flawless Parts
- What are the two common types of injection molding processes? Thermoplastic vs. Thermoset Explained
- What are the advantages and disadvantages of injection molding machine? Maximize Efficiency for Mass Production
- What is the importance of injection moulding machine? Unlocking High-Volume, Precision Manufacturing