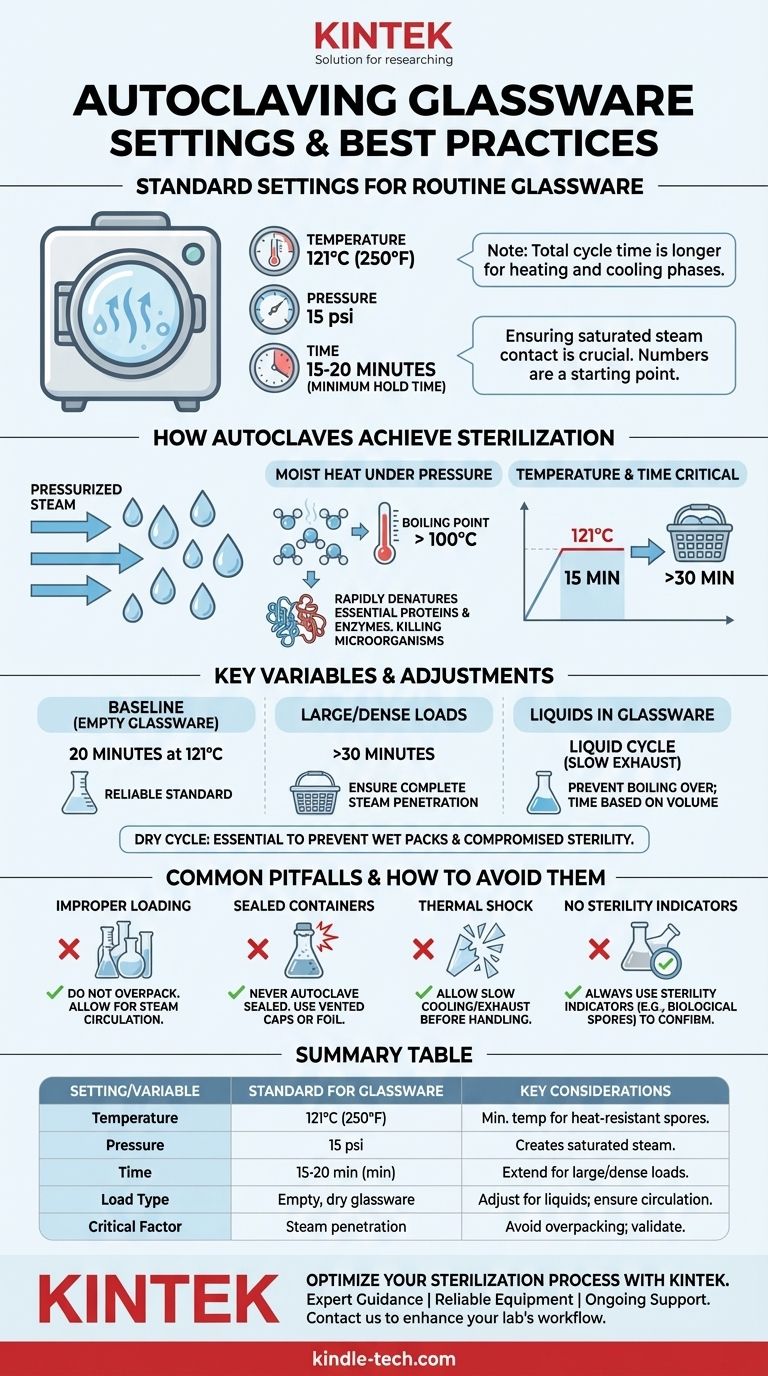
For routine sterilization of most laboratory glassware, the standard autoclave setting is a cycle at 121°C (250°F) and 15 psi of pressure for a minimum of 15 to 20 minutes. This duration refers to the time the load is held at the target temperature, not the total cycle time, which will be longer to account for heating and cooling phases.
The specific numbers are just a starting point. True sterilization depends less on a single setting and more on a fundamental principle: ensuring saturated steam makes complete contact with every surface for the required duration, a factor that changes significantly with the size and density of your load.
How Autoclaves Achieve Sterilization
An autoclave is more than a simple oven. It is a highly effective sterilizer that uses pressurized steam to kill all microbial life, including heat-resistant bacterial spores that can survive boiling water.
The Role of Pressurized Steam
The key to an autoclave's effectiveness is moist heat under pressure. By increasing the pressure inside the chamber, the autoclave raises the boiling point of water. This allows it to create saturated steam at temperatures far above 100°C. This high-temperature steam rapidly denatures the essential proteins and enzymes within microorganisms, leading to their death.
The Critical Relationship of Temperature and Time
Sterilization is a function of both temperature and time. The industry standard of 121°C is the minimum temperature required to reliably kill the most robust bacterial endospores. At this temperature, a minimum exposure time of 15 minutes is necessary. If the load is large, dense, or contains liquids, this time must be extended to ensure the center of the load reaches 121°C and stays there for the full duration.
Standard Settings and Key Variables
While 121°C for 15-20 minutes is the baseline, you must adjust the cycle based on what you are sterilizing. Modern autoclaves often have pre-programmed cycles for "glassware" or "dry goods."
The Baseline for Glassware
For a small, lightly packed load of empty borosilicate (Pyrex) beakers or flasks, a 20-minute sterilization time at 121°C is a reliable standard. This provides a margin of safety beyond the absolute minimum of 15 minutes.
Adjusting for Load Size and Density
This is the most critical variable. A large basket tightly packed with glassware will take much longer for steam to penetrate than a few beakers on a shelf. The timer for the sterilization phase only begins after the chamber's sensor reaches 121°C, but this sensor doesn't know if the inside of your largest flask is still cold.
For large or dense loads, it is common practice to increase the sterilization time to 30 minutes or more to ensure complete steam penetration.
The Importance of the Dry Cycle
After the sterilization phase, many autoclaves run a post-sterilization drying phase. This uses a vacuum and heat to evaporate any remaining condensation from the glassware. Using this feature is crucial for preventing wet packs, which can compromise sterility as moisture can wick microorganisms through the sterile wrappings.
Common Pitfalls and How to Avoid Them
Improper use of an autoclave can not only lead to failed sterilization but can also be a significant safety hazard.
Improper Loading
Do not overpack the autoclave chamber. Leave ample space between items, both horizontally and vertically, to allow for proper steam circulation. Placing items on their side also helps prevent air from being trapped inside, which would block steam contact.
Sealed Containers and Potential Hazards
Never autoclave a sealed container. As the temperature rises, the pressure inside a sealed bottle or flask will increase dramatically, creating a risk of explosion. Always use vented caps or cover the openings of flasks and bottles loosely with aluminum foil.
Forgetting About Thermal Shock
Rapid temperature changes can cause glass to crack or shatter. This is particularly true for thicker glassware or when sterilizing liquids. Always allow the autoclave cycle to finish its slow cooling or exhaust phase before opening the door, and let the glassware cool to a safe temperature before handling.
Not Using Sterility Indicators
How do you know the cycle was successful? Always use a sterility indicator. Autoclave indicator tape changes color to show it has been exposed to high temperatures, but it does not confirm sterilization. For true verification, use a biological indicator containing spores (e.g., Geobacillus stearothermophilus) to confirm the cycle was lethal to microorganisms.
Making the Right Choice for Your Cycle
Use the following guidelines to select the appropriate cycle for your specific needs.
- If your primary focus is a small, routine batch of glassware: A standard 20-minute cycle at 121°C is sufficient and efficient.
- If your primary focus is a large, densely packed load: Increase the sterilization time to 30-45 minutes to ensure full steam penetration to the center of the load.
- If your primary focus is sterilizing liquids inside glassware: Use a dedicated "liquid" cycle, which uses a slower exhaust phase to prevent the liquid from boiling over, and increase the time based on the volume of the liquid.
Ultimately, successful sterilization comes from understanding the principles of steam penetration and validating your process.
Summary Table:
| Setting/Variable | Standard for Glassware | Key Considerations |
|---|---|---|
| Temperature | 121°C (250°F) | Minimum temperature to kill heat-resistant spores. |
| Pressure | 15 psi | Creates saturated steam for effective sterilization. |
| Time (Sterilization Phase) | 15-20 minutes (minimum) | Start timer after chamber reaches 121°C; extend for large/dense loads (e.g., 30-45 minutes). |
| Load Type | Empty, dry glassware | Adjust cycle for liquids (use slow exhaust) and ensure proper steam circulation. |
| Critical Factor | Steam penetration | Avoid overpacking; use sterility indicators (e.g., biological indicators) for validation. |
Ensure your lab's glassware is reliably sterilized with equipment from KINTEK.
Choosing the right autoclave and settings is critical for effective sterilization, whether you're processing routine glassware, dense loads, or liquids. KINTEK specializes in providing high-quality lab autoclaves and consumables designed for precision, safety, and efficiency. Our solutions help you avoid common pitfalls like incomplete steam penetration or thermal shock, ensuring compliance and protecting your experiments.
Let us help you optimize your sterilization process:
- Expert Guidance: Get personalized recommendations for autoclaves that match your lab's needs (e.g., capacity, cycle types).
- Reliable Equipment: Our autoclaves feature precise temperature control, safety mechanisms, and validated cycles for glassware, liquids, and more.
- Ongoing Support: From installation to maintenance, we ensure your equipment performs consistently.
Contact us today at [#ContactForm] to discuss your autoclave requirements and enhance your lab's sterilization workflow!
Visual Guide
Related Products
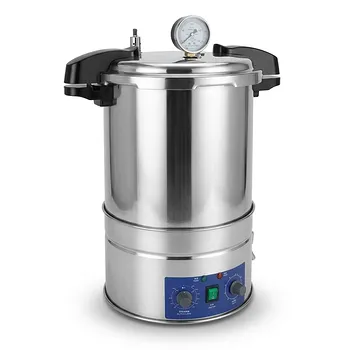
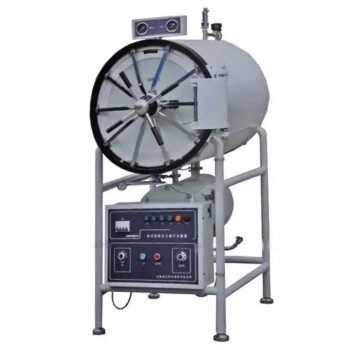
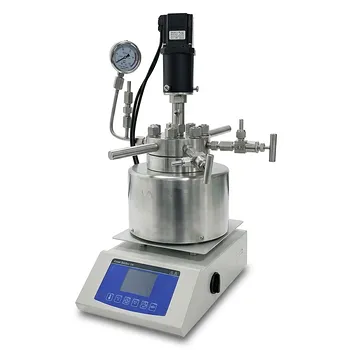
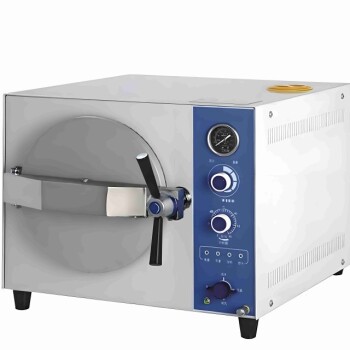
- Portable High Pressure Laboratory Autoclave Steam Sterilizer for Lab Use
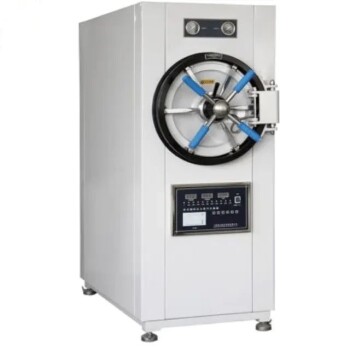
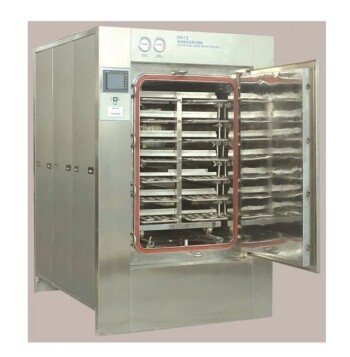
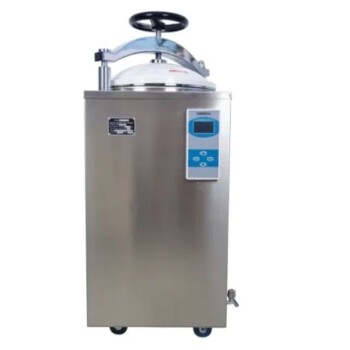
- Laboratory Horizontal Autoclave Steam Sterilizer Lab Microcomputer Sterilizer
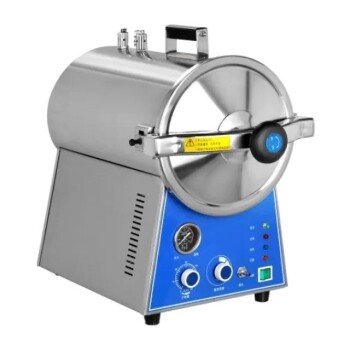
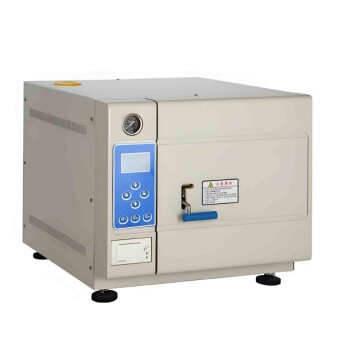
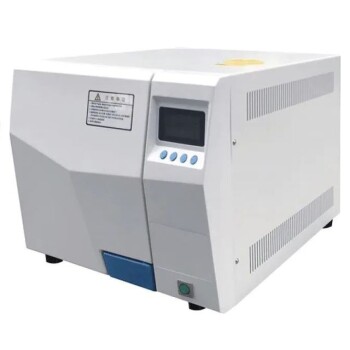
- Desktop Fast High Pressure Laboratory Autoclave Sterilizer 16L 24L for Lab Use
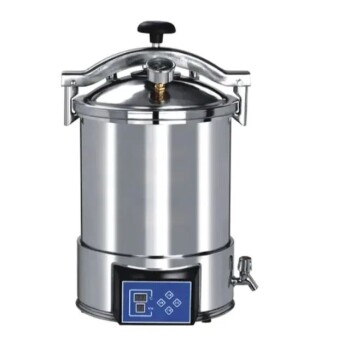
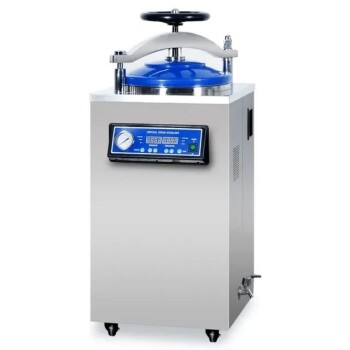
- Portable Digital Display Automatic Laboratory Sterilizer Lab Autoclave for Sterilization Pressure
- Desktop Fast Laboratory Autoclave Sterilizer 35L 50L 90L for Lab Use
People Also Ask
- What is the importance of using a laboratory autoclave in ZSM-5 synthesis? Achieve Perfect Zeolite Crystallization
- What role does a laboratory autoclave play in HEA corrosion research? Key to Validating Advanced Reactor Materials
- What is a laboratory autoclave? A Guide to Sterilization with Pressurized Steam
- What extreme conditions does a laboratory autoclave simulate? Testing Wear Resistance of Nuclear Fuel Cladding
- Why is a laboratory autoclave necessary for Postgate Medium B (PMB)? Ensure Pure SRB Cultures & Accurate MIC Research