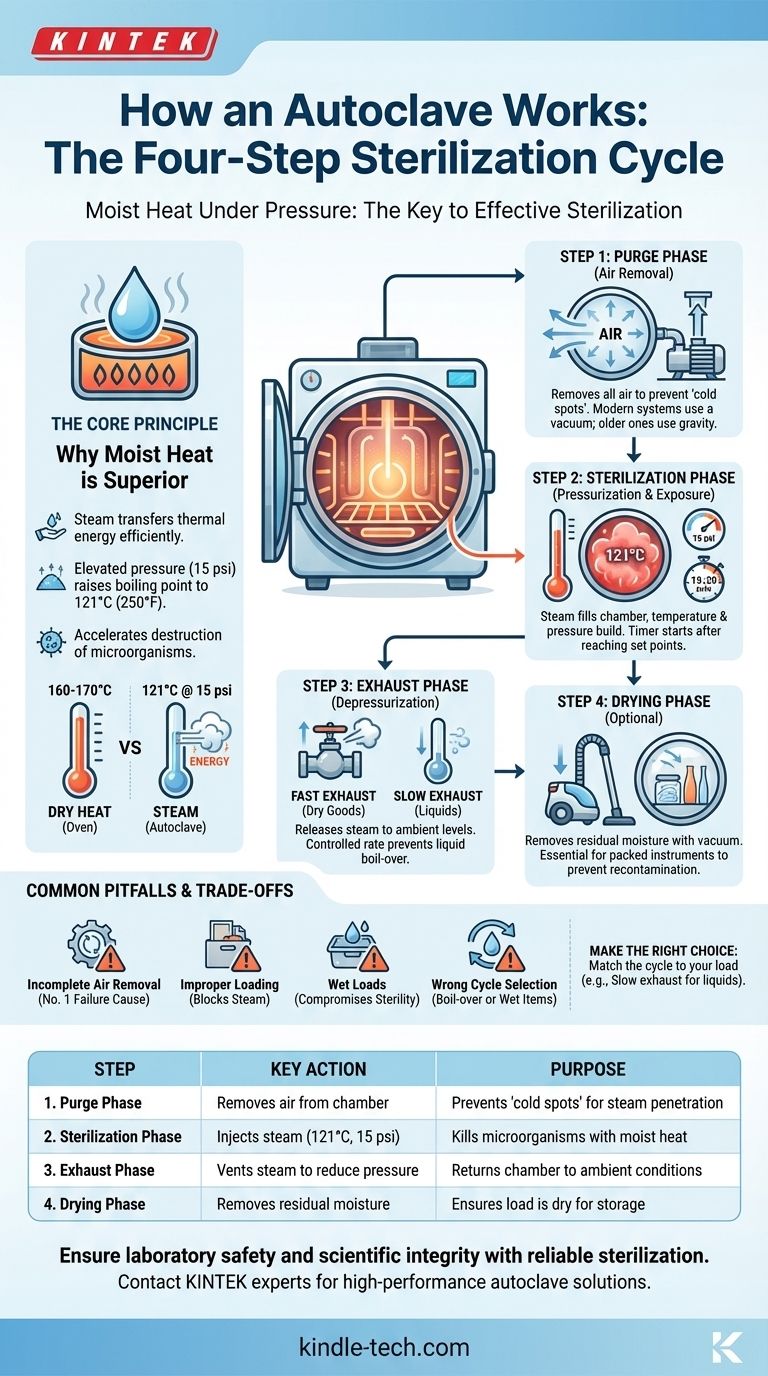
At its core, an autoclave sterilizes items through a meticulously controlled, three-part process. It begins by removing all air from a sealed chamber, then injects high-pressure steam to reach a sterilizing temperature (typically 121°C at 15 psi), holds these conditions for a specific duration, and finally vents the steam and pressure to complete the cycle. This method of using pressurized steam is what allows it to kill resilient microorganisms that simple boiling cannot.
The true key to an autoclave's effectiveness is not just high heat, but moist heat under pressure. The critical first step is removing all air from the chamber, as any trapped air creates "cold spots" that prevent steam from making contact with surfaces, leading to sterilization failure.
The Core Principle: Why Moist Heat is Superior
An autoclave's design is based on a fundamental law of physics: the boiling point of water increases with pressure. This allows the creation of superheated steam, a far more effective sterilizing agent than dry heat.
Heat Alone Isn't Enough
Dry heat sterilization, like in an oven, requires much higher temperatures (e.g., 160-170°C) and significantly longer exposure times. This is because dry air is an inefficient conductor of heat.
The Power of Steam
Moist heat in the form of saturated steam transfers thermal energy with extreme efficiency. When steam condenses on the cooler surface of an item, it releases its latent heat, rapidly raising the item's temperature and denaturing the essential proteins and enzymes of any microorganisms present.
The Role of Pressure
By pressurizing the chamber to approximately 15 pounds per square inch (psi) above atmospheric pressure, the autoclave raises the boiling point of water from 100°C (212°F) to 121°C (250°F). This elevated temperature dramatically accelerates the destruction of bacteria, viruses, fungi, and spores.
A Step-by-Step Breakdown of the Autoclave Cycle
While cycles can vary based on the load, nearly all follow this fundamental sequence. The process is managed automatically by the autoclave's control system.
Step 1: The Purge Phase (Air Removal)
Before sterilization can begin, all air must be removed from the chamber. This is because air acts as an insulator, preventing steam from penetrating the load effectively.
Modern autoclaves use a vacuum system to actively pump the air out. Older or simpler models may use a gravity displacement method, where steam is pumped in from the top, and the heavier, cooler air is pushed out through a drain at the bottom.
Step 2: The Sterilization Phase (Pressurization & Exposure)
Once the air is purged, the steam inlet valve opens, and the chamber is filled with saturated steam. The thermostatic trap closes to allow pressure and temperature to build until they reach the pre-set sterilization level (e.g., 121°C and 15 psi).
The timer for the sterilization phase begins only after the target temperature and pressure are reached. A typical cycle holds these conditions for at least 15-20 minutes, depending on the size and type of the load.
Step 3: The Exhaust Phase (Depressurization)
After the set time elapses, an exhaust valve opens to release the steam and reduce the pressure inside the chamber back to ambient levels.
This phase is carefully controlled. A fast exhaust is used for glassware and dry goods, while a slow exhaust is critical for liquids to prevent them from boiling over violently inside their containers.
Step 4: The Drying Phase
For items like surgical packs or wrapped instruments, a final drying phase is often included. The autoclave may pull a deep vacuum on the chamber after the steam is exhausted, causing any remaining water to boil away at a low temperature, leaving the load dry and ready for storage.
Understanding the Trade-offs and Common Pitfalls
An autoclave is highly effective, but only when used correctly. Human error or mechanical failure can compromise the entire process.
Incomplete Air Removal
This is the single most common cause of sterilization failure. If air pockets remain, the steam cannot reach those areas, and they will not be sterilized, even if the autoclave's gauges report a successful cycle. This is why vacuum-based systems are generally more reliable.
Improper Loading
Overpacking the chamber or using improperly sealed containers will block steam penetration. Items must be arranged to allow steam to circulate freely around and inside every object. Tightly packed loads create dense spots that steam cannot reach.
Wet Loads
If the drying phase is insufficient, packs and instruments may emerge wet. This moisture can compromise the sterile barrier of the packaging and create a pathway for microorganisms to recontaminate the contents once removed from the autoclave.
Wrong Cycle Selection
Using the wrong cycle is a frequent error. For example, running liquids on a fast exhaust (dry goods) cycle will cause them to boil over, resulting in loss of volume and a hazardous mess. Conversely, running instruments on a slow (liquid) cycle will leave them excessively wet.
Making the Right Choice for Your Goal
To ensure sterility, you must match the autoclave cycle to the load's requirements.
- If your primary focus is sterilizing hard goods (glassware, instruments): Ensure items are properly spaced and use a standard gravity or vacuum cycle with a fast exhaust and a drying phase.
- If your primary focus is sterilizing liquids (media, buffers): Always use a dedicated liquid cycle with a slow, controlled exhaust to prevent dangerous boil-over.
- If your primary focus is safety and validation: Regularly use chemical indicators in each load and periodic biological indicators (spore tests) to verify that your autoclave is achieving complete sterilization.
Understanding these steps and principles transforms the autoclave from a black box into a predictable and indispensable tool for ensuring safety and scientific integrity.
Summary Table:
| Step | Name | Key Action | Purpose |
|---|---|---|---|
| 1 | Purge Phase | Removes air from the chamber | Prevents 'cold spots' for effective steam penetration |
| 2 | Sterilization Phase | Injects steam to reach 121°C at 15 psi | Kills microorganisms with pressurized moist heat |
| 3 | Exhaust Phase | Vents steam to reduce pressure | Safely returns the chamber to ambient conditions |
| 4 | Drying Phase (Optional) | Removes residual moisture | Ensures load is dry and ready for sterile storage |
Ensure your laboratory's safety and scientific integrity with reliable sterilization.
Understanding the autoclave cycle is the first step; using the right equipment is the next. KINTEK specializes in high-performance lab autoclaves and consumables designed for precise, validated sterilization cycles for instruments, glassware, and liquids.
Let us help you achieve flawless sterilization results. Contact our experts today to find the perfect autoclave solution for your laboratory's specific needs.
Visual Guide
Related Products
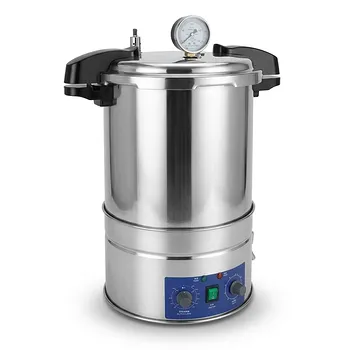
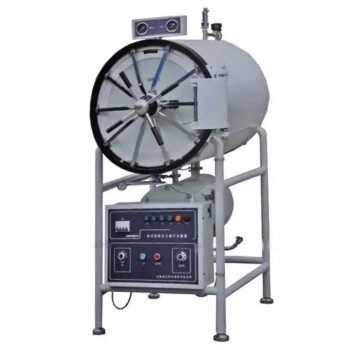
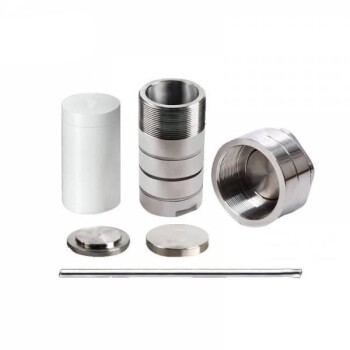
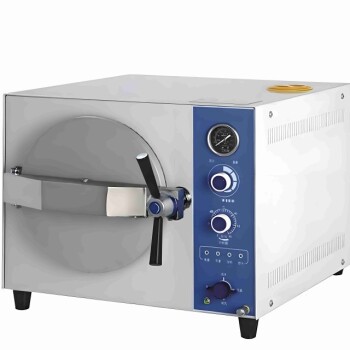
- Portable High Pressure Laboratory Autoclave Steam Sterilizer for Lab Use
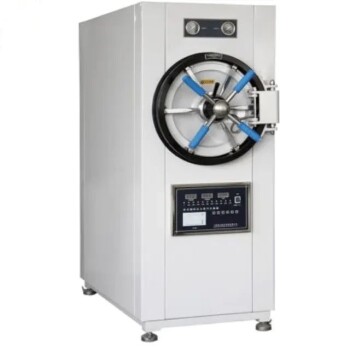
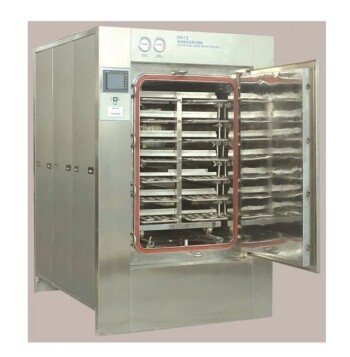
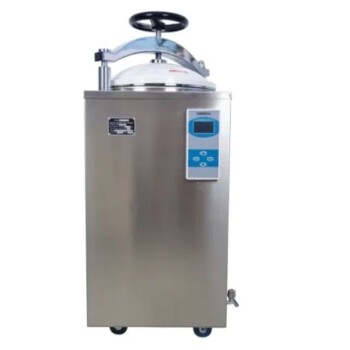
- Laboratory Horizontal Autoclave Steam Sterilizer Lab Microcomputer Sterilizer
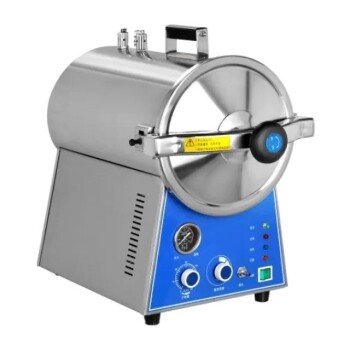
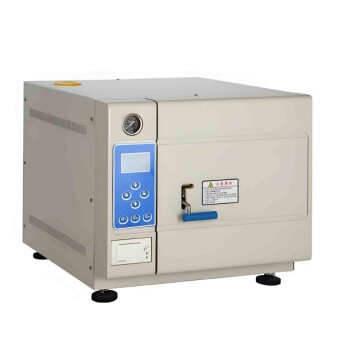
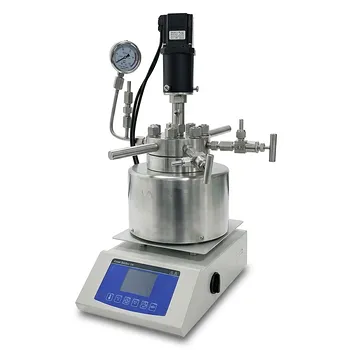
- Desktop Fast High Pressure Laboratory Autoclave Sterilizer 16L 24L for Lab Use
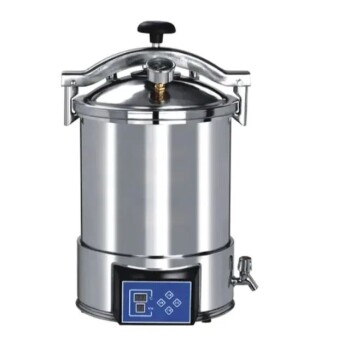
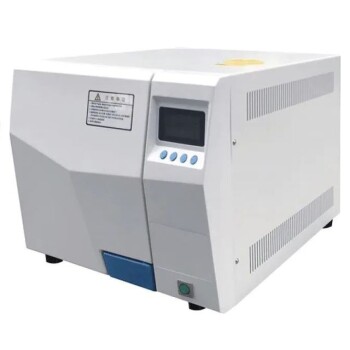
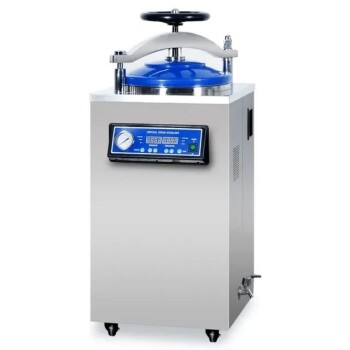
- Portable Digital Display Automatic Laboratory Sterilizer Lab Autoclave for Sterilization Pressure
- Desktop Fast Laboratory Autoclave Sterilizer 35L 50L 90L for Lab Use
People Also Ask
- What is the importance of using a laboratory autoclave in ZSM-5 synthesis? Achieve Perfect Zeolite Crystallization
- Why is a laboratory autoclave necessary for Postgate Medium B (PMB)? Ensure Pure SRB Cultures & Accurate MIC Research
- What role does a laboratory autoclave play in HEA corrosion research? Key to Validating Advanced Reactor Materials
- What is an autoclave laboratory equipment? The Ultimate Guide to Steam Sterilization
- What is a laboratory autoclave? A Guide to Sterilization with Pressurized Steam