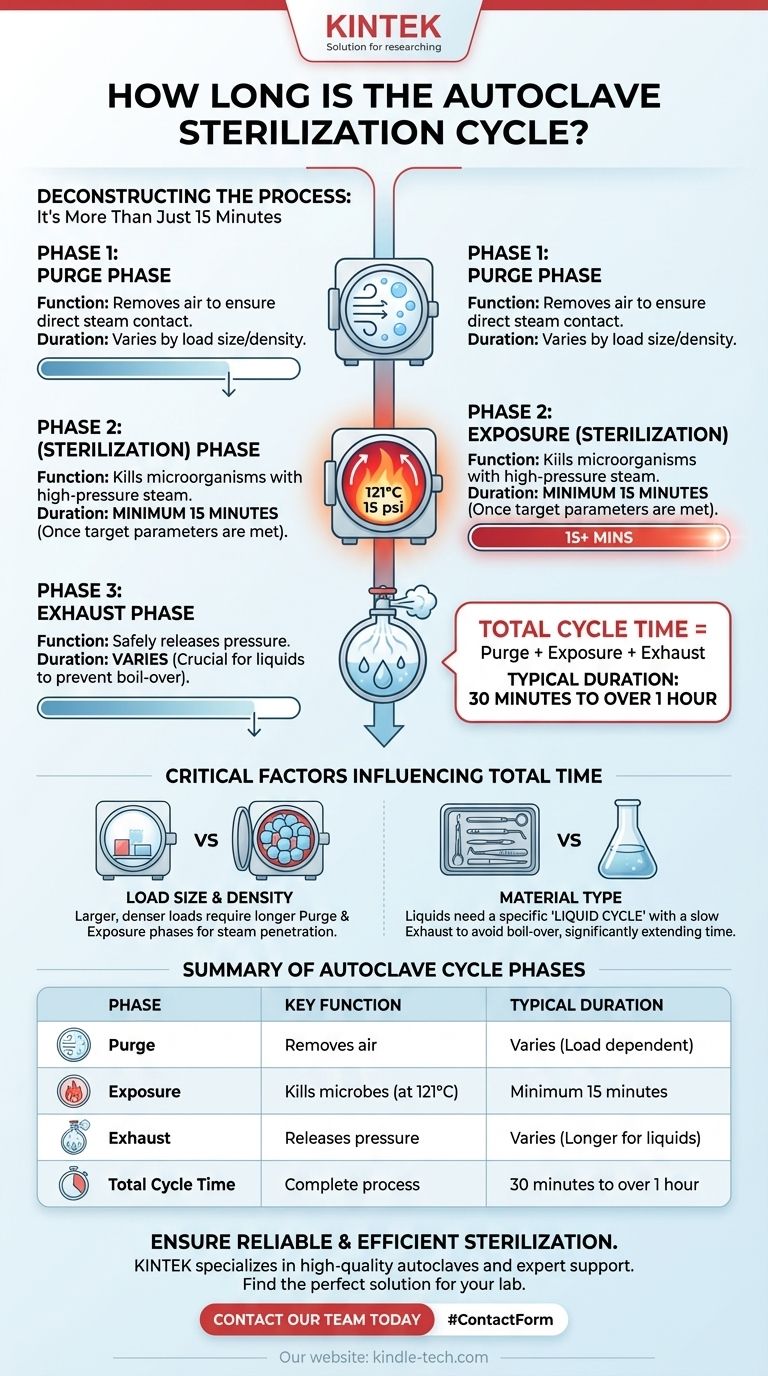
At its most basic, the core sterilization phase in an autoclave is typically set for a minimum of 15 minutes once the chamber reaches 121°C (250°F) and 15 psi of pressure. However, this is only one part of the total process. The full cycle time, from start to finish, is significantly longer and varies based on what you are sterilizing.
Understanding the distinction between the sterilization phase and the total cycle time is critical. The total time is dictated by the three essential phases of the cycle—purging, sterilizing, and exhausting—and is heavily influenced by the size and type of the load.

Deconstructing the Full Autoclave Cycle
The number "15 minutes" refers only to the exposure period where microbes are actively being killed. To achieve effective sterilization, the autoclave must first prepare the chamber and then safely complete the process. This involves a three-part sequence.
Phase 1: The Purge Phase
Before sterilization can begin, all air must be removed from the chamber. Air pockets can act as an insulating barrier, preventing the superheated steam from making direct contact with the entire surface of the items.
In this phase, steam is injected into the chamber to displace the cooler, denser air, forcing it out. This continues until the chamber is filled purely with saturated steam.
Phase 2: The Exposure (Sterilization) Phase
This is the phase people most commonly ask about. Once the chamber reaches the target temperature and pressure (e.g., 121°C at 15 psi), the exhaust valves close completely.
The clock for sterilization begins, and the load is held at these conditions for the programmed time—typically 15 minutes or more. During this period, the moisture in the high-pressure steam rapidly coagulates the proteins in any microorganisms, ensuring they are killed.
Phase 3: The Exhaust Phase
After the exposure time is complete, the steam must be released. The exhaust valve opens, and the chamber is slowly returned to ambient pressure.
The duration of this phase is especially critical for liquids, which require a slow, controlled release to prevent them from boiling over.
Why a "Standard" Time Can Be Misleading
Simply setting the exposure time to 15 minutes without considering the context can lead to incomplete sterilization. The total cycle time is a variable that depends entirely on the contents of the autoclave.
The Critical Role of Load Size and Density
A large, dense load requires a longer purge phase to ensure all air is removed from within the packs or instruments. It also demands a longer exposure time because it takes more time for the steam to fully penetrate to the center of the load.
The Impact of Material Type
Sterilizing a tray of surgical instruments is very different from sterilizing a flask of liquid media. Liquids have a high heat capacity and require longer to reach the target temperature. They also necessitate a much longer, more careful exhaust phase.
Common Pitfalls to Avoid
Understanding the full process helps prevent common failures that can compromise sterility.
Mistaking Exposure Time for Cycle Time
The most common error is assuming the process is done after 15 minutes. A full cycle for even a small load can easily take 30-45 minutes, while large or liquid loads can take over an hour.
Ignoring Incomplete Air Removal
If the purge phase is not sufficient, trapped air will prevent sterilization in those areas. This is a primary cause of failed sterility tests. Always ensure the autoclave is not packed too tightly to allow for proper steam circulation and air removal.
Making the Right Choice for Your Goal
The correct cycle length is not a single number but a parameter determined by your specific application.
- If your primary focus is standard glassware or unwrapped instruments: A 15-20 minute exposure time at 121°C is a reliable baseline, with the total cycle time being closer to 30-45 minutes.
- If your primary focus is large, dense, or wrapped packs: You must increase the exposure time (e.g., to 30 minutes) to ensure complete steam penetration to the core of the load.
- If your primary focus is sterilizing liquids: The exposure time itself may be standard, but you must use a specific "liquid cycle" with a slow exhaust to prevent boil-over, significantly extending the total cycle time.
Ultimately, successful sterilization depends on understanding that the autoclave performs a multi-stage process, not a simple timed event.
Summary Table:
| Phase | Key Function | Typical Duration |
|---|---|---|
| Purge | Removes air from the chamber | Varies by load size/density |
| Exposure (Sterilization) | Kills microorganisms at 121°C | Minimum 15 minutes |
| Exhaust | Safely releases pressure | Varies (longer for liquids) |
| Total Cycle Time | Complete process from start to finish | 30 minutes to over 1 hour |
Ensure your lab's sterilization is reliable and efficient. The correct autoclave cycle is critical for compliance and safety. KINTEK specializes in providing high-quality autoclaves and expert support for all your laboratory equipment needs. Contact our team today to find the perfect autoclave solution for your specific applications, from sterilizing instruments to delicate liquids.
Visual Guide
Related Products
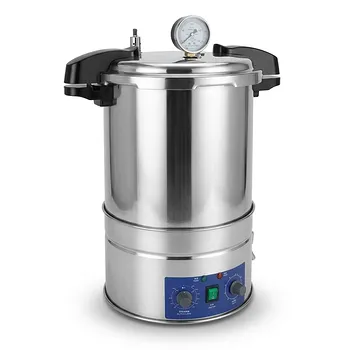
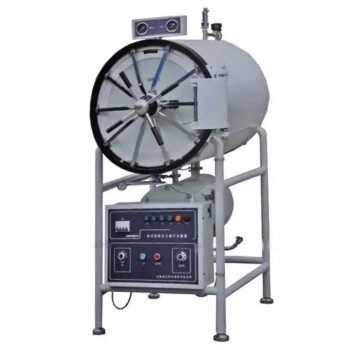
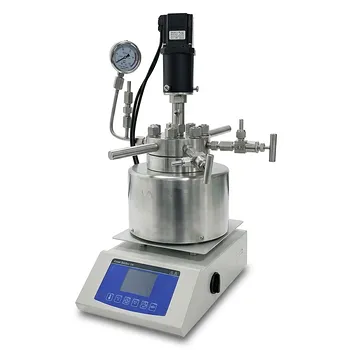
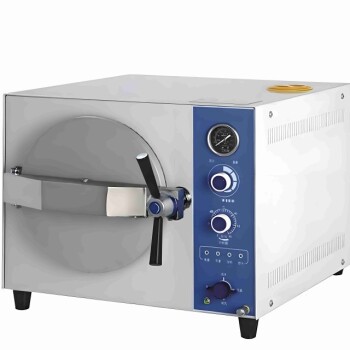
- Portable High Pressure Laboratory Autoclave Steam Sterilizer for Lab Use
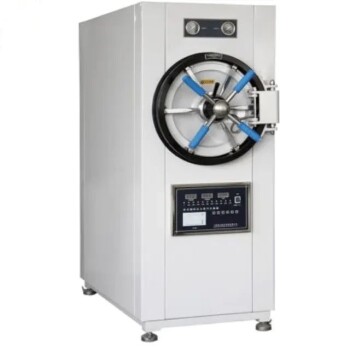
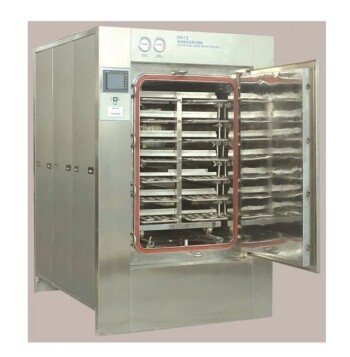
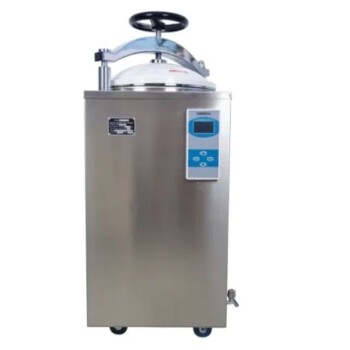
- Laboratory Horizontal Autoclave Steam Sterilizer Lab Microcomputer Sterilizer
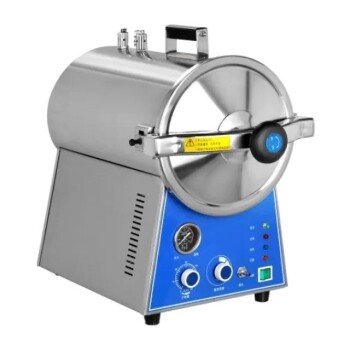
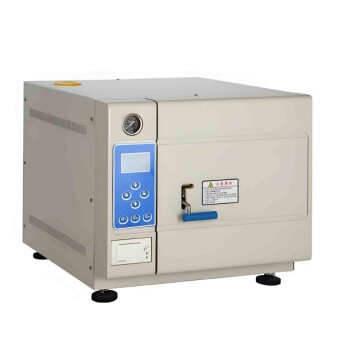
- Desktop Fast High Pressure Laboratory Autoclave Sterilizer 16L 24L for Lab Use
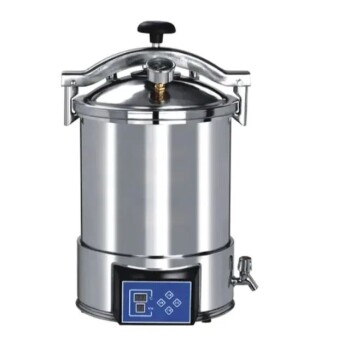
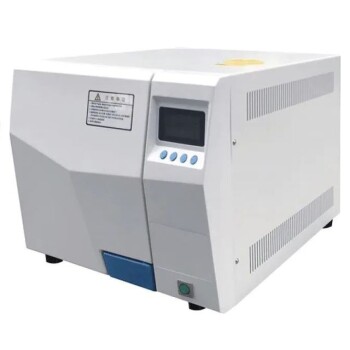
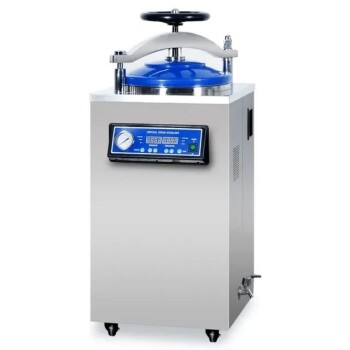
- Portable Digital Display Automatic Laboratory Sterilizer Lab Autoclave for Sterilization Pressure
- Desktop Fast Laboratory Autoclave Sterilizer 35L 50L 90L for Lab Use
People Also Ask
- What precautions should be taken during autoclave in laboratory? A Complete Safety Guide to Prevent Burns and Explosions
- Why is a laboratory high-pressure autoclave sterilizer necessary? Ensure Accuracy in Antibacterial Research
- What is an autoclave laboratory equipment? The Ultimate Guide to Steam Sterilization
- What is a laboratory autoclave? A Guide to Sterilization with Pressurized Steam
- What role does a laboratory autoclave play in HEA corrosion research? Key to Validating Advanced Reactor Materials