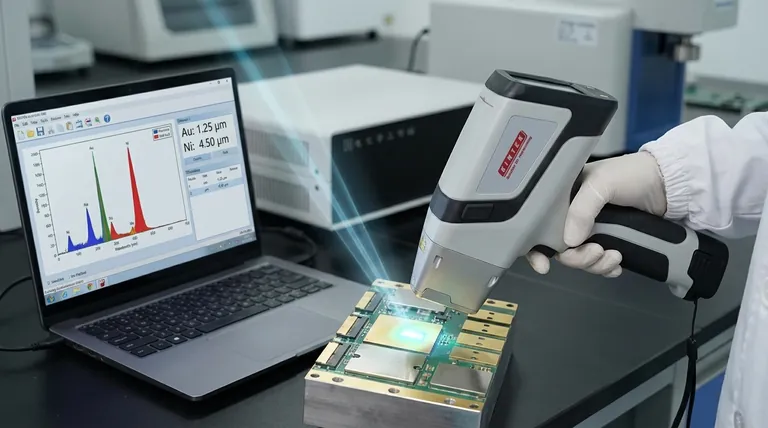
The central point of confusion is that X-ray Fluorescence (XRF) is not a type of coating. It is a non-destructive analytical technique used to measure the thickness and elemental composition of coatings. Therefore, the question is not "how thick is an XRF coating," but rather, "what coating thicknesses can an XRF instrument measure?"
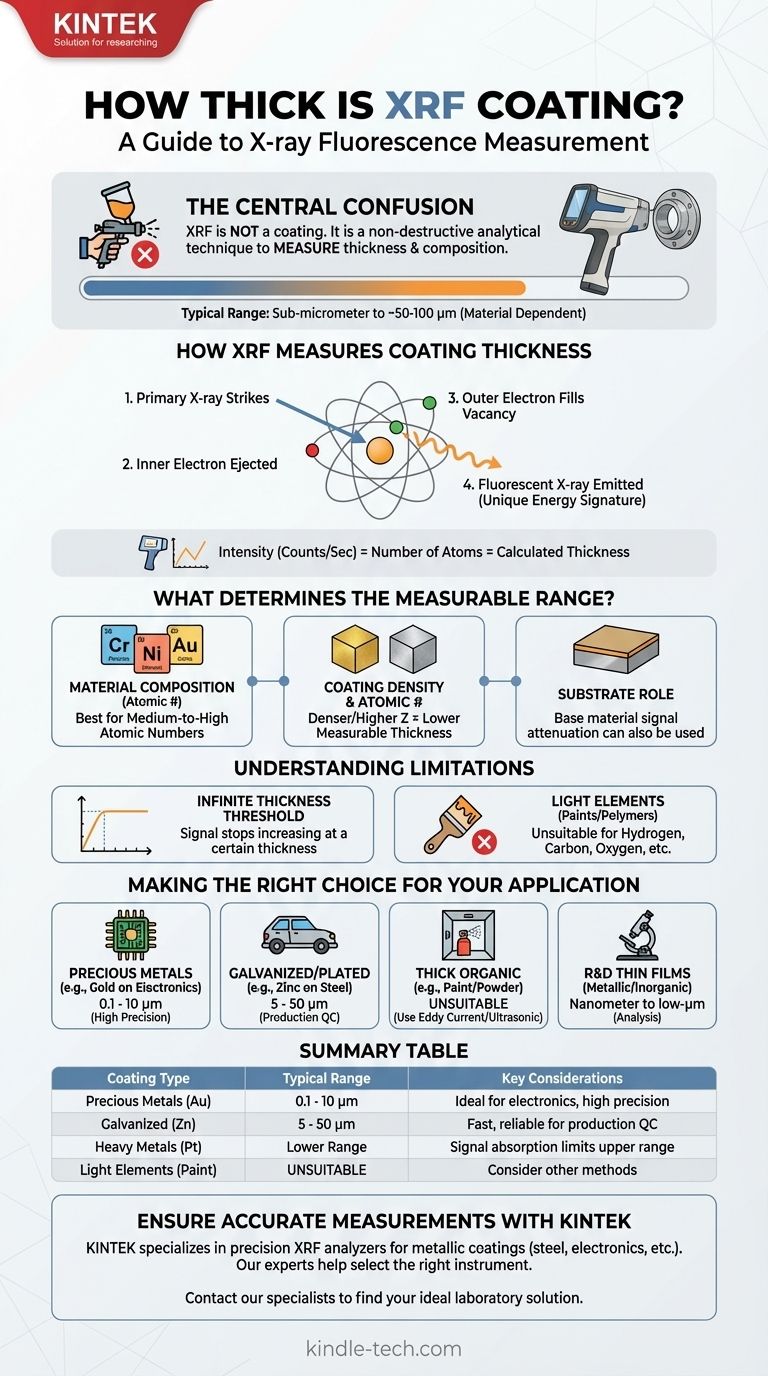
The thickness range an XRF analyzer can measure is not a single value; it depends entirely on the specific materials of the coating and the underlying substrate. Generally, XRF excels at measuring metallic coatings from sub-micrometer levels up to around 50-100 micrometers (µm).
How XRF Measures Coating Thickness
To understand the capabilities of XRF, you must first understand its mechanism. It is a method of inspection, not an applied material.
The Principle of X-ray Fluorescence
An XRF analyzer directs a primary beam of X-rays at the sample. This high-energy beam strikes atoms within the coating material, knocking electrons out of their inner orbital shells.
This creates an unstable vacancy, which is immediately filled by an electron from a higher-energy outer shell. As this electron falls into the lower energy state, it releases a secondary, or fluorescent, X-ray.
From Signal to Thickness
The energy of this fluorescent X-ray is a unique signature of the element it came from (e.g., a gold atom emits a different energy signature than a nickel atom).
The instrument measures the intensity (number of counts per second) of these signature X-rays. For a given coating, a higher intensity signal corresponds directly to a greater number of atoms, which is then calculated as a greater thickness.
What Determines the Measurable Thickness Range?
The effectiveness and accuracy of an XRF measurement are not universal. They are governed by the physics of the specific materials being analyzed.
Material Composition
XRF is element-specific. It works best on coatings containing elements with a medium-to-high atomic number (like chromium, nickel, copper, zinc, tin, gold, and platinum). The stronger fluorescent signal from these heavier elements allows for more precise measurements.
Coating Density and Atomic Number
Denser coatings and those with higher atomic numbers absorb more of the X-ray beam. This means the measurable thickness is generally lower compared to less dense materials.
For example, XRF can measure a relatively thick coating of zinc on steel, but the measurable range for a much denser coating like gold on nickel will be thinner.
The Role of the Substrate
The substrate, or base material, also plays a critical role. Sometimes, the measurement is based on the attenuation (weakening) of the fluorescent signal from the substrate as it passes up through the coating. A thicker coating blocks more of the substrate's signal, allowing for an accurate calculation.
Understanding the Trade-offs and Limitations
While powerful, XRF is not the right tool for every application. Understanding its limitations is key to using it effectively.
The "Infinite Thickness" Threshold
For any given material, there is a thickness beyond which the XRF signal no longer increases. At this point, the coating is so thick that the primary X-rays cannot penetrate to the bottom, or the fluorescent X-rays from the bottom are completely absorbed before they can escape.
The instrument effectively sees a solid, "infinitely" thick piece of the coating material. This upper limit might be 25 µm for one material and 75 µm for another.
Limitations with Light Elements
XRF is generally not suitable for measuring coatings made of very light elements (e.g., hydrogen, carbon, oxygen). This means it is not a good choice for measuring the thickness of most paints, organic polymers, or anodized layers that don't contain heavier elements.
Complex Multi-Layer Coatings
While XRF can measure multiple coating layers simultaneously (e.g., gold over nickel over copper), the analysis becomes more complex. The software must be able to deconstruct the overlapping signals from each layer, which requires accurate calibration and can introduce uncertainty.
Making the Right Choice for Your Application
Use this guide to determine if XRF is the correct measurement technology for your specific goal.
- If your primary focus is quality control for precious metal plating (e.g., gold on electrical contacts): XRF is the industry standard, offering exceptional precision for the very thin layers (0.1 to 10 µm) common in electronics.
- If your primary focus is measuring galvanized or electroplated coatings (e.g., zinc or chrome on steel): XRF provides a fast, reliable, and non-destructive method perfect for production environments, typically in the 5 to 50 µm range.
- If your primary focus is analyzing thick organic coatings (e.g., paint or powder coat): XRF is generally unsuitable. You should consider other methods like eddy current, magnetic induction, or ultrasonic gauges.
- If your primary focus is R&D on novel thin films: XRF is an excellent tool for analyzing the elemental composition and thickness of metallic or inorganic thin films, often in the nanometer to low-micrometer range.
By selecting the right tool for the job, you ensure your measurements are not just accurate, but meaningful.
Summary Table:
| Coating Type | Typical Measurable Thickness Range | Key Considerations |
|---|---|---|
| Precious Metals (e.g., Gold) | 0.1 - 10 µm | Ideal for electronics, high precision |
| Galvanized/Plated (e.g., Zinc) | 5 - 50 µm | Fast, reliable for production QC |
| Heavy/Dense Metals (e.g., Platinum) | Lower thickness range | Signal absorption limits upper range |
| Light Elements (e.g., Paint) | Generally Unsuitable | Consider eddy current or ultrasonic methods |
Ensure accurate and reliable coating thickness measurements for your lab. KINTEK specializes in precision lab equipment, including XRF analyzers perfect for quality control of metallic coatings on substrates like steel and electronics. Our experts can help you select the right instrument to measure everything from thin precious metal films to thicker galvanized layers.
Contact our specialists today to discuss your specific application and find the ideal solution for your laboratory's needs.
Visual Guide
Related Products
- XRF Boric Acid Lab Powder Pellet Pressing Mold for Laboratory Use
- XRF & KBR plastic ring lab Powder Pellet Pressing Mold for FTIR
- Laboratory Hydraulic Pellet Press for XRF KBR FTIR Lab Applications
- Automatic Laboratory Hydraulic Press for XRF & KBR Pellet Press
- XRD Sample Holder X-ray Diffractometer Powder Slide
People Also Ask
- How does a laboratory powder pellet press facilitate the preparation of multi-layered gradient Al2O3/ZrO2 ceramic green bodies? Precision Bonding Techniques
- How do you prepare soil for XRF sample? A Step-by-Step Guide to Accurate Analysis
- What is the XRF method of sampling? Achieve Accurate Elemental Analysis with Proper Sample Prep
- What is the purpose of using a mold for pellet pressing when preparing catalyst test samples? Ensure Data Consistency
- How does the selection of a pressure mold affect the performance of all-solid-state batteries? Expert Pelletizing Guide

