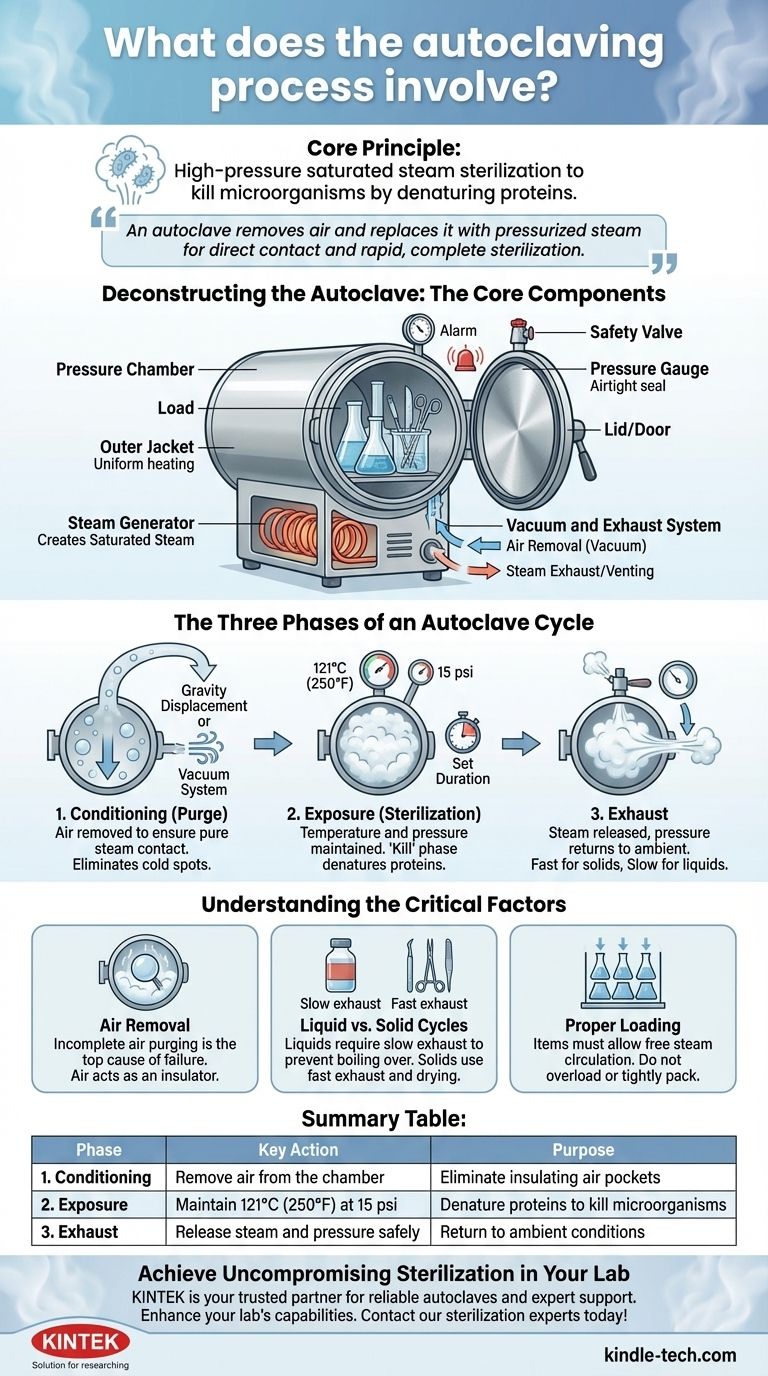
At its core, the autoclaving process is a method of sterilization that uses high-pressure saturated steam to kill microorganisms, including bacteria, viruses, and spores. It achieves this by heating items to a specific temperature for a set duration within a sealed pressure chamber, ensuring that the steam makes direct contact with all surfaces to denature proteins and effectively decontaminate materials.
An autoclave doesn't just heat things up; it systematically removes air—which acts as an insulator—and replaces it with pressurized steam. This direct steam contact is the non-negotiable principle that allows for rapid and complete sterilization.

Deconstructing the Autoclave: The Core Components
To understand the process, you must first understand the machine. Each component plays a critical role in creating and maintaining the precise conditions required for sterilization.
The Pressure Chamber
The main body of the autoclave is a pressure chamber or vessel, typically made of stainless steel. It is built with an inner chamber to hold the items and an outer jacket, which helps in pre-heating and maintaining a uniform temperature.
The Lid/Door
The lid or door creates an airtight seal, which is essential for building and maintaining high pressure. It is equipped with several crucial safety and monitoring devices, including a pressure gauge to display the internal pressure, a safety valve to automatically release pressure if it exceeds a safe limit, and often a whistle or alarm.
The Steam Generator
Most modern autoclaves have a built-in steam generator or an electrical heater that boils water within or below the chamber. This component is responsible for creating the saturated steam that acts as the sterilizing agent.
The Vacuum and Exhaust System
This system is responsible for two critical tasks. A vacuum generator is used in more advanced models to actively remove all air from the chamber before sterilization begins. After the cycle, the exhaust system (or a release valve) safely vents the steam and reduces the internal pressure back to ambient levels.
The Three Phases of an Autoclave Cycle
The sterilization process is not a single event but a carefully controlled sequence of three distinct phases.
Phase 1: Conditioning (or Purge)
This is the preparatory phase where air is removed from the chamber. Air is a poor conductor of heat and its presence creates "cold spots" where microorganisms can survive. This phase ensures that only pure, saturated steam fills the chamber.
In simpler autoclaves, this is done by gravity displacement, where incoming steam, being lighter than air, forces the heavier air down and out through a drain. More advanced autoclaves use a vacuum system to pull the air out, which is faster and more effective.
Phase 2: Exposure (or Sterilization)
Once all air is removed, the steam inlet closes and the temperature and pressure ramp up to the desired setpoint, typically 121°C (250°F) at 15 psi.
The load is held at this setpoint for a specified duration—the exposure time—which can range from 15 minutes to over an hour, depending on the volume and type of items being sterilized. This is the "kill" phase, where the high-temperature steam denatures the cellular proteins of any microorganisms.
Phase 3: Exhaust
After the exposure time is complete, a valve opens to release steam from the chamber, causing the pressure to drop back to a safe, ambient level. This phase must be managed carefully.
Solid goods and instruments can undergo a fast exhaust, while liquids require a slow exhaust to prevent them from boiling over due to the sudden drop in pressure. This phase often includes a drying cycle for solid goods.
Understanding the Critical Factors
Simply running a cycle does not guarantee sterilization. Success depends on understanding the critical variables and avoiding common pitfalls.
The Importance of Air Removal
The single most common cause of sterilization failure is trapped air. If air is not fully purged during the conditioning phase, the chamber will not reach the correct temperature, even if the pressure gauge reads correctly. This is because the pressure reading reflects a mix of air and steam, not pure steam.
Liquid vs. Solid Cycles
The contents dictate the cycle. A "liquids" cycle uses a slow exhaust to prevent media from boiling over and bottles from cracking. A "solids" or "gravity" cycle uses a fast exhaust and often includes a post-vacuum drying phase to remove residual moisture from instruments and glassware.
Proper Loading is Non-Negotiable
Items must be loaded to allow for free circulation of steam. Overloading the chamber, packing items too tightly, or using sealed containers will prevent steam from reaching all surfaces, leading to incomplete sterilization.
How to Ensure Effective Sterilization
Your approach should be dictated by what you are sterilizing.
- If your primary focus is sterilizing liquids (like media): Use a dedicated liquids cycle with a slow exhaust and ensure containers are no more than two-thirds full to allow for expansion.
- If your primary focus is sterilizing solid instruments or glassware: Use a gravity or vacuum cycle and arrange items in a single layer, ensuring steam can contact every surface.
- If your primary focus is sterilizing biohazardous waste: Use a cycle with extended exposure time to ensure full penetration and decontamination, and use dedicated autoclave bags that allow steam to enter.
- If your primary focus is safety: Always wait for the pressure gauge to read zero and the temperature to drop below 80°C before attempting to open the door.
Understanding that autoclaving is a precise, multi-stage process of air removal, steam exposure, and controlled exhaust is the key to achieving reliable and safe sterilization every time.
Summary Table:
| Phase | Key Action | Purpose |
|---|---|---|
| 1. Conditioning | Remove air from the chamber | Eliminate insulating air pockets to ensure pure steam contact |
| 2. Exposure | Maintain 121°C (250°F) at 15 psi for a set time | Denature proteins to kill all microorganisms, including spores |
| 3. Exhaust | Release steam and pressure safely | Return chamber to ambient conditions; slow exhaust for liquids, fast for solids |
Achieve Uncompromising Sterilization in Your Lab
Mastering the autoclaving process is critical for laboratory safety and integrity. Whether you are sterilizing liquid media, surgical instruments, glassware, or biohazardous waste, using the right equipment is non-negotiable.
KINTEK is your trusted partner for all lab sterilization needs. We specialize in providing reliable autoclaves and expert support to ensure your processes are efficient, safe, and compliant.
Let us help you enhance your lab's capabilities. Contact our sterilization experts today to find the perfect autoclave solution for your specific requirements!
Visual Guide
Related Products
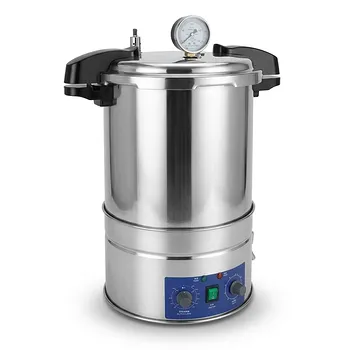
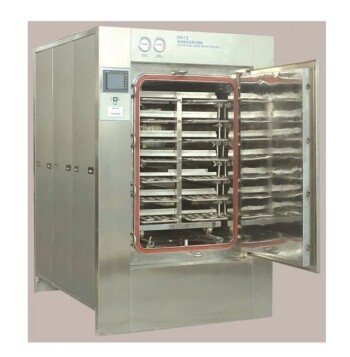
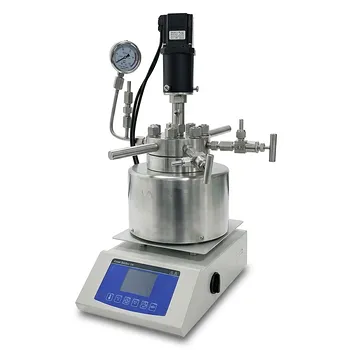
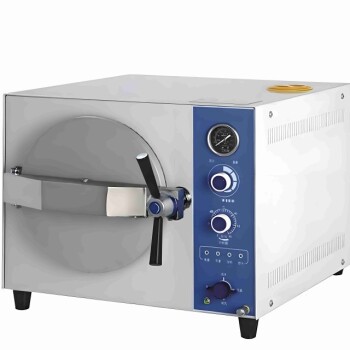
- Portable High Pressure Laboratory Autoclave Steam Sterilizer for Lab Use
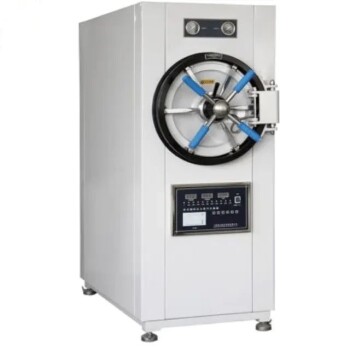
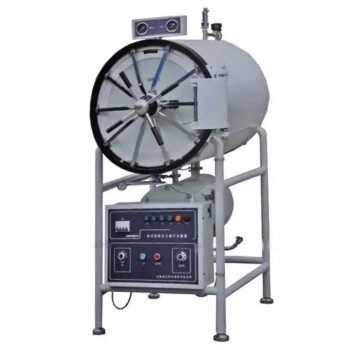
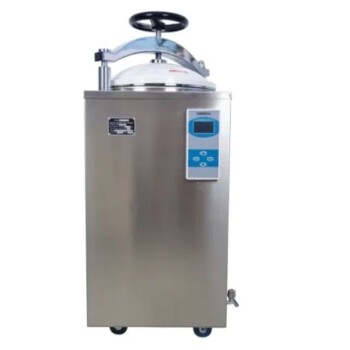
- Laboratory Horizontal Autoclave Steam Sterilizer Lab Microcomputer Sterilizer
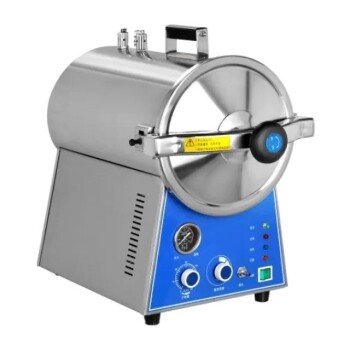
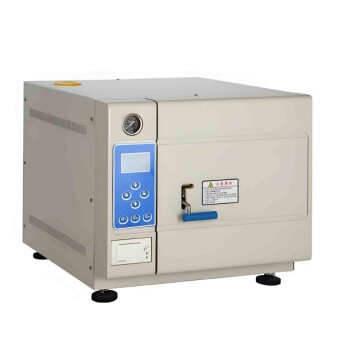
- Desktop Fast High Pressure Laboratory Autoclave Sterilizer 16L 24L for Lab Use
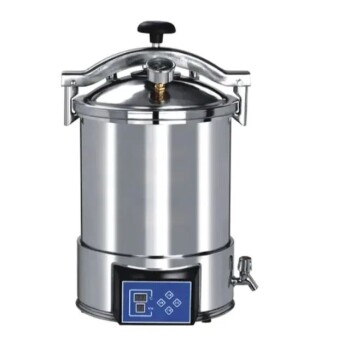
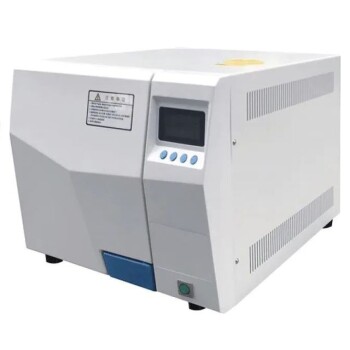
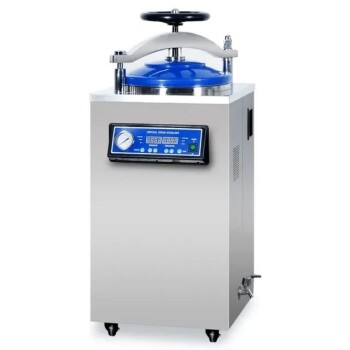
- Portable Digital Display Automatic Laboratory Sterilizer Lab Autoclave for Sterilization Pressure
- Desktop Fast Laboratory Autoclave Sterilizer 35L 50L 90L for Lab Use
People Also Ask
- What is the primary function of a laboratory autoclave in the pre-treatment of medical plastic waste for liquid fuel?
- Why is a laboratory high-pressure autoclave sterilizer necessary? Ensure Accuracy in Antibacterial Research
- What is a laboratory autoclave? A Guide to Sterilization with Pressurized Steam
- What is the importance of using a laboratory autoclave in ZSM-5 synthesis? Achieve Perfect Zeolite Crystallization
- What are the two types of autoclave used in the laboratory? Gravity vs. Pre-Vacuum Explained