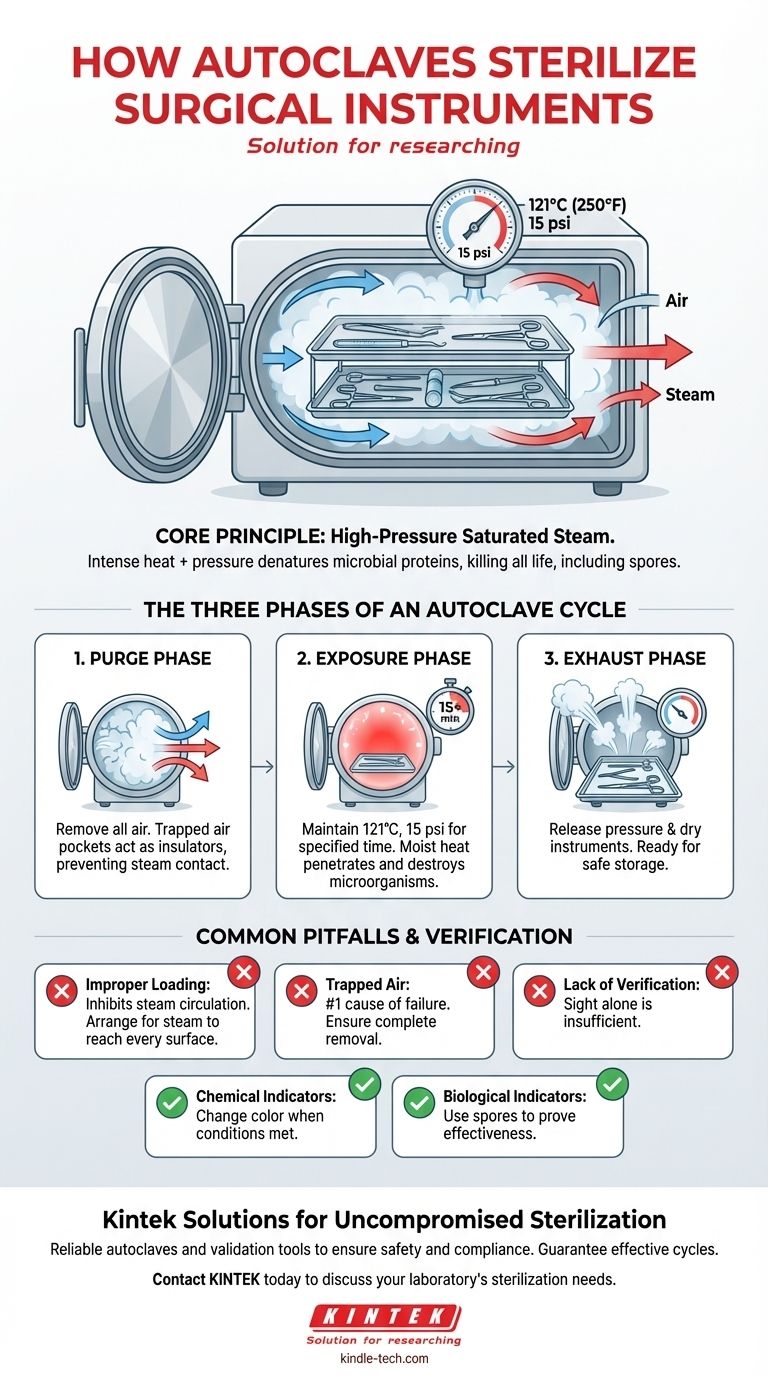
In essence, autoclaves use high-pressure saturated steam to sterilize surgical instruments. By increasing the pressure within a sealed chamber, the autoclave raises the boiling point of water far above 100°C, creating an environment of superheated steam that is lethal to all microorganisms, including resilient bacterial spores. This moist heat rapidly penetrates and destroys the essential proteins within these microbes, ensuring the instruments are completely sterile.
The critical insight is that an autoclave's effectiveness comes from the combination of intense heat and pressure. Pressure allows steam to achieve temperatures high enough to quickly denature the proteins of all microbial life, a feat that dry heat or boiling water cannot accomplish reliably.
The Principle of Steam Sterilization
Understanding why autoclaving is the gold standard requires looking at the physics of heat transfer and the biology of microorganisms. The process is far more effective than simply heating instruments in an oven.
Why Steam, Not Just Dry Heat?
Moist heat is significantly more efficient at sterilization than dry heat. Saturated steam can transfer thermal energy much more rapidly and effectively, penetrating microbial cells and coagulating their vital structural proteins and enzymes. This process of denaturation is what ultimately kills the organism.
The Critical Role of Pressure
The autoclave's sealed chamber allows it to manipulate the pressure-temperature relationship of water. Under normal atmospheric pressure, water boils at 100°C (212°F). By increasing the pressure to approximately 15 pounds per square inch (psi) above atmospheric pressure, the autoclave raises the boiling point to 121°C (250°F), creating the necessary conditions for sterilization.
The Three Phases of an Autoclave Cycle
A successful sterilization cycle is a carefully controlled sequence of three distinct phases. Each phase has a specific purpose that is essential for the final outcome.
Phase 1: The Purge Phase
Before sterilization can begin, all air must be removed from the chamber. Steam displaces the cooler, less dense air, forcing it out. This step is non-negotiable because trapped air pockets act as an insulator, preventing the superheated steam from making direct contact with the instrument surfaces and leading to a failed cycle.
Phase 2: The Exposure (Sterilization) Phase
Once the air is purged, the exhaust valve closes, and the chamber is pressurized with steam to the target temperature and pressure. The load is held at these conditions for a specified duration—typically 15 minutes at 121°C (250°F). During this phase, the lethal work of sterilization occurs as the steam kills all microorganisms.
Phase 3: The Exhaust Phase
After the exposure time is complete, the exhaust valve opens, releasing steam and pressure from the chamber. This allows the pressure to return to ambient levels. A subsequent drying phase often follows, ensuring the instruments are dry and ready for storage.
Common Pitfalls to Avoid
Simply running an autoclave cycle does not guarantee sterilization. Human error, particularly during preparation, is a common cause of failure.
The Danger of Improper Loading
Overloading the chamber or placing instruments too close together can impede steam circulation. It is crucial to arrange items in a way that allows steam to reach every single surface. Instruments should be open and unlocked to expose all parts.
The Consequence of Trapped Air
As mentioned, failing to remove all air from the chamber is the most common reason for sterilization failure. This is why the purge phase is so critical and why modern autoclaves have sophisticated systems to ensure complete air removal.
The Need for Verification
Sterilization is a process that cannot be verified by sight alone. Chemical indicators (like tape that changes color) show that conditions were met, while biological indicators (vials containing heat-resistant spores) are used periodically to definitively prove that the cycle is effective at killing the most resistant microbes.
Ensuring Effective Sterilization for Your Needs
To apply this knowledge effectively, align your procedures with your primary goal.
- If your primary focus is safety and compliance: Always follow the manufacturer's instructions for the specific autoclave model and use both chemical and biological indicators to validate your sterilization cycles.
- If your primary focus is operational efficiency: Ensure instruments are cleaned thoroughly before being loaded and are arranged to maximize steam penetration, preventing failed cycles that waste time and resources.
Ultimately, mastering the principles of autoclaving transforms it from a routine task into a critical control point for ensuring patient and practitioner safety.
Summary Table:
| Phase | Key Action | Purpose |
|---|---|---|
| Purge Phase | Remove all air from the chamber | Eliminate air pockets that insulate and prevent sterilization |
| Exposure Phase | Maintain 121°C (250°F) for 15+ minutes | Kill all microorganisms, including bacterial spores |
| Exhaust Phase | Release pressure and dry instruments | Prepare sterile, dry instruments for safe storage and use |
Ensure Uncompromised Sterilization in Your Lab
Mastering autoclave use is critical for patient safety and regulatory compliance. KINTEK specializes in providing reliable lab equipment and consumables to support your sterilization protocols.
Let our experts help you select the right autoclave and validation tools (like chemical and biological indicators) to guarantee effective sterilization cycles every time.
Contact KINTEK today to discuss your laboratory's sterilization needs and enhance your safety standards.
Visual Guide
Related Products
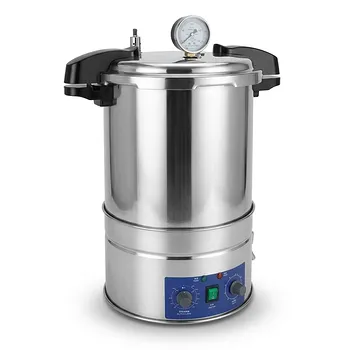
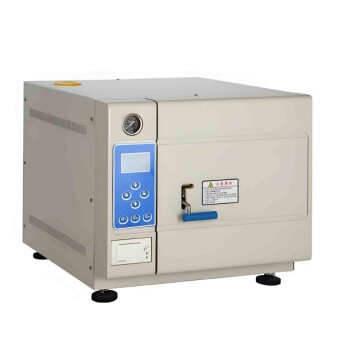
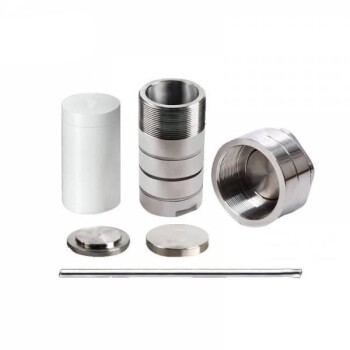
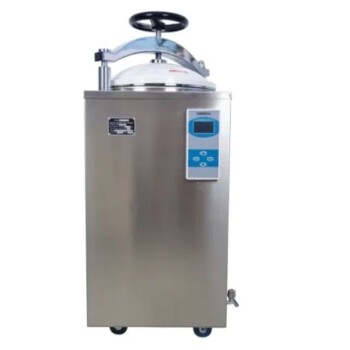
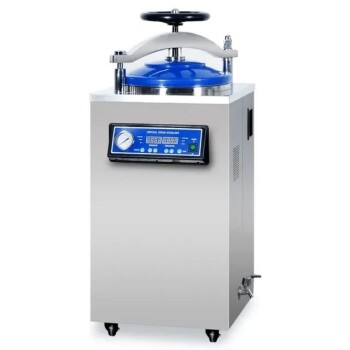
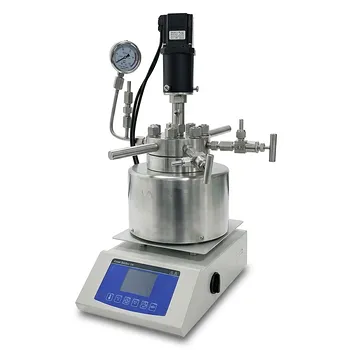
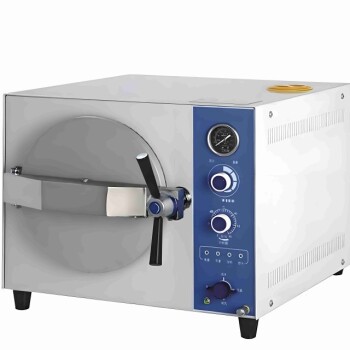
- Portable High Pressure Laboratory Autoclave Steam Sterilizer for Lab Use
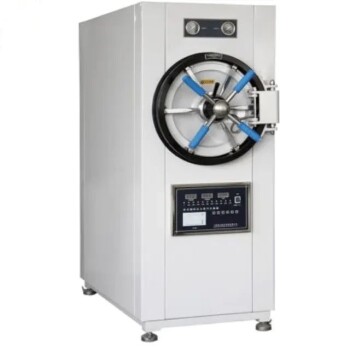
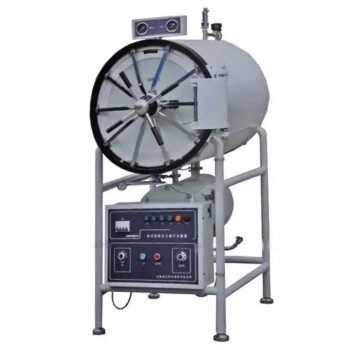
- Laboratory Horizontal Autoclave Steam Sterilizer Lab Microcomputer Sterilizer
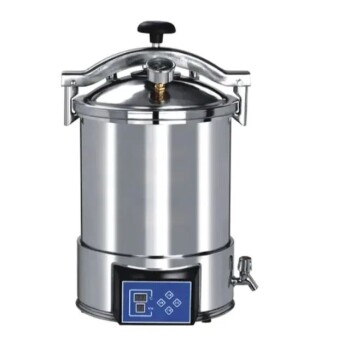
- Desktop Fast High Pressure Laboratory Autoclave Sterilizer 16L 24L for Lab Use
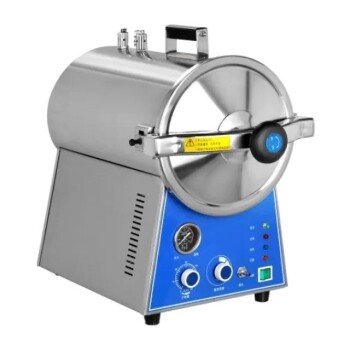
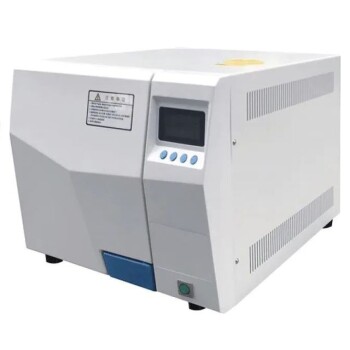
- Portable Digital Display Automatic Laboratory Sterilizer Lab Autoclave for Sterilization Pressure
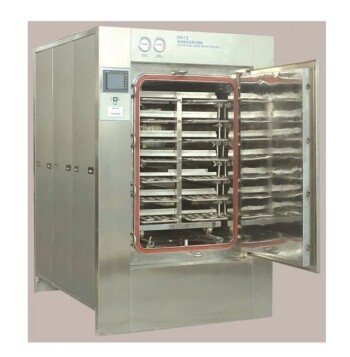
- Desktop Fast Laboratory Autoclave Sterilizer 35L 50L 90L for Lab Use
People Also Ask
- What precautions should be taken during autoclave in laboratory? A Complete Safety Guide to Prevent Burns and Explosions
- What extreme conditions does a laboratory autoclave simulate? Testing Wear Resistance of Nuclear Fuel Cladding
- What is the importance of using a laboratory autoclave in ZSM-5 synthesis? Achieve Perfect Zeolite Crystallization
- Why is a laboratory high-pressure autoclave sterilizer necessary? Ensure Accuracy in Antibacterial Research
- What role does a laboratory autoclave play in HEA corrosion research? Key to Validating Advanced Reactor Materials