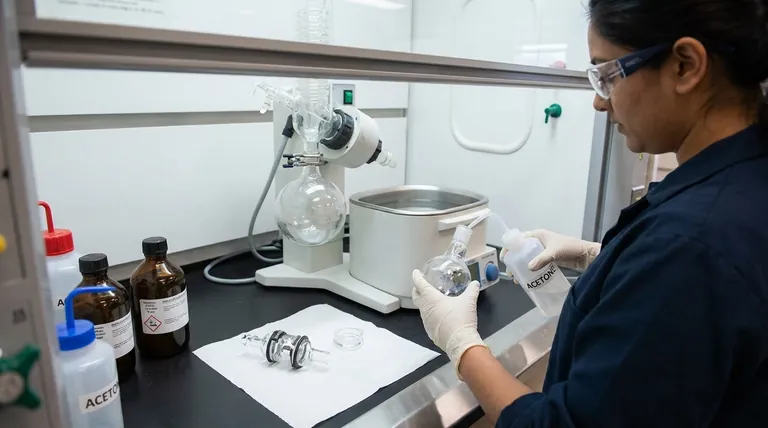
To properly clean a rotavap, you must first safely disassemble the primary glassware components—the evaporating flask and bump trap—after the system has cooled. The key is to use a sequence of solvents, starting with one that dissolves the bulk of your residue, followed by a general-purpose solvent like acetone, and finishing with a thorough rinse to ensure no contaminants remain for your next procedure.
The goal of cleaning a rotavap isn't just about spotless glassware; it's about preventing the invisible threat of cross-contamination that can invalidate future experiments. A disciplined, immediate cleaning protocol is fundamental to producing reliable and reproducible scientific work.
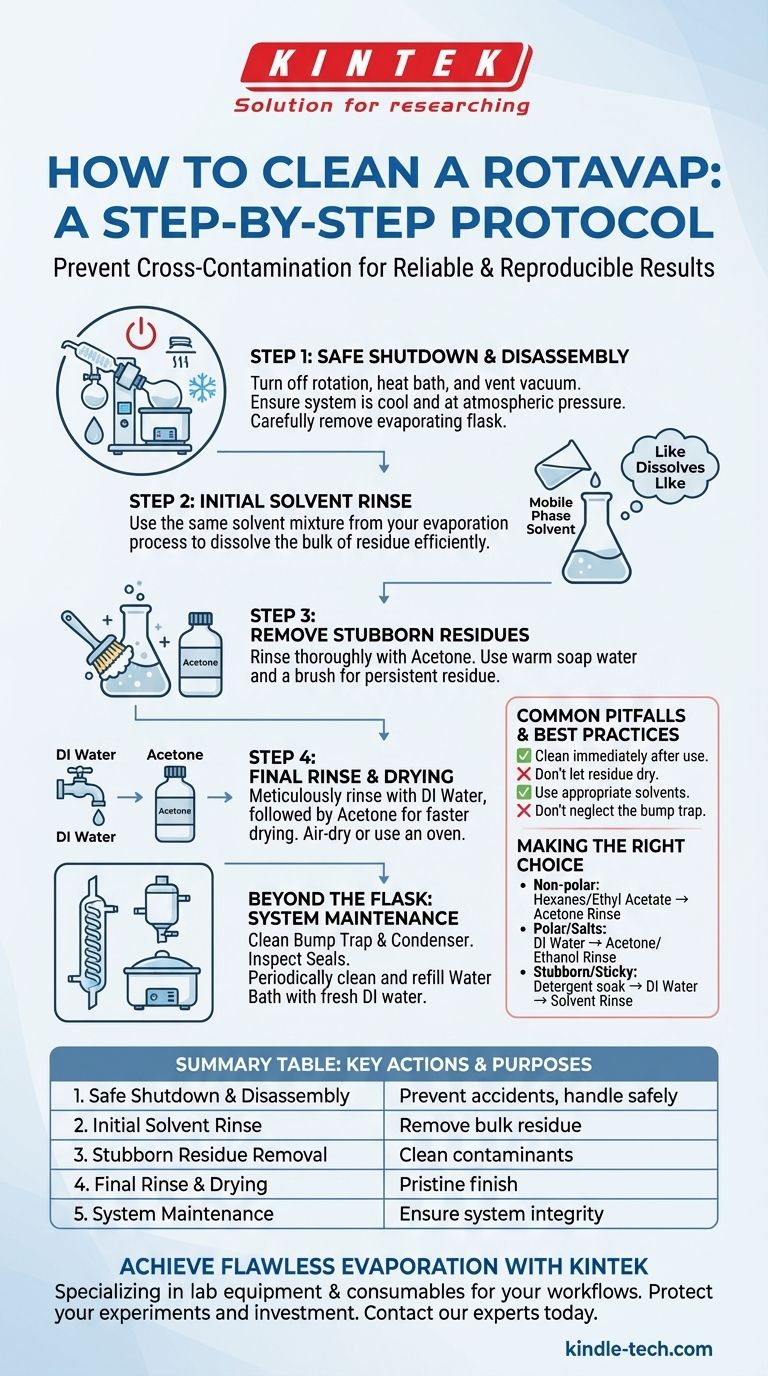
The Standard Cleaning Protocol: A Step-by-Step Guide
A methodical approach ensures both safety and effectiveness. Always perform these steps in a well-ventilated area or fume hood, wearing appropriate personal protective equipment (PPE), including safety glasses and gloves.
Step 1: Safe Shutdown and Disassembly
Before handling any glassware, ensure the system is safe. Turn off the rotation and the heat bath, then carefully vent the system to release the vacuum.
Once the system is at atmospheric pressure and the flask has stopped spinning, lower the jack to lift the apparatus out of the bath. Carefully remove the Keck clip and gently twist to detach the evaporating flask.
Step 2: The Initial Solvent Rinse
The most effective first step is to use the principle of "like dissolves like." Use a small amount of the solvent that was used as the mobile phase in your evaporation process.
For example, if you evaporated a sample from a hexane/ethyl acetate mixture, use that same mixture for the initial rinse. This will dissolve the vast majority of the target compound residue with minimal effort.
Step 3: Removing Stubborn Residues
After the initial rinse, a more general cleaning solvent is often used. Acetone is a common choice because it is miscible with many organic solvents and water, and it evaporates quickly.
Rinse the flask thoroughly with acetone. If residue persists, a warm soap water solution using a laboratory detergent (like Alconox) and a flask brush may be necessary.
Step 4: Final Rinse and Drying
If you used a detergent, you must rinse meticulously to remove it. Start with several rinses of tap water, followed by at least three rinses with deionized (DI) water.
A final rinse with acetone or another volatile solvent will help displace the water and allow the flask to dry much faster. Allow glassware to air-dry completely or place it in a designated drying oven if appropriate.
Beyond the Flask: Maintaining the Entire System
The evaporating flask is the focus, but other components require regular attention to prevent contamination and ensure optimal performance.
Cleaning the Condenser and Bump Trap
The bump trap should be cleaned with the same protocol as the main flask, as it is designed to catch any material that bumps over during evaporation.
The condenser coil rarely needs cleaning unless your sample bumped violently past the trap. If it does, you can rinse a suitable solvent through it by pouring it into the top vacuum connection and collecting it from the bottom joint.
Inspecting Seals and Joints
After cleaning, inspect all ground glass joints for cracks or chips. Check the rubber or PTFE vacuum seal for signs of wear, chemical degradation, or residue buildup. A compromised seal is a primary cause of vacuum leaks.
Maintaining the Water Bath
The water in the heating bath can become a breeding ground for algae and bacteria. Periodically empty and clean the bath, refilling it with fresh deionized water to ensure efficient and clean heat transfer.
Common Pitfalls and Best Practices
Avoiding common mistakes is as important as following the correct procedure. The difference between a quick rinse and a rigorous clean can be the difference between a successful or failed experiment.
The "Clean It Later" Mistake
The single most common mistake is letting a flask sit after use. Residue that is simple to rinse out when fresh can polymerize or bake onto the glass, requiring aggressive and time-consuming scrubbing later. Clean the flask immediately after your sample is removed.
Inappropriate Solvent Choice
Using the wrong solvent is inefficient and can sometimes make the problem worse by causing a substance to precipitate out of solution. Always start with the solvent system you just evaporated.
Neglecting the Bump Trap
Forgetting to clean the bump trap is a frequent source of cross-contamination. Always assume it is as contaminated as the main flask and clean it with the same level of care.
Making the Right Choice for Your Goal
Your cleaning strategy should adapt to the nature of the material you are removing. A one-size-fits-all approach is rarely the most efficient.
- If your primary focus is removing non-polar organic compounds: Start with a rinse of hexanes or ethyl acetate, followed by a final rinse with acetone to ensure it dries clean.
- If your primary focus is removing polar compounds or salts: An initial rinse with deionized water is most effective, followed by acetone or ethanol to displace the water for faster drying.
- If you are dealing with unknown or stubborn, sticky residues: A soak in a laboratory detergent bath is a reliable default, followed by exhaustive rinsing with DI water and a final solvent rinse.
A consistently clean rotavap is the foundation of precise and reproducible results in the laboratory.
Summary Table:
| Step | Key Action | Purpose |
|---|---|---|
| 1 | Safe Shutdown & Disassembly | Prevent accidents and safely handle hot glassware |
| 2 | Initial Solvent Rinse ('Like Dissolves Like') | Efficiently remove the bulk of sample residue |
| 3 | Stubborn Residue Removal (Acetone/Detergent) | Clean remaining contaminants |
| 4 | Final Rinse & Drying (DI Water/Acetone) | Eliminate all solvents and detergents for a pristine finish |
| 5 | System Maintenance (Bump Trap, Seals, Bath) | Ensure overall system integrity and performance |
Achieve Flawless Evaporation with KINTEK
A clean rotavap is non-negotiable for reproducible science. KINTEK specializes in the lab equipment and consumables that support your critical workflows. From high-quality replacement glassware and seals to reliable heating baths, we provide the products you need to maintain your rotavap in peak condition.
Let us help you protect your experiments and your investment.
Contact our lab equipment experts today to discuss your specific needs and ensure your rotavap operates reliably run after run.
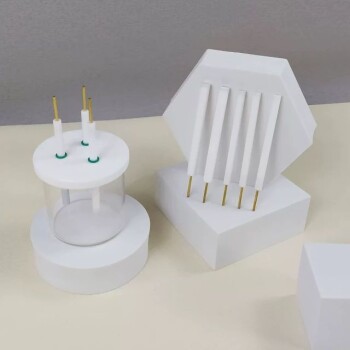
Visual Guide
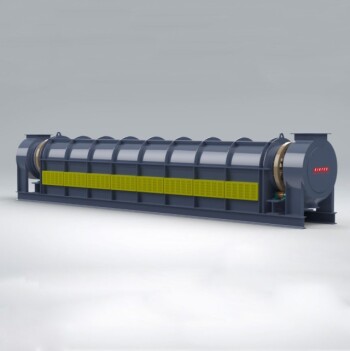
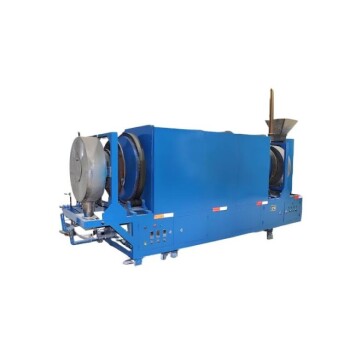
Related Products
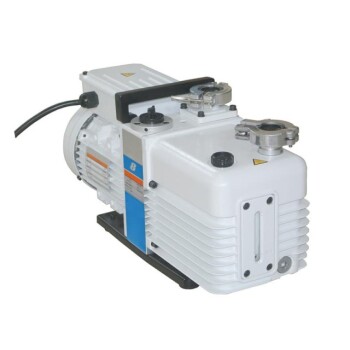
- Laboratory Rotary Vane Vacuum Pump for Lab Use
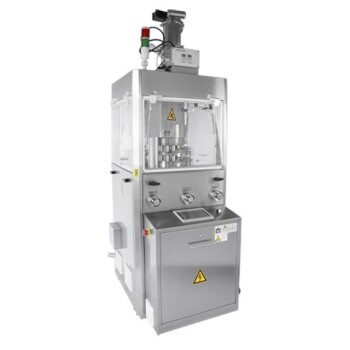
- Single Punch Tablet Press Machine and Mass Production Rotary Tablet Punching Machine for TDP
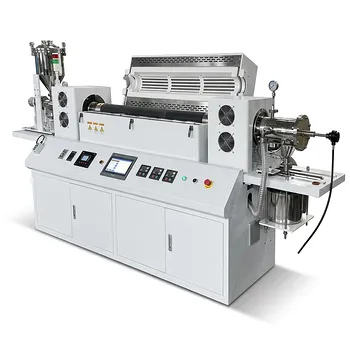
- Vacuum Sealed Continuous Working Rotary Tube Furnace Rotating Tube Furnace
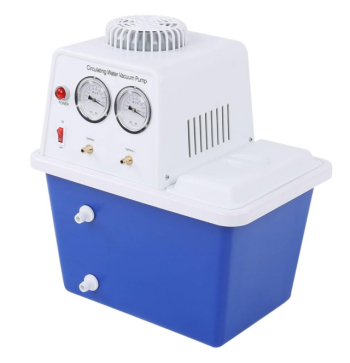
- Circulating Water Vacuum Pump for Laboratory and Industrial Use
- Rotating Platinum Disk Electrode for Electrochemical Applications
People Also Ask
- How to select the best rotary vane pump for specific needs? Match Your Application's Requirements
- What is the vacuum level of a rotary vacuum pump? Achieve Medium Vacuum for Your Lab or Industry
- What is the difference between a single-stage and a two-stage rotary vane pump? Choosing the Right Vacuum Depth
- What is the use of rotary vacuum pump? A Guide to Reliable Rough Vacuum for Labs & Industry
- Why is lubrication required in rotary vane pumps? Essential for Sealing, Cooling, and Longevity