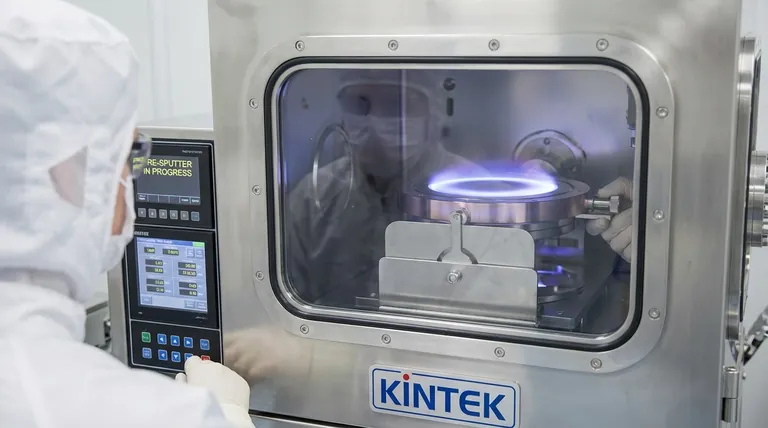
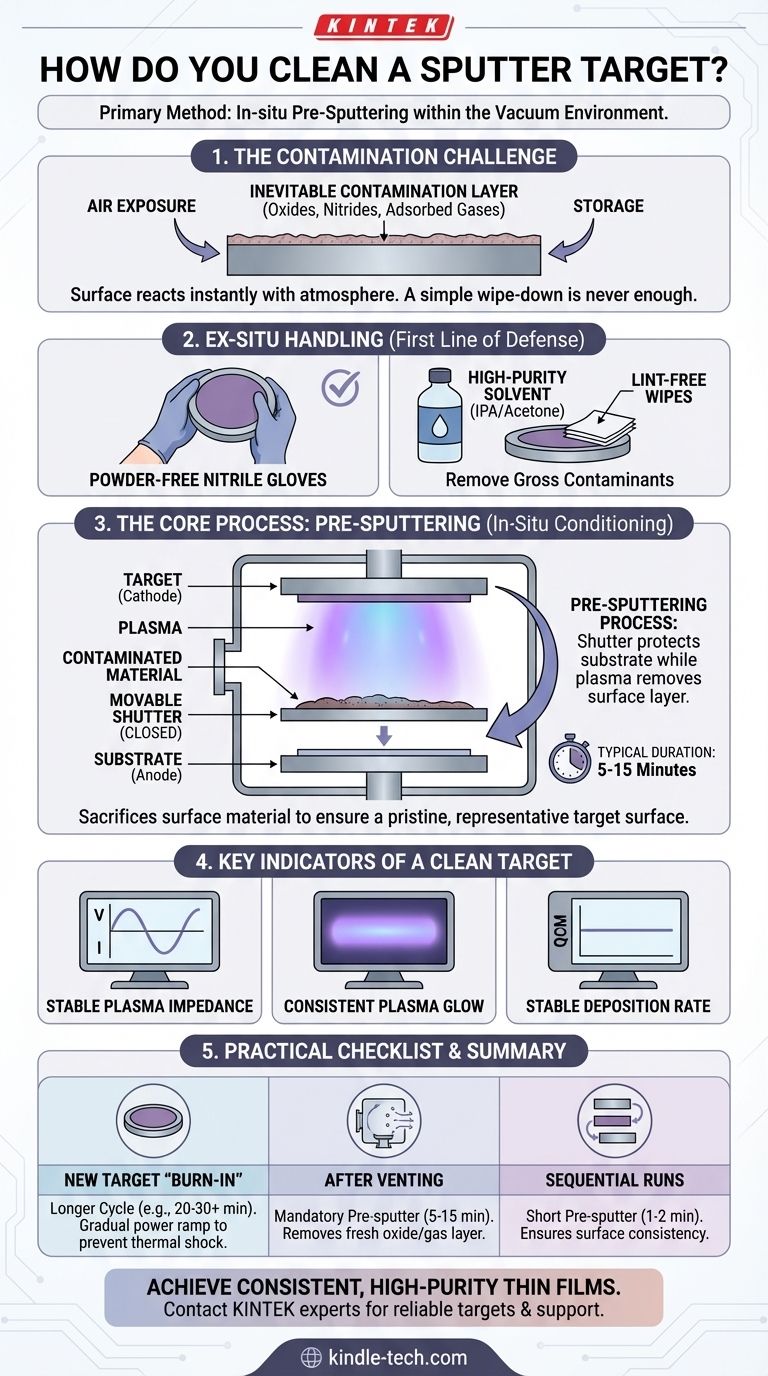
Sputter target cleaning is achieved primarily through an in-situ process called pre-sputtering, where the target is intentionally sputtered with a shutter protecting your substrate. This critical step uses the plasma itself to physically remove surface contaminants like oxides and adsorbed atmospheric gases that form when the target is exposed to air.
The goal is not to "wash" a target in the traditional sense, but to prepare a pristine, representative surface within the vacuum environment. This is the single most important step for ensuring film purity, process stability, and repeatable results.
Why Target Purity is a Process, Not a Single Action
A sputter target's surface begins to change the moment it is exposed to the atmosphere. Understanding the sources of contamination clarifies why a simple wipe-down is never enough.
The Inevitable Contamination Layer
When a target sits in storage or is loaded into a chamber, its surface is not the pure material you intend to deposit. It is covered by a thin, non-representative layer.
This layer consists of two main things:
- Oxides and Nitrides: Most metallic targets react instantly with oxygen and nitrogen in the air, forming a nanometer-scale native oxide or nitride layer.
- Adsorbed Gases: Molecules from the air, especially water vapor, physically stick to the surface.
Sputtering this contaminated layer directly onto your substrate will compromise your film's chemical, electrical, and optical properties.
The Role of Ex-Situ Handling
Before the target ever enters the vacuum chamber, proper handling is your first line of defense.
Always use powder-free nitrile gloves when handling targets. Oils and residues from your skin can cause significant localized contamination, leading to defects in your film and arcing during the process. If a target requires cleaning before installation, use high-purity solvents like acetone or isopropyl alcohol with lint-free cleanroom wipes.
The Pre-Sputtering Process: Your Primary Tool
Pre-sputtering, also called target conditioning, is the standard industry practice for preparing a target for deposition. It is a mandatory step.
The Function of the Shutter
Nearly all sputtering systems are equipped with a movable shutter positioned between the target and the substrate.
During pre-sputtering, this shutter is closed. The plasma is ignited, and material is sputtered from the target, but it coats the shutter instead of your valuable substrate. This effectively sacrifices a small amount of material to remove the entire contaminated surface layer.
Determining the Right Duration
The required pre-sputter time depends on the target material, its exposure history, and the sensitivity of your process. A typical duration might be 5 to 15 minutes.
You know the target is clean when the process stabilizes. Key indicators include:
- Stable Plasma Impedance: The voltage and current of the power supply stop drifting.
- Consistent Plasma Glow: The color and intensity of the plasma become uniform and steady.
- Stable Deposition Rate: If you have a quartz crystal microbalance, you will see the rate stabilize.
Target "Burn-In" for New Targets
A brand-new target requires a more extensive initial run, often called a "burn-in."
This is not just about cleaning the surface. It's about ensuring the target reaches thermal equilibrium and achieving microstructural stability. A burn-in cycle often runs longer and may involve a gradual power ramp to prevent thermal shock, which can crack brittle ceramic targets.
Recognizing the Signs of an Unclean Target
If you skip or rush the pre-sputtering step, the process itself will often tell you something is wrong. Understanding these symptoms is crucial for troubleshooting.
Arcing and Process Instability
Sputtering a contaminated or oxidized surface is a leading cause of arcing. Arcs are uncontrolled electrical discharges that can damage the power supply, generate particles, and ruin your film. A "spitty" or unstable process is a classic sign of a dirty target.
Inconsistent Film Properties
If the initial layers of your film are deposited from a contaminated target, you will see the consequences in performance. This can manifest as poor adhesion, incorrect stoichiometry in compound films, or hazy, discolored coatings.
Fluctuating Deposition Rates
The sputter yield (the number of atoms ejected per incident ion) of an oxide is almost always different from that of the pure parent material. As the cleaning progresses, the deposition rate will change. Attempting to deposit before this rate stabilizes will result in films of inconsistent thickness.
A Practical Checklist for Target Conditioning
Properly conditioning your sputter target is fundamental to the quality of your results. Use these guidelines to tailor your approach.
- If you are installing a brand-new target: Perform a longer "burn-in" cycle (e.g., 20-30 minutes), potentially ramping power slowly to avoid thermal shock, especially for ceramic materials.
- If you are starting a deposition after venting the chamber: A standard pre-sputter of 5-15 minutes is mandatory to remove the fresh oxide and adsorbed gas layer.
- If you are running sequential depositions without breaking vacuum: A very short pre-sputter (e.g., 1-2 minutes) is often sufficient to ensure the target surface is in a consistent state before starting the next run.
Mastering this conditioning process is the foundation of a stable, repeatable, and high-quality sputtering deposition.
Summary Table:
| Step | Key Action | Purpose |
|---|---|---|
| 1. Ex-Situ Handling | Clean with high-purity solvents (IPA/acetone) and wear nitrile gloves. | Remove gross contaminants before chamber loading. |
| 2. Pre-Sputtering | Sutter target with shutter closed for 5-15 minutes (longer for new targets). | Remove surface oxides and adsorbed gases using the plasma. |
| 3. Process Stabilization | Monitor for stable plasma impedance, glow, and deposition rate. | Confirm the target surface is clean and representative. |
Achieve consistent, high-purity thin films with reliable sputtering targets and expert support from KINTEK.
Struggling with process instability or film contamination? Our high-purity sputter targets and deep application expertise are designed to help laboratories like yours achieve repeatable, high-quality results.
Contact our experts today to discuss your specific application and ensure your deposition process is built on a solid foundation.
Visual Guide
Related Products
- RF PECVD System Radio Frequency Plasma-Enhanced Chemical Vapor Deposition RF PECVD
- Aluminized Ceramic Evaporation Boat for Thin Film Deposition
- Vacuum Hot Press Furnace Machine for Lamination and Heating
- Cylindrical Resonator MPCVD Machine System Reactor for Microwave Plasma Chemical Vapor Deposition and Lab Diamond Growth
- Vacuum Cold Trap Direct Cold Trap Chiller
People Also Ask
- What is the sample KBr ratio for FTIR? Master the 1:100 Ratio for Perfect Pellet Preparation
- Why inert gas is used in sputtering? Ensure Pure, Contamination-Free Thin Film Deposition
- What are the properties of sintered iron? Achieve High Strength & Precise Magnetic Performance
- Why is a Solar Furnace necessary for verifying sulfuric acid decomposition components? Ensure Industrial Scale Success
- What is the role of a flat optical window in spectroscopic reaction cells? Precision Design for Fast Gas Exchange
- What is the most efficient separation technique? Select the Best Method for Your Mixture
- What is the role of KBr in FTIR? A Guide to High-Quality Solid Sample Analysis
- What is the difference between cast and sinter? Choose the Right Manufacturing Process for Your Part
