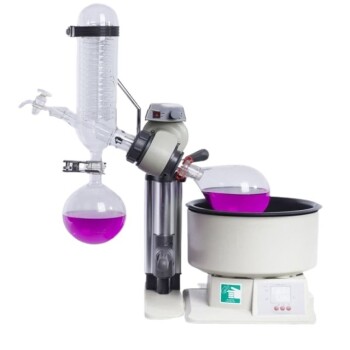
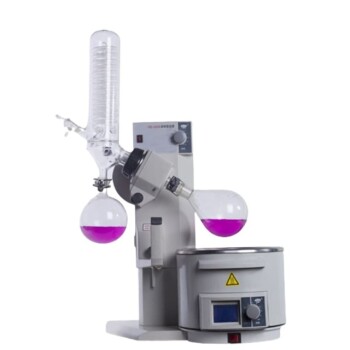
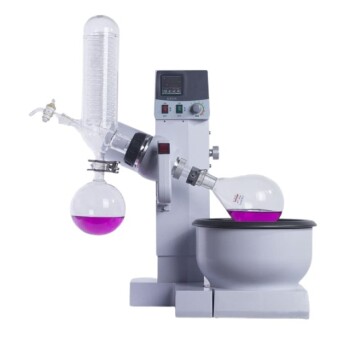
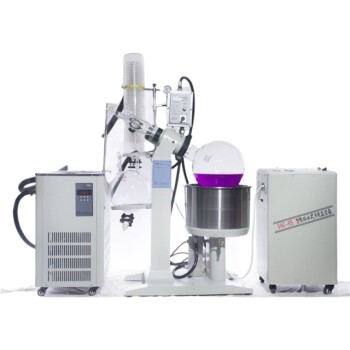
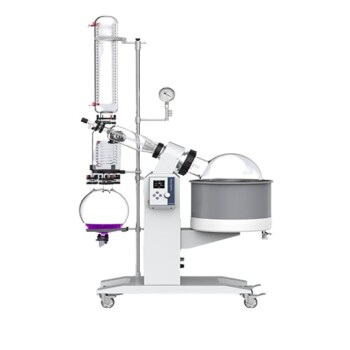
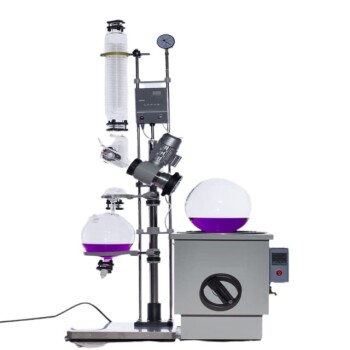
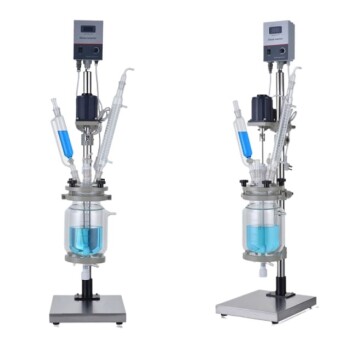
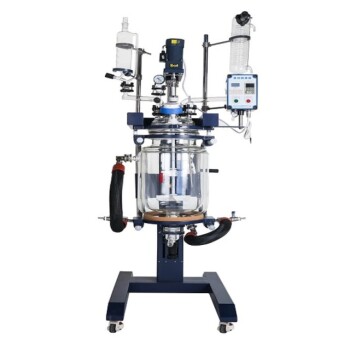
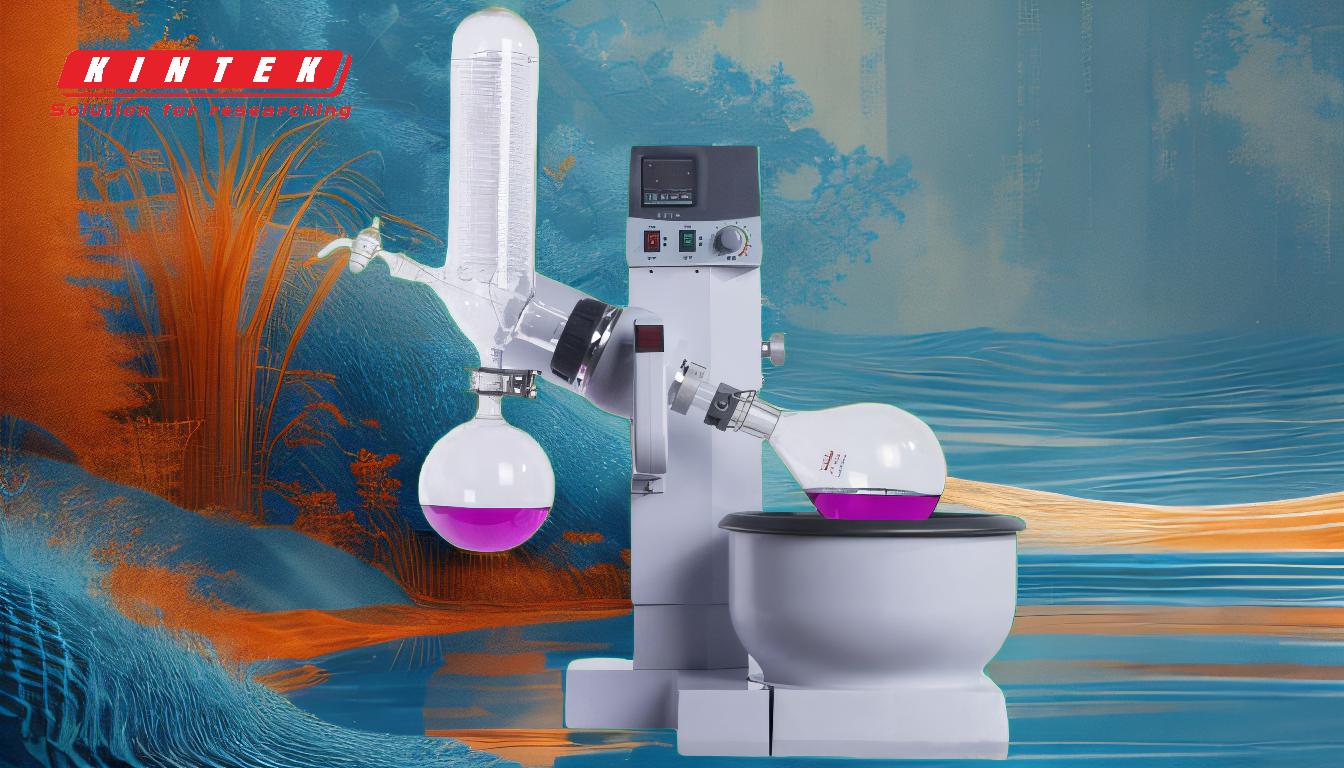
A rotary evaporator, or rotovap, is a key piece of equipment in chemistry labs used to efficiently remove solvents from samples under reduced pressure and controlled temperature. The process involves rotating a flask containing the sample in a heated water bath while applying a vacuum, which lowers the solvent's boiling point and accelerates evaporation. The solvent vapor is then condensed and collected, leaving behind a concentrated sample. Proper setup, operation, and monitoring are essential to ensure safety and efficiency. Below is a detailed explanation of how to use a rotary evaporator, broken down into key steps and considerations.
Key Points Explained:
-
Preparation and Setup
- Grease Joints: Lightly grease all joints to ensure a proper seal and prevent leaks.
- Connect Equipment: Attach the chiller, vacuum pump, and condenser to the rotary evaporator.
- Set Water Bath Temperature: Adjust the water bath to the appropriate temperature (e.g., 40°C or as needed for the solvent).
- Secure the Flask: Attach the round-bottom flask containing the sample to the rotary evaporator using a clip or bump trap to prevent dislodging during rotation.
-
Initial Operation
- Start Rotation: Turn on the motor and set the rotation speed to around 100 RPM or as suitable for the sample volume. This creates an even coating on the flask's inner surface, maximizing evaporation efficiency.
- Activate Vacuum: Turn on the vacuum pump and gradually increase the vacuum strength. Monitor the system to ensure stability and prevent bumping (sudden boiling).
-
Evaporation Process
- Lower Flask into Water Bath: Slowly lower the flask into the heated water bath to initiate evaporation.
- Monitor Boiling: Observe the boiling process. If bubbles reach the neck of the flask, re-pressurize the system slightly to prevent splashing.
- Adjust Vacuum and Rotation: Fine-tune the vacuum strength and rotation speed to maintain a stable evaporation rate and prevent overheating.
-
Completion and Shutdown
- Stop Evaporation: Once the solvent has been completely removed, raise the flask out of the water bath.
- Turn Off Rotation: Stop the motor to halt rotation.
- Release Vacuum: Turn off the vacuum pump and carefully open the tap to return the system to atmospheric pressure.
- Remove Flask: Detach the flask from the rotary evaporator, ensuring it is safe to handle.
-
Maintenance and Safety
- Clean Equipment: After use, clean all components to prevent contamination.
- Inspect Joints and Seals: Regularly check for wear and tear to maintain a proper vacuum seal.
- Follow Safety Protocols: Always wear appropriate personal protective equipment (PPE) and ensure proper ventilation in the lab.
Detailed Explanation:
1. Preparation and Setup
Before using a rotary evaporator, ensure all components are clean and in good working condition. Lightly greasing the joints helps create a tight seal, which is crucial for maintaining the vacuum. Connect the chiller to the condenser to cool the solvent vapor, and attach the vacuum pump to reduce pressure within the system. Set the water bath to a temperature suitable for the solvent being evaporated—typically 40°C, but this may vary depending on the solvent's boiling point. Secure the round-bottom flask containing the sample to the rotary evaporator using a clip or bump trap to prevent it from detaching during rotation.
2. Initial Operation
Start the motor and set the rotation speed to around 100 RPM. This speed is generally sufficient to create a thin film of the sample on the flask's inner surface, which increases the surface area for evaporation. Gradually increase the vacuum strength to lower the pressure within the system. This step reduces the solvent's boiling point, allowing it to evaporate at a lower temperature. Monitor the system closely to ensure stability and prevent bumping, which can cause the sample to splash into the condenser.
3. Evaporation Process
Slowly lower the flask into the heated water bath to begin evaporation. The heat from the water bath provides the energy needed for the solvent to evaporate, while the vacuum ensures it does so at a lower temperature. Monitor the boiling process carefully. If bubbles rise too close to the neck of the flask, re-pressurize the system slightly to prevent splashing. Adjust the vacuum strength and rotation speed as needed to maintain a stable evaporation rate and prevent overheating, which could degrade the sample.
4. Completion and Shutdown
Once the solvent has been completely removed, raise the flask out of the water bath to stop the evaporation process. Turn off the motor to halt rotation, and then turn off the vacuum pump. Carefully open the tap to release the vacuum and return the system to atmospheric pressure. Finally, remove the flask from the rotary evaporator, ensuring it is safe to handle. The concentrated sample can now be collected for further analysis or processing.
5. Maintenance and Safety
After use, clean all components of the rotary evaporator to prevent contamination and ensure longevity. Regularly inspect the joints and seals for wear and tear, as these are critical for maintaining a proper vacuum. Always follow safety protocols, including wearing appropriate PPE (e.g., gloves, lab coat, and safety goggles) and ensuring proper ventilation in the lab. Proper maintenance and adherence to safety guidelines are essential for the safe and effective operation of a rotary evaporator.
By following these steps, you can effectively use a rotary evaporator to separate solvents from samples, ensuring efficient and safe operation in the chemistry lab.
Summary Table:
| Step | Key Actions |
|---|---|
| Preparation & Setup | Grease joints, connect equipment, set water bath temperature, secure flask. |
| Initial Operation | Start rotation (~100 RPM), activate vacuum, and monitor stability. |
| Evaporation Process | Lower flask into water bath, monitor boiling, adjust vacuum and rotation speed. |
| Completion & Shutdown | Stop evaporation, turn off rotation, release vacuum, and remove flask. |
| Maintenance & Safety | Clean equipment, inspect joints, and follow safety protocols. |
Need help setting up or maintaining your rotary evaporator? Contact our experts today for personalized assistance!
