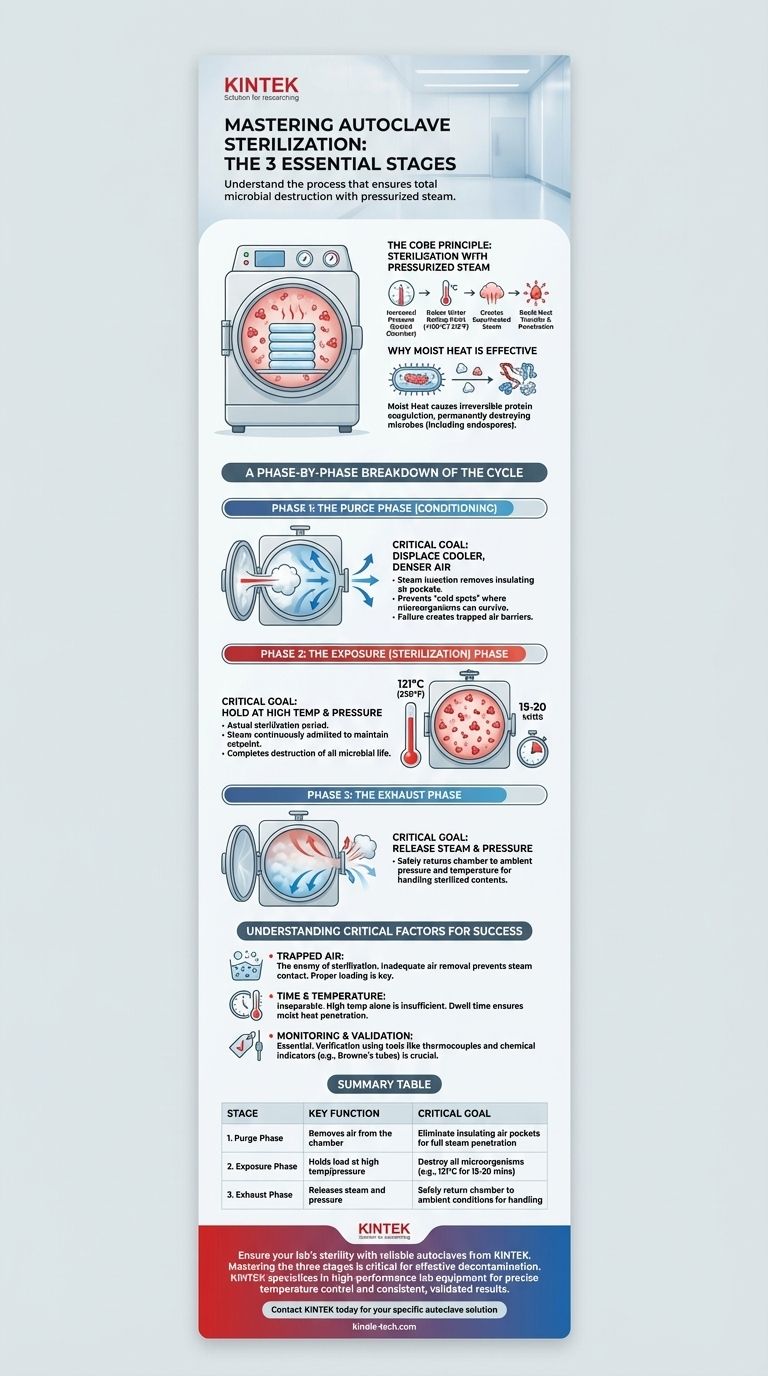
The three essential stages of an autoclave sterilization cycle are the Purge Phase, the Exposure (or Sterilization) Phase, and the Exhaust Phase. This sequence is designed to first remove insulating air, then use pressurized steam to kill all microorganisms, and finally return the chamber to a safe, ambient pressure.
The effectiveness of an autoclave does not come from heat alone, but from the use of high-pressure steam. This process systematically removes air, ensures total steam penetration to destroy even the most resilient microbes, and safely concludes the cycle.
The Core Principle: Sterilization with Pressurized Steam
Before breaking down the phases, it's critical to understand why this method is the gold standard for sterilization. The process relies on the physical properties of water under pressure.
How Pressure Creates Superheated Steam
An autoclave operates on a principle derived from the gas laws. By increasing the pressure inside a sealed chamber, it is possible to raise the boiling point of water far beyond its normal 100°C (212°F).
This superheated, high-pressure steam can rapidly penetrate materials and transfer thermal energy far more efficiently than dry air at the same temperature.
Why Moist Heat is So Effective
The true power of this method lies in the moist heat. The moisture in the steam causes the irreversible coagulation of essential proteins within microorganisms.
This process permanently denatures the structural proteins and enzymes that microbes, including highly resistant bacterial endospores, need to survive. This is why moist heat sterilization is significantly more effective and faster than dry heat sterilization.
A Phase-by-Phase Breakdown of the Cycle
Each of the three phases serves a distinct and non-negotiable purpose. Failure in any one phase results in a failed sterilization cycle.
Phase 1: The Purge Phase
This initial stage, sometimes called the conditioning phase, prepares the chamber for sterilization. Steam is injected into the chamber to displace the cooler, denser air.
The primary goal is to remove all air. Air is a poor conductor of heat and acts as an insulator. If pockets of air remain trapped in the chamber or within the load, they can prevent steam from making direct contact with all surfaces, creating cold spots where microorganisms can survive.
Phase 2: The Exposure (Sterilization) Phase
Once all the air has been purged, the chamber's exhaust valve closes. Steam continues to be admitted, causing the internal temperature and pressure to rise to the desired setpoint.
This is the actual sterilization period. The load is held at a specific temperature and pressure for a prescribed amount of time to ensure the complete destruction of all microbial life. A common standard is 121°C (250°F) for at least 15-20 minutes, though this can vary based on the load's size and density.
Phase 3: The Exhaust Phase
After the exposure time is complete, the sterilization is finished. The exhaust valve opens, releasing the steam and pressure from the chamber.
This allows the internal environment to slowly return to ambient pressure and temperature, making the sterilized contents safe to handle.
Understanding the Critical Factors for Success
Simply running a cycle is not enough. Achieving reliable sterilization requires an understanding of the variables that can lead to failure.
The Enemy of Sterilization: Trapped Air
The single most common cause of autoclave failure is inadequate air removal. If the purge phase is incomplete, trapped air prevents steam from reaching every surface. This is why proper loading of the autoclave—avoiding tightly packed or sealed items—is just as important as the cycle itself.
Time and Temperature are Inseparable
High temperature alone is insufficient. That temperature must be maintained for a specific duration to achieve a complete kill. The "dwell time" during the exposure phase ensures that the moist heat has enough time to penetrate the entire load and coagulate the proteins of any microorganisms present.
The Importance of Monitoring and Validation
You cannot assume a cycle was successful just because it ran. Verification is essential. Tools like thermocouples, which directly measure temperature, or chemical indicators like Browne's tubes, which change color after exposure to specific conditions, provide evidence that the chamber reached the required parameters for the necessary duration.
Ensuring Effective Sterilization Every Time
To move from theory to reliable practice, align your protocol with your primary objective.
- If your primary focus is routine sterilization: Concentrate on proper loading techniques to eliminate air pockets and always use the validated time and temperature settings for your specific materials.
- If your primary focus is validating a new item or process: Use biological or chemical indicators placed in the most challenging parts of the load to prove the cycle is achieving full steam penetration and killing efficacy.
- If you are troubleshooting sterilization failures: Investigate the purge phase first. Inadequate air removal is the most frequent point of failure and the first place to look for problems.
Mastering the principles behind these three phases ensures that every autoclave cycle delivers true sterility.
Summary Table:
| Stage | Key Function | Critical Goal |
|---|---|---|
| 1. Purge Phase | Removes air from the chamber | Eliminate insulating air pockets for full steam penetration |
| 2. Exposure Phase | Holds load at high temp/pressure | Destroy all microorganisms (e.g., 121°C for 15-20 mins) |
| 3. Exhaust Phase | Releases steam and pressure | Safely return chamber to ambient conditions for handling |
Ensure your lab's sterility with reliable autoclaves from KINTEK.
Mastering the three stages of autoclave sterilization is critical for effective decontamination. KINTEK specializes in high-performance lab equipment, including autoclaves designed for precise temperature control, efficient air removal, and consistent, validated results. Whether you are setting up a new lab, validating a process, or troubleshooting a failure, our expertise and products are here to support your laboratory's vital sterilization needs.
Contact KINTEK today to discuss the right autoclave solution for your specific application and ensure complete peace of mind with every cycle.
Visual Guide
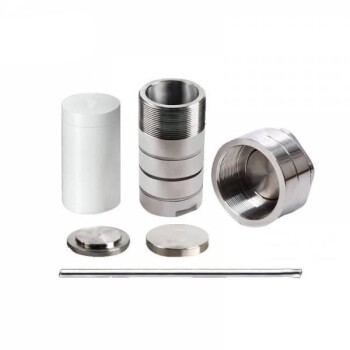
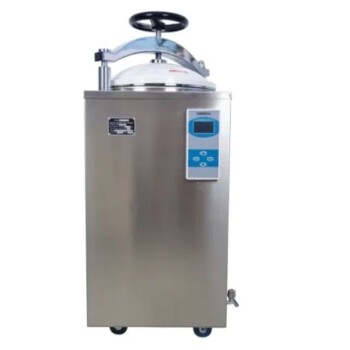
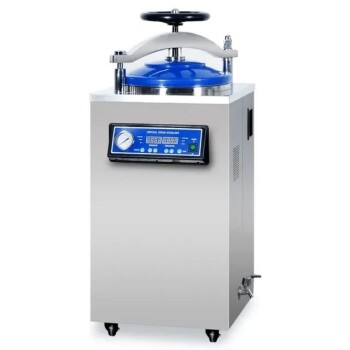
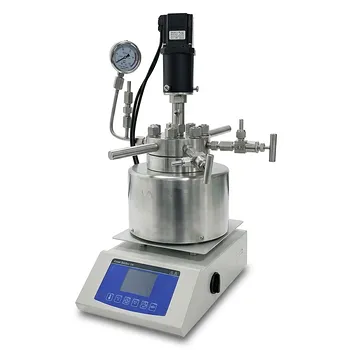
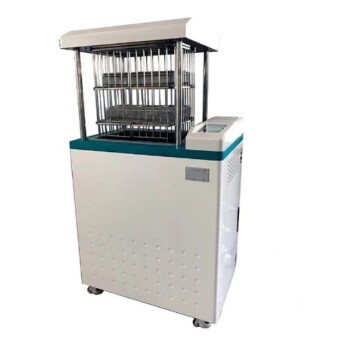
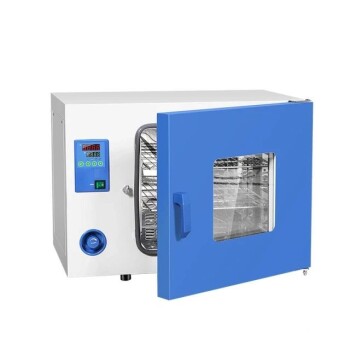
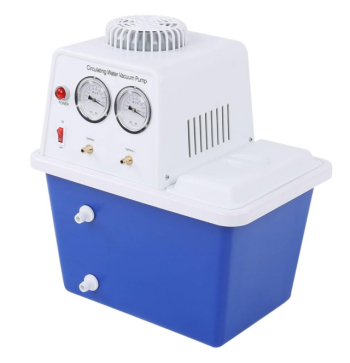
Related Products
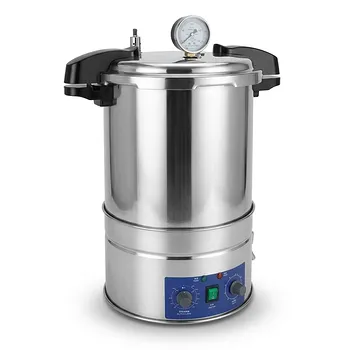
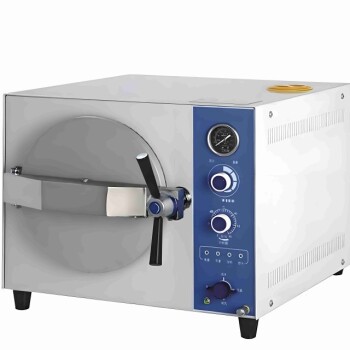
- Portable High Pressure Laboratory Autoclave Steam Sterilizer for Lab Use
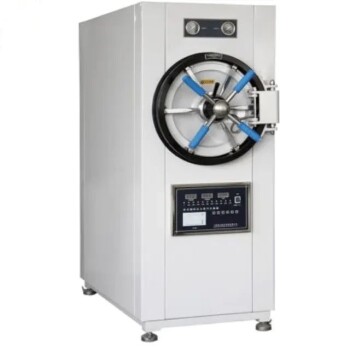
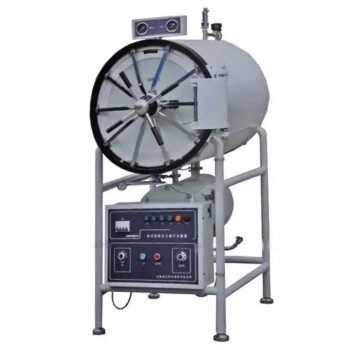
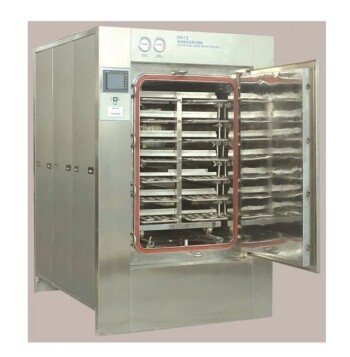
- Laboratory Horizontal Autoclave Steam Sterilizer Lab Microcomputer Sterilizer
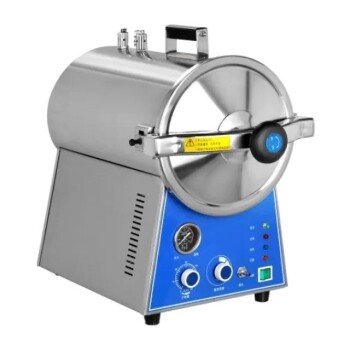
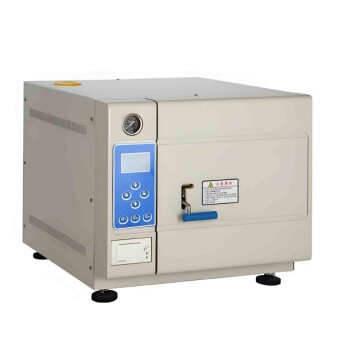
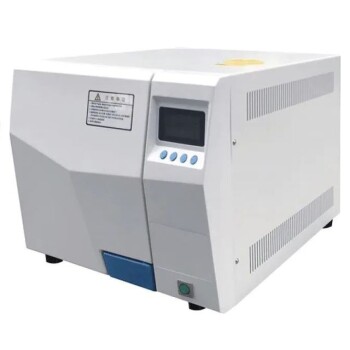
- Desktop Fast High Pressure Laboratory Autoclave Sterilizer 16L 24L for Lab Use
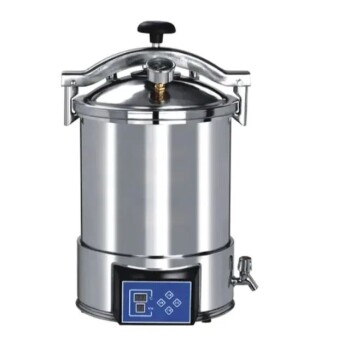
- Portable Digital Display Automatic Laboratory Sterilizer Lab Autoclave for Sterilization Pressure
- Desktop Fast Laboratory Autoclave Sterilizer 35L 50L 90L for Lab Use
People Also Ask
- Why is a laboratory high-pressure autoclave sterilizer necessary? Ensure Accuracy in Antibacterial Research
- What is the importance of using a laboratory autoclave in ZSM-5 synthesis? Achieve Perfect Zeolite Crystallization
- What precautions should be taken during autoclave in laboratory? A Complete Safety Guide to Prevent Burns and Explosions
- What is a laboratory autoclave? A Guide to Sterilization with Pressurized Steam
- What role does a laboratory autoclave play in HEA corrosion research? Key to Validating Advanced Reactor Materials