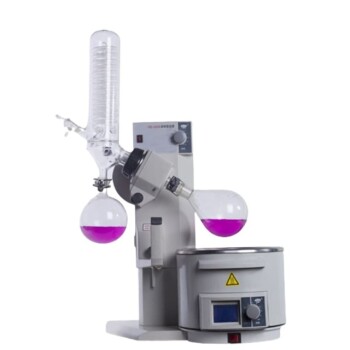
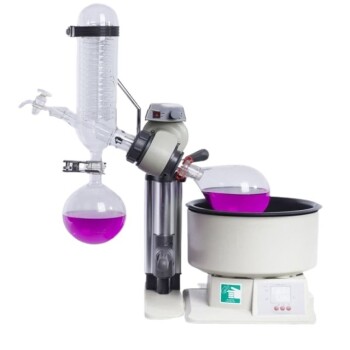
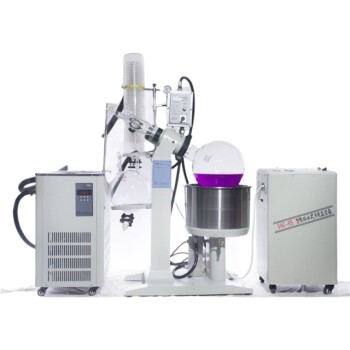
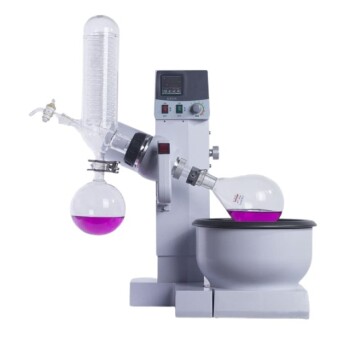
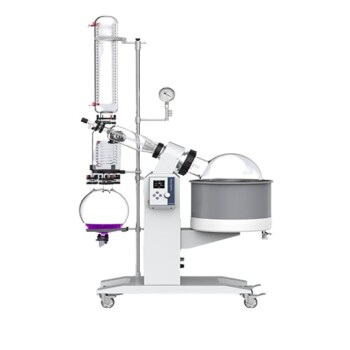
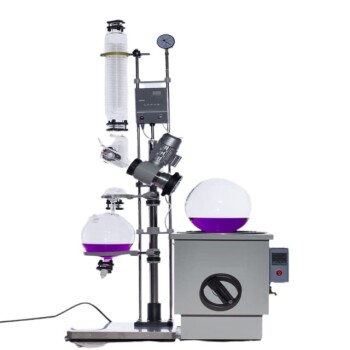
Rotary evaporators are essential tools in laboratories for solvent removal and concentration of samples. The process involves four key steps: preparation, operation, monitoring, and shutdown. Proper setup ensures efficient evaporation, while monitoring prevents issues like bumping or overheating. The shutdown phase ensures safety and preserves the integrity of the sample. Below, the four basic steps are explained in detail, along with considerations for optimal performance.
Key Points Explained:

-
Preparation and Setup
- Turn on the water bath and set the temperature: The water bath provides heat to facilitate evaporation. The temperature should typically be set between 35-45°C, depending on the solvent's boiling point.
- Ensure water flow in the condenser: The condenser cools the evaporated solvent, allowing it to condense and collect in the receiving flask. Proper water flow is critical for efficient condensation.
- Secure the round-bottom flask: Attach the flask containing the sample to the rotary evaporator using a clip or bump trap to prevent accidental detachment during rotation.
- Check the vacuum system: Ensure the vacuum pump is functional and the system is airtight to achieve the necessary reduced pressure for evaporation.
-
Operation
- Activate the vacuum pump: Gradually increase the vacuum strength to avoid sudden boiling or bumping. The pressure should be set just above the solvent's boiling point, typically around 100 mbar, and adjusted as needed.
- Start the rotation: Set the rotation speed appropriate for the sample volume. A moderate speed (50-160 rpm) ensures an even coating of the flask's surface, maximizing the evaporation area.
- Lower the flask into the water bath: Once the system is under reduced pressure and rotation has begun, lower the flask into the heated water bath to initiate evaporation.
-
Monitoring
- Observe the evaporation process: Watch for signs of bumping (sudden boiling) or excessive bubbling. If bubbles reach the neck of the flask, re-pressurize the system slightly to stabilize the process.
- Adjust vacuum and heat: Fine-tune the vacuum strength and water bath temperature to maintain a steady evaporation rate without overheating or bumping.
- Monitor solvent recovery: Ensure the condensed solvent is collected efficiently in the receiving flask.
-
Shutdown
- Turn off the vacuum pump: Once all the solvent has evaporated, stop the vacuum pump to release the system from reduced pressure.
- Stop the rotation: Halt the rotation of the flask to prevent spills or accidents.
- Remove the flask: Carefully detach the flask from the rotary evaporator, ensuring no residual pressure remains in the system.
- Clean and reset the equipment: Properly clean the flask, condenser, and other components to prepare the rotary evaporator for future use.
By following these steps, users can ensure safe and efficient operation of a rotary evaporator, minimizing risks and maximizing the quality of the final product.
Summary Table:
| Step | Key Actions |
|---|---|
| Preparation | - Turn on water bath (35-45°C) |
- Ensure condenser water flow
- Secure flask
- Check vacuum system | | Operation | - Activate vacuum pump
- Start rotation (50-160 rpm)
- Lower flask into water bath | | Monitoring | - Observe evaporation
- Adjust vacuum and heat
- Monitor solvent recovery | | Shutdown | - Turn off vacuum pump
- Stop rotation
- Remove flask
- Clean equipment |
Need help optimizing your rotary evaporator process? Contact our experts today for personalized advice!
