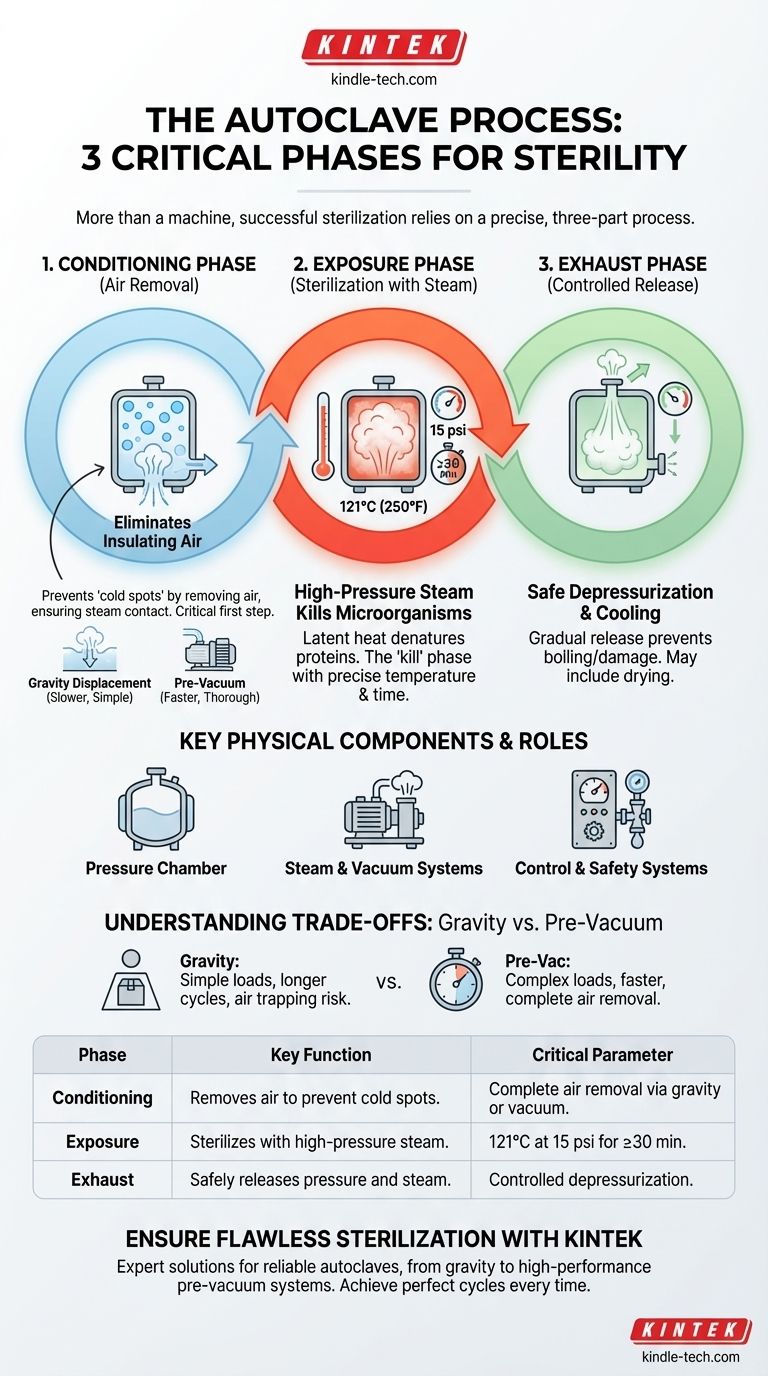
At its core, autoclaving is a process, not just a machine. While an autoclave has many physical parts, the "three components" of a successful sterilization cycle are the three distinct phases that achieve sterility: the Conditioning Phase (removing air), the Exposure Phase (sterilizing with steam), and the Exhaust Phase (releasing pressure). Understanding these stages is the key to ensuring your materials are properly sterilized every time.
The most critical insight is to shift focus from the autoclave's physical hardware to the three-phase process it executes. Effective sterilization depends entirely on the success of each sequential phase: removing insulating air, achieving lethal temperature with pressurized steam, and safely returning the load to ambient conditions.
Deconstructing the Autoclave Cycle
The entire purpose of an autoclave is to use high-pressure steam to kill microorganisms. This is only possible if the process unfolds in a precise, three-part sequence.
Phase 1: The Conditioning (or Purge) Phase
The first and most critical step is the removal of ambient air from the pressure chamber. Air is a poor conductor of heat and acts as an insulator, preventing steam from making direct contact with the items to be sterilized.
If air is not completely removed, it creates "cold spots" where microorganisms can survive, rendering the entire cycle useless. This is why the Conditioning Phase is non-negotiable for true sterilization.
This air removal is typically achieved in one of two ways: by gravity displacement (where incoming steam pushes the heavier, cooler air down and out) or by a vacuum system (which actively pumps the air out before steam is introduced).
Phase 2: The Exposure (or Sterilization) Phase
Once the air is removed, the autoclave's control system introduces pure steam into the chamber. This raises the internal temperature and pressure to the desired setpoint for a specified duration.
This is the "kill" phase. A typical setting for sterilization is 121°C (250°F) at 15 psi for at least 30 minutes, though time can vary based on the load's size and density. During this phase, the latent heat from the pressurized steam efficiently denatures the proteins and enzymes essential for microbial life.
Phase 3: The Exhaust (or Vent) Phase
After the exposure time is complete, the steam must be safely removed from the chamber. The exhaust valve is opened in a controlled manner, slowly releasing the pressure and steam from the vessel.
This depressurization must be gradual to prevent boiling over of liquids or damage to delicate items. Many modern autoclaves also include a post-cycle vacuum or heating phase to help dry the load before the door is opened.
Key Physical Components and Their Roles
While the three phases define the process, several key physical components work together to execute that process. Understanding their roles helps clarify how each phase is achieved.
The Pressure Chamber
This is the central vessel, typically made of stainless steel, that holds the items to be sterilized. It includes an outer jacket that is often filled with steam to preheat the inner chamber walls, reducing condensation and improving temperature uniformity.
The Steam and Vacuum Systems
These are the engines of the autoclave. A steam generator (or a connection to a central steam source) produces the steam required for the Exposure Phase. A vacuum system, present in pre-vacuum autoclaves, is what actively removes air during the crucial Conditioning Phase.
The Control and Safety Systems
These are the brains and guardians of the operation. The control panel allows the user to select a cycle, while sensors monitor temperature and pressure. Safety valves are critical non-electrical components that automatically vent pressure if it exceeds a safe threshold, preventing catastrophic failure.
Understanding the Trade-offs: Gravity vs. Pre-Vacuum
Not all autoclaves perform the critical Conditioning Phase in the same way. The method used defines the machine's capabilities and limitations.
Gravity Displacement: Simple but Limited
In a gravity displacement autoclave, steam is piped into the chamber and, being lighter than air, fills the upper areas first. It slowly displaces the cooler, denser air, which is forced out through a drain at the bottom.
This method is simple and cost-effective but is less efficient at removing air from complex, porous, or wrapped items. It requires longer cycle times and careful loading to avoid trapping air pockets.
Pre-Vacuum Systems: Fast and Thorough
A pre-vacuum (or "pre-vac") autoclave uses a vacuum pump to actively remove air from the chamber before introducing steam. This creates a near-perfect vacuum, allowing for almost instantaneous and complete steam penetration, even into dense or complex loads.
While more expensive, pre-vacuum cycles are significantly faster and more reliable, making them the standard for medical and high-throughput laboratory applications.
Making the Right Choice for Your Goal
The effectiveness of sterilization is not guaranteed simply by owning an autoclave; it is achieved by understanding and validating the three-phase process.
- If your primary focus is sterilizing simple, non-porous items (like media or solid metal instruments): A gravity displacement cycle may be sufficient, but you must ensure loads are not densely packed to allow air to escape.
- If your primary focus is sterilizing complex or porous loads (like wrapped surgical kits, textiles, or animal bedding): A pre-vacuum autoclave is essential to guarantee complete air removal and effective steam penetration.
- If your primary focus is safety and validation: Always use chemical and biological indicators within your loads to confirm that sterilization conditions were met throughout the entire chamber, not just where the sensor is located.
By understanding the "why" behind each of the three phases, you can ensure the integrity of every sterilization cycle.
Summary Table:
| Phase | Key Function | Critical Parameter |
|---|---|---|
| Conditioning | Removes air from the chamber to prevent cold spots. | Complete air removal via gravity or vacuum. |
| Exposure | Sterilizes items with high-pressure steam. | 121°C at 15 psi for a set time (e.g., 30 min). |
| Exhaust | Safely releases pressure and steam after sterilization. | Controlled depressurization to prevent damage. |
Ensure Flawless Sterilization in Your Lab
Understanding the autoclave process is the first step. Implementing it with the right equipment is what guarantees success. KINTEK specializes in providing reliable autoclaves and lab equipment tailored to your specific sterilization needs—whether you require a simple gravity displacement model for basic media or a high-performance pre-vacuum system for complex loads.
Let us help you achieve perfect sterilization cycles, every time. Contact our experts today to discuss your application and find the ideal autoclave solution for your laboratory.
Visual Guide
Related Products
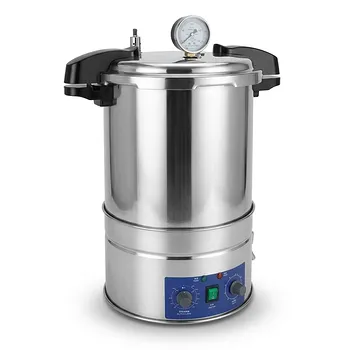
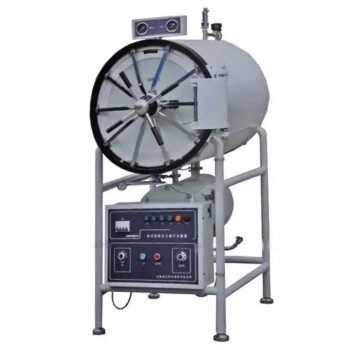
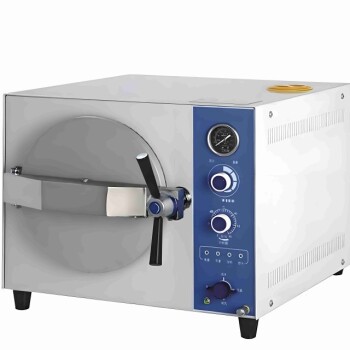
- Portable High Pressure Laboratory Autoclave Steam Sterilizer for Lab Use
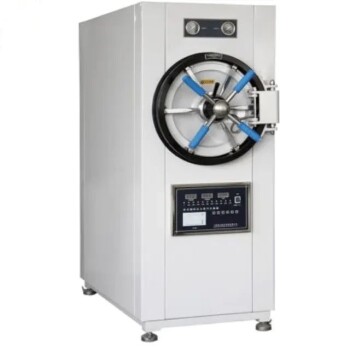
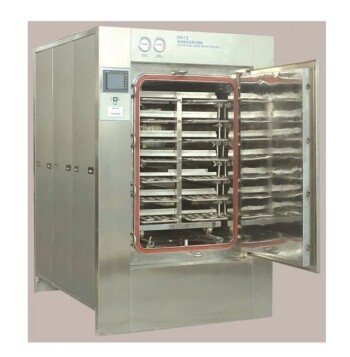
- Laboratory Horizontal Autoclave Steam Sterilizer Lab Microcomputer Sterilizer
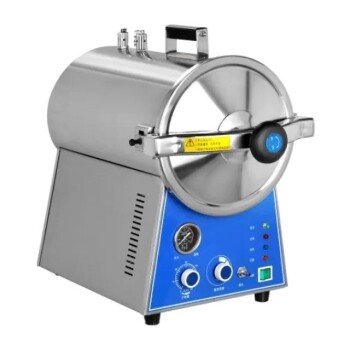
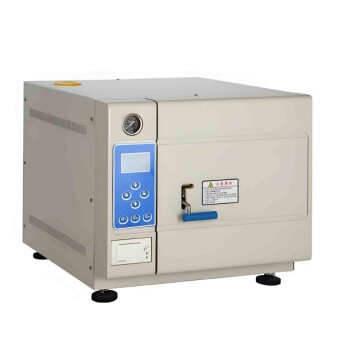
- Desktop Fast High Pressure Laboratory Autoclave Sterilizer 16L 24L for Lab Use
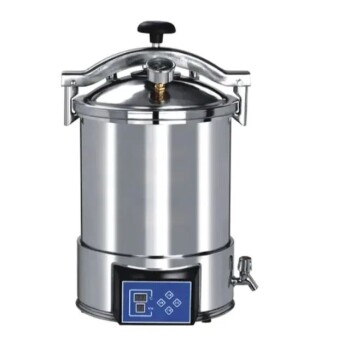
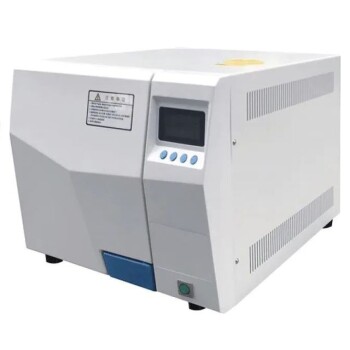
- Portable Digital Display Automatic Laboratory Sterilizer Lab Autoclave for Sterilization Pressure
- Desktop Fast Laboratory Autoclave Sterilizer 35L 50L 90L for Lab Use
People Also Ask
- What is a laboratory autoclave? A Guide to Sterilization with Pressurized Steam
- What are the two types of autoclave used in the laboratory? Gravity vs. Pre-Vacuum Explained
- What precautions should be taken during autoclave in laboratory? A Complete Safety Guide to Prevent Burns and Explosions
- What role does a laboratory autoclave play in HEA corrosion research? Key to Validating Advanced Reactor Materials
- Why is a laboratory high-pressure autoclave sterilizer necessary? Ensure Accuracy in Antibacterial Research