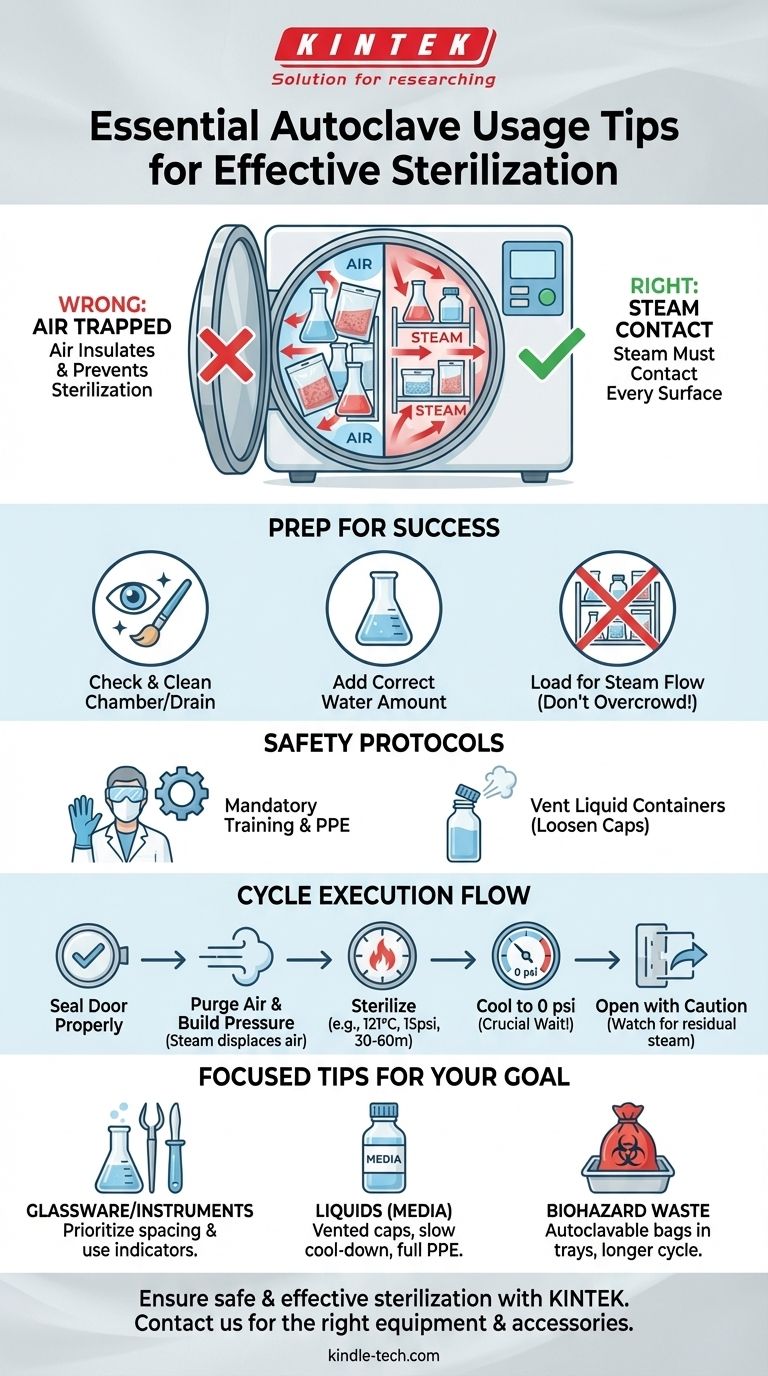
The most crucial tip for using an autoclave is to ensure that pressurized steam, not just hot air, makes direct contact with every surface of the items being sterilized. This is achieved through proper loading to avoid overcrowding, adding the correct amount of water, and running a complete cycle that purges all air from the chamber before reaching the required temperature and pressure—typically 121°C (250°F) at 15 psi for 30-60 minutes.
The effectiveness of an autoclave hinges on a simple principle: air is the enemy of sterilization. Your primary goal is to remove all air from the chamber so that superheated steam can penetrate and sterilize your materials. Failure to do this is the most common reason for a failed cycle.
The Core Principle: It's All About Steam
Steam is the Sterilizing Agent
An autoclave does not sterilize with dry heat. It uses saturated steam under high pressure.
This pressurized steam can reach high temperatures and, more importantly, can efficiently transfer its thermal energy to the items inside, denaturing proteins and killing microorganisms.
Why Air Must Be Removed
Air trapped within the chamber or inside a container acts as an insulator, preventing steam from reaching the surfaces.
A pocket of 121°C air is far less effective at sterilizing than 121°C steam. The cycle must include a stage where air is actively purged and replaced by steam.
Preparing for a Successful Cycle
Check and Clean the Chamber
Before starting, always perform a quick visual check to ensure no items were left behind from a previous run.
Ensure the interior chamber and especially the drain strainer are clean and free of debris that could clog the system.
Add the Correct Amount of Water
The autoclave generates steam by boiling water, typically deionized or distilled.
Consult the user manual for your specific model to confirm the correct volume. Insufficient water can abort the cycle or damage the heating elements.
Load Items for Maximum Steam Penetration
This is the most critical step controlled by the operator. Never overcrowd the chamber.
Leave ample space between all items—top, bottom, and sides—to create a clear path for steam to circulate.
Place items in a way that facilitates air removal and steam contact. For example, place bags on their side and bottles or beakers with a small amount of water inside.
Understanding the Trade-offs and Safety Protocols
The Danger of Sealed Containers
Never autoclave liquids in a tightly sealed container. As the liquid heats up, it will expand and boil, creating immense pressure that can cause the container to explode.
Always use vented caps or ensure standard screw caps are loosened by at least one full turn.
Incompatible Materials
Certain materials should never be placed in an autoclave as they can melt or release hazardous fumes.
Avoid waterproof materials like oil and grease, as steam cannot penetrate them. Do not use polyethylene (PE) trays, as they are likely to melt and damage the autoclave.
The Critical Role of Training
No one should operate an autoclave without receiving formal training on the specific model in use.
This training must cover proper loading, cycle selection, emergency procedures, and the use of required Personal Protective Equipment (PPE).
Required Personal Protective Equipment (PPE)
Always wear heat-resistant gloves, a lab coat, eye protection, and closed-toe shoes when loading and, especially, unloading the autoclave.
Remember that items will remain dangerously hot long after the cycle is complete. Be mindful of residual steam when opening the door.
Executing a Safe and Effective Cycle
Seal the Door Correctly
Ensure the autoclave door is properly closed and the safety clamps or locking mechanism is fully engaged. A poor seal will prevent the chamber from reaching the required pressure.
Purge the Air and Build Pressure
The cycle will begin by boiling the water to create steam. This steam will displace the cooler, denser air, which is typically purged through a discharge valve.
Once the air is removed, the valve will close, allowing steam pressure and temperature to rise to the sterilization set point (e.g., 121°C and 15 psi).
Monitor the Cycle
The sterilization timer only begins once the chamber has reached the target temperature and pressure. A typical cycle time is 30 to 60 minutes.
Allow for a Proper Cool-Down
After the sterilization phase, the heater will turn off. You must allow the autoclave to cool down until the pressure gauge reads zero.
Never attempt to open the door while the chamber is still pressurized. This is extremely dangerous and can cause a steam explosion.
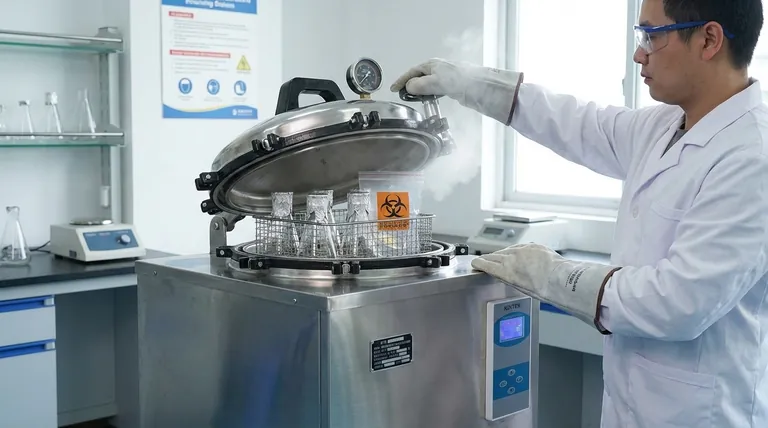
Release Pressure and Open with Caution
Once the pressure is at zero, you can slowly open the door. Stand to the side, not directly in front of it, to avoid any remaining steam that will rush out.
Making the Right Choice for Your Goal
- If your primary focus is sterilizing glassware or instruments: Prioritize proper spacing between items and use sterilization indicators to confirm the cycle was effective.
- If your primary focus is sterilizing liquids (media): Use vented caps, allow for a much slower and more careful depressurization cycle to prevent boil-over, and wear full PPE.
- If your primary focus is decontaminating biohazardous waste: Ensure you use appropriately marked, autoclavable bags placed within a secondary plastic tray, and run the cycle for a validated time (often 60 minutes or more).
Mastering these procedures transforms the autoclave from a simple machine into a reliable tool for ensuring safety and scientific integrity.
Summary Table:
| Key Tip | Purpose | Example |
|---|---|---|
| Avoid Overcrowding | Ensure steam contacts all surfaces | Leave space between items in the chamber |
| Purge Air Completely | Prevent insulation by air pockets | Run a cycle that actively removes air |
| Use Correct PPE | Protect against burns and steam | Wear heat-resistant gloves and lab coat |
| Loosen Container Lids | Prevent explosions from pressure buildup | Loosen screw caps by one full turn |
| Allow Proper Cool-Down | Avoid steam explosions | Wait until pressure gauge reads zero before opening |
Ensure your lab's sterilization is safe and effective with equipment from KINTEK.
Whether you are sterilizing glassware, liquids, or biohazardous waste, proper autoclave use is critical for safety and scientific integrity. KINTEK specializes in providing reliable lab equipment and consumables tailored to your laboratory's needs.
Contact us today to find the right autoclave and accessories for your specific applications, and let our experts help you maintain peak performance and compliance in your lab.
Visual Guide
Related Products
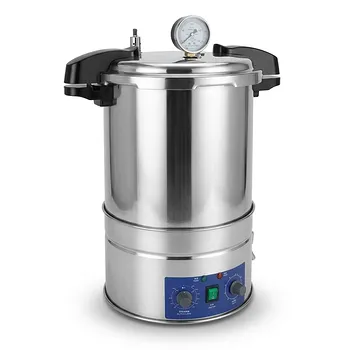
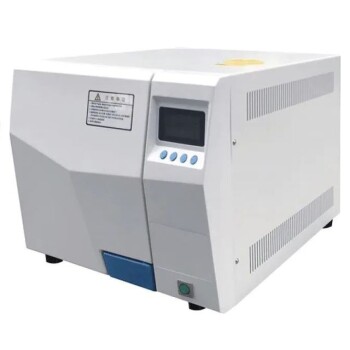
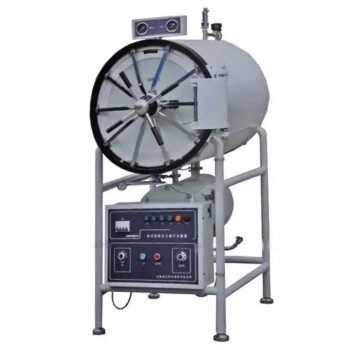
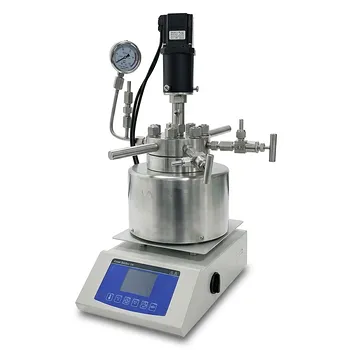
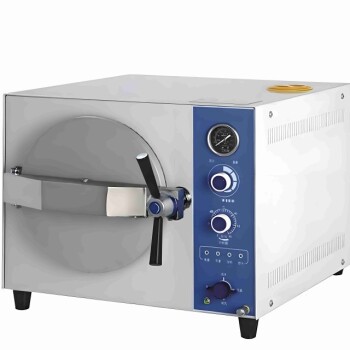
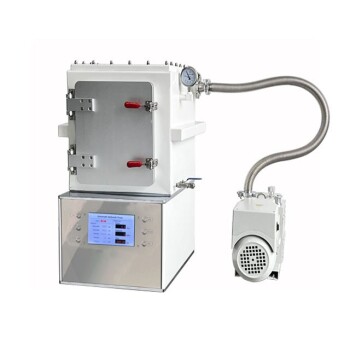
- Portable High Pressure Laboratory Autoclave Steam Sterilizer for Lab Use
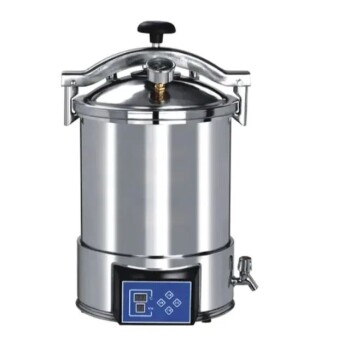
- Portable Digital Display Automatic Laboratory Sterilizer Lab Autoclave for Sterilization Pressure
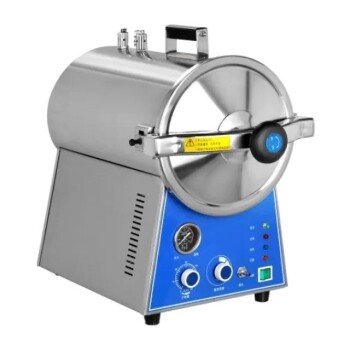
- Desktop Fast High Pressure Laboratory Autoclave Sterilizer 16L 24L for Lab Use
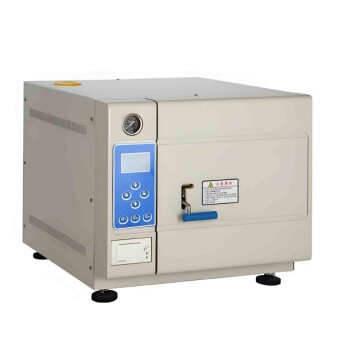
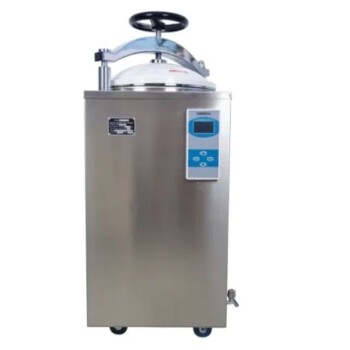
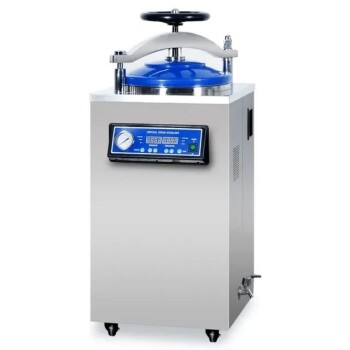
- Desktop Fast Laboratory Autoclave Sterilizer 35L 50L 90L for Lab Use
- Desktop Fast Laboratory Autoclave Sterilizer 20L 24L for Lab Use
People Also Ask
- What is the importance of using a laboratory autoclave in ZSM-5 synthesis? Achieve Perfect Zeolite Crystallization
- What is an autoclave laboratory equipment? The Ultimate Guide to Steam Sterilization
- What are the two types of autoclave used in the laboratory? Gravity vs. Pre-Vacuum Explained
- What precautions should be taken during autoclave in laboratory? A Complete Safety Guide to Prevent Burns and Explosions
- What extreme conditions does a laboratory autoclave simulate? Testing Wear Resistance of Nuclear Fuel Cladding