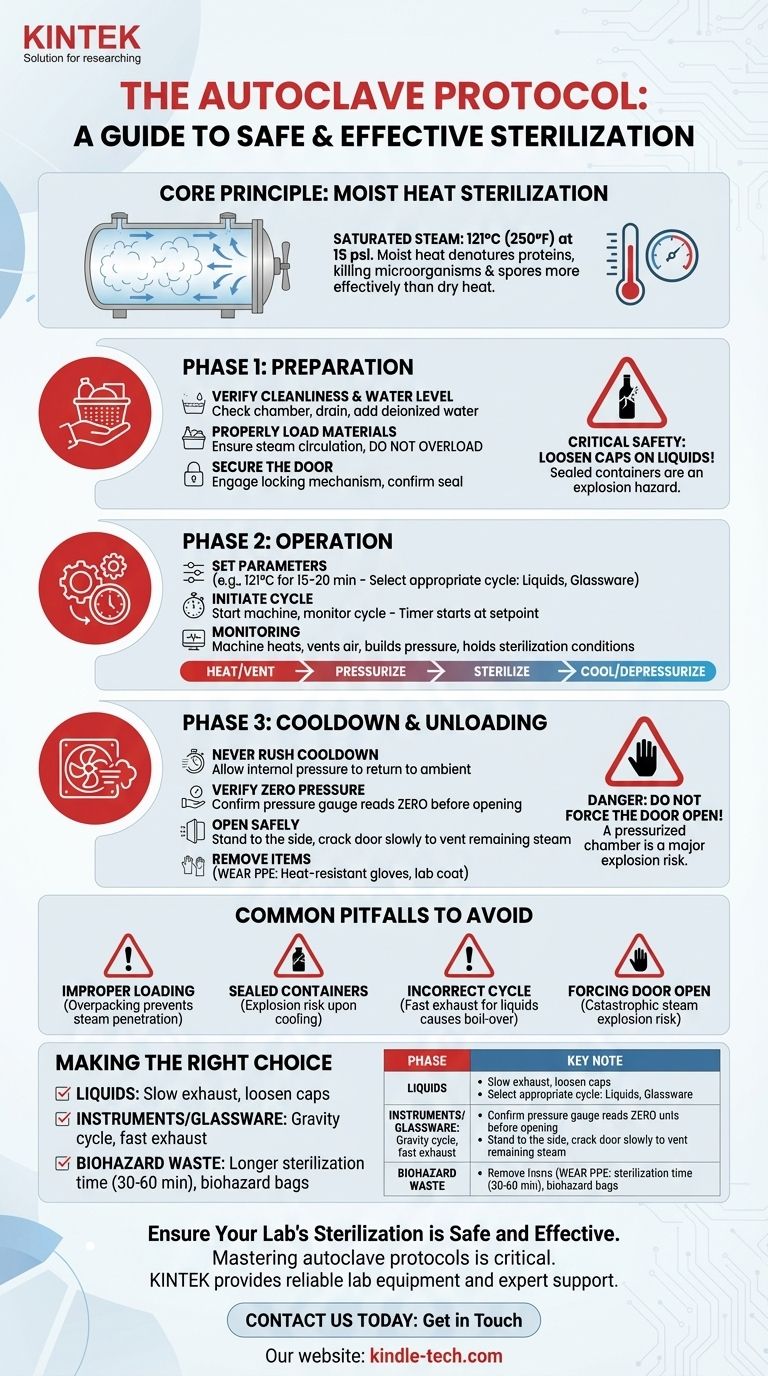
The standard protocol for an autoclave machine involves three distinct phases: preparation, operation, and post-cycle cooldown. This process uses high-pressure saturated steam to sterilize materials by ensuring all surfaces are clean, properly loaded with sufficient water, and securely sealed before initiating a timed cycle at a specific temperature and pressure. The final, most critical phase involves allowing the machine to cool and depressurize completely before safely opening the door.
At its core, a successful autoclave protocol is as much about operator safety as it is about achieving sterilization. Understanding that you are managing a high-pressure vessel is the key to preventing accidents and ensuring that your materials are genuinely sterile, not just heated.
The Core Principle: Sterilization with Pressurized Steam
An autoclave is not simply an oven. It operates on the principle of moist heat sterilization, which is far more effective at killing resilient microorganisms and spores than dry heat alone.
Why Pressure is Essential
The key to an autoclave's effectiveness is pressure. By increasing the pressure inside the chamber, the boiling point of water is raised well above 100°C (212°F). The standard sterilization temperature is 121°C (250°F), which can only be achieved with steam under pressure.
The Role of Saturated Steam
This high-temperature steam carries a tremendous amount of energy. When it contacts cooler items in the chamber, it condenses back into water, rapidly transferring heat and moisture. This process, known as saturated steam sterilization, effectively denatures the essential proteins of microorganisms, ensuring they are killed.
Phase 1: Preparation for a Safe and Effective Cycle
Rushing the preparation phase is the most common cause of a failed sterilization cycle. Every step is critical for ensuring complete steam penetration.
Verify Chamber Cleanliness and Water Level
Before starting, always check the autoclave chamber for any leftover materials from a previous run. Ensure the drain strainer is clear.
Crucially, add the correct amount of deionized or distilled water. Insufficient water can abort the cycle or damage the heating elements.
Properly Load Your Materials
Arrange items to allow for free circulation of steam. Use an autoclave-safe basket or tray and avoid overloading the chamber.
For bottles or containers with liquids, caps must be loosened. A sealed container can build up immense internal pressure, creating an explosion hazard.
Secure the Door
Close the autoclave door and engage the locking mechanism until it is fully sealed. Modern autoclaves have safety interlocks that prevent a cycle from starting if the door is not secured correctly.
Phase 2: Executing the Sterilization Cycle
Once the machine is loaded and sealed, you can begin the active sterilization process. The specific controls will vary between automatic and manual models.
Setting Parameters (Time and Temperature)
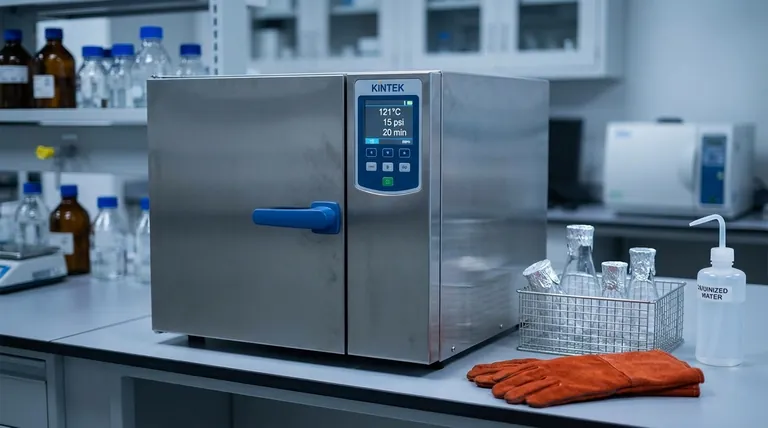
For most general laboratory applications, the standard cycle is 121°C at 15 psi for at least 15-20 minutes. However, the total time will depend on the size and density of the load.
On an automatic autoclave, you will select a pre-programmed cycle (e.g., "Liquids" or "Glassware").
Initiating the Cycle
Turn on the main power and press the start button. The autoclave will begin to heat the water, vent the air from the chamber, and build pressure until it reaches the setpoint.
Monitoring the Cycle
The sterilization timer does not begin until the chamber has reached the target temperature and pressure. The machine will hold these conditions for the duration of the cycle you selected.
Phase 3: The Critical Cooldown and Unloading Process
The most significant safety risks occur after the heating portion of the cycle is complete. The chamber remains a high-pressure, high-temperature environment.
Never Rush the Cooldown
After the alarm sounds, the cycle is not truly over. The machine must cool down until the internal pressure returns to a safe, ambient level. This can take a significant amount of time, especially with liquid loads.
Verify Zero Pressure
Before attempting to open the door, confirm that the pressure gauge reads zero. Even a small amount of residual pressure can cause a violent release of steam and boiling water when opened.
Opening the Door Safely
Once the pressure is at zero, you can unlatch the door. Stand to the side, away from the door opening, and crack it open slowly. This allows any remaining steam to vent away from you.
Removing the Items
Wear heat-resistant gloves and a lab coat to protect yourself. The items inside will still be extremely hot. Place them on a heat-proof surface to cool to room temperature.
Common Pitfalls to Avoid
Mistakes with an autoclave can lead to failed sterilization or, worse, serious injury. Be aware of these common errors.
Improper Loading
Overpacking the chamber or placing items in solid, deep bins prevents steam from reaching all surfaces, leaving parts of your load unsterilized.
Sealed Containers
This is the single most dangerous mistake. Never autoclave a container with a tightly sealed lid. The pressure differential can cause the container to shatter or explode violently upon cooling or opening.
Incorrect Cycle Selection
Using a "fast exhaust" cycle for liquids will cause them to boil over aggressively inside the chamber. Always use a "slow exhaust" or dedicated liquid cycle for any liquid loads.
Forcing the Door Open
Never, under any circumstances, use force to open an autoclave door that will not unlatch. It means the chamber is still pressurized, and forcing it is a recipe for a catastrophic steam explosion.
Making the Right Choice for Your Goal
Select your cycle and preparation method based on what you are sterilizing to ensure safety and effectiveness.
- If your primary focus is sterilizing liquids (e.g., media, buffers): Use a dedicated liquid cycle with slow exhaust, and ensure all bottle caps are significantly loosened to prevent boil-over.
- If your primary focus is sterilizing solid instruments or glassware: A standard gravity cycle with a fast exhaust is appropriate, provided the items are arranged to allow complete steam penetration.
- If your primary focus is decontaminating biohazardous waste: Use a cycle with a longer sterilization time (30-60 minutes) to ensure heat penetrates the entire load, and always use designated autoclave-safe biohazard bags.
By treating the autoclave protocol with methodical care, you ensure it is a reliable tool for guaranteed sterilization and laboratory safety.
Summary Table:
| Phase | Key Steps | Critical Safety Notes |
|---|---|---|
| 1. Preparation | Clean chamber, check water level, load items for steam penetration. | Never autoclave sealed containers. Loosen all caps on liquids. |
| 2. Operation | Set parameters (e.g., 121°C for 15-20 min), initiate cycle, monitor until completion. | Sterilization timer starts only after target temperature/pressure is reached. |
| 3. Cooldown | Allow machine to cool completely, verify pressure is zero, open door slowly. | Never force the door open. Stand to the side when opening to avoid steam. |
Ensure Your Lab's Sterilization is Safe and Effective
Mastering autoclave protocols is critical for laboratory safety and achieving true sterility. KINTEK specializes in providing reliable lab equipment and consumables, including autoclaves designed for precise performance and user safety. Our experts can help you select the right equipment and establish best practices for your specific needs.
Contact us today to discuss how we can support your laboratory's sterilization and safety goals.
Visual Guide
Related Products
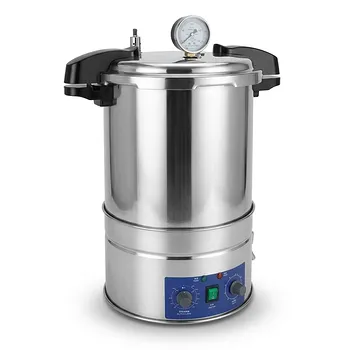
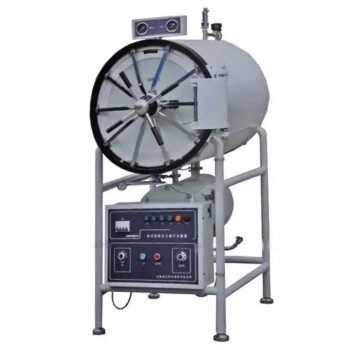
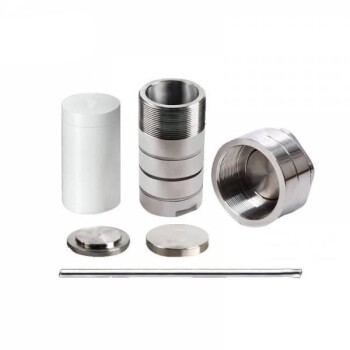
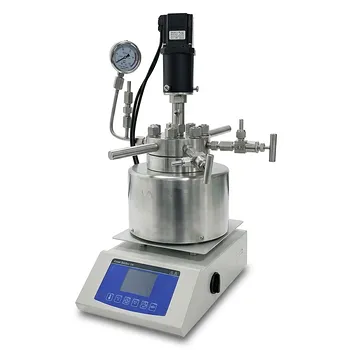
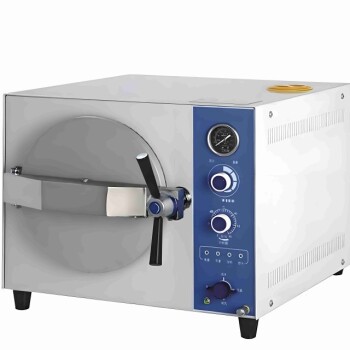
- Portable High Pressure Laboratory Autoclave Steam Sterilizer for Lab Use
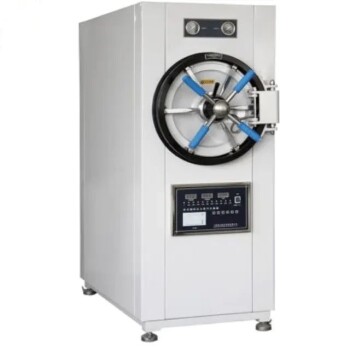
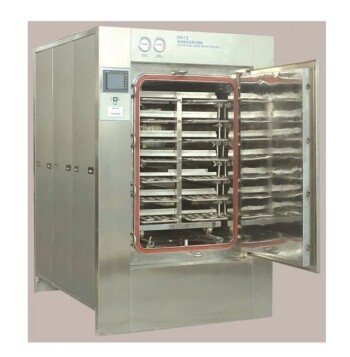
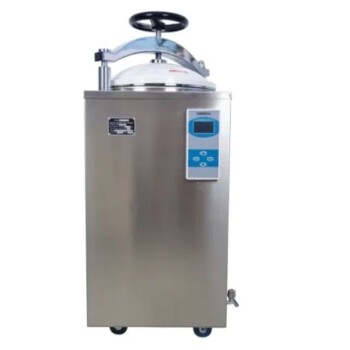
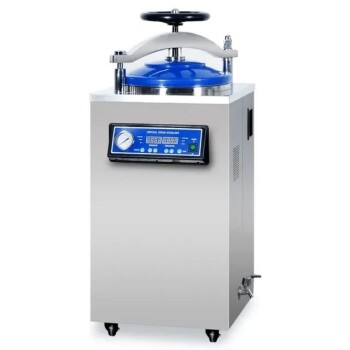
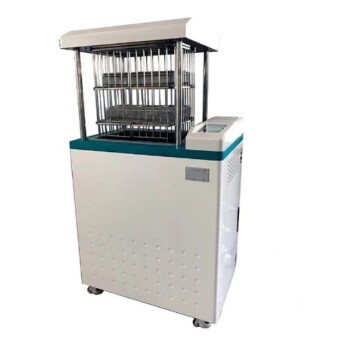
- Laboratory Horizontal Autoclave Steam Sterilizer Lab Microcomputer Sterilizer
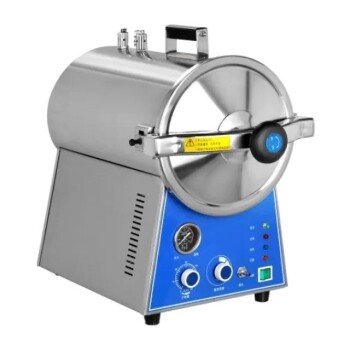
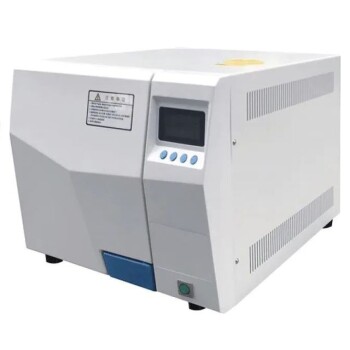
- Desktop Fast High Pressure Laboratory Autoclave Sterilizer 16L 24L for Lab Use
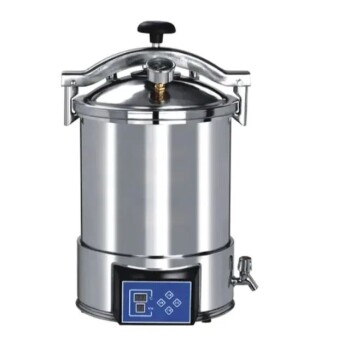
- Portable Digital Display Automatic Laboratory Sterilizer Lab Autoclave for Sterilization Pressure
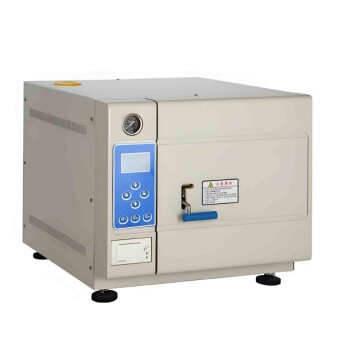
- Desktop Fast Laboratory Autoclave Sterilizer 35L 50L 90L for Lab Use
People Also Ask
- What extreme conditions does a laboratory autoclave simulate? Testing Wear Resistance of Nuclear Fuel Cladding
- What are the two types of autoclave used in the laboratory? Gravity vs. Pre-Vacuum Explained
- What precautions should be taken during autoclave in laboratory? A Complete Safety Guide to Prevent Burns and Explosions
- What is an autoclave laboratory equipment? The Ultimate Guide to Steam Sterilization
- Why is a laboratory high-pressure autoclave sterilizer necessary? Ensure Accuracy in Antibacterial Research