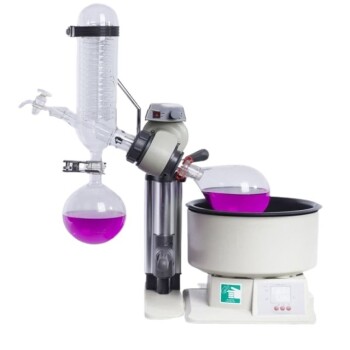
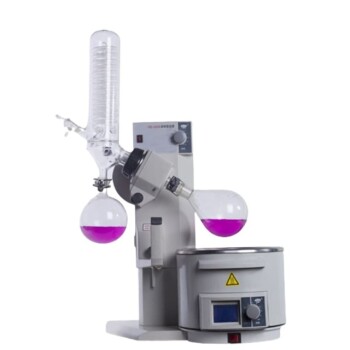
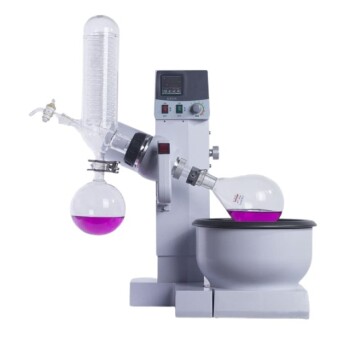
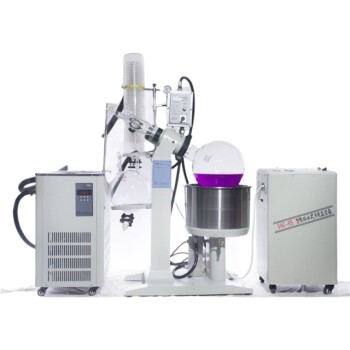
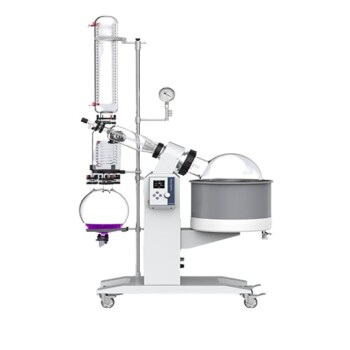
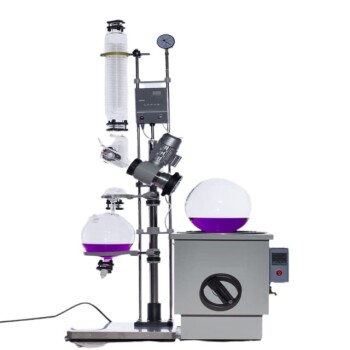
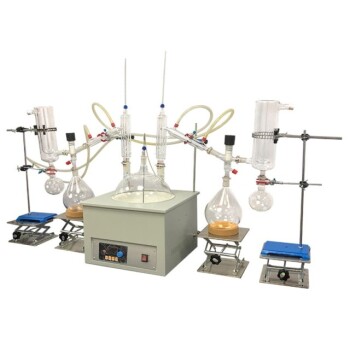
Setting up a rotary evaporator involves a series of detailed steps to ensure proper assembly, functionality, and safety. The process includes assembling the rotary joint, condenser, and evaporating flask, connecting the vacuum and cooling systems, and adjusting the rotation speed and water bath temperature. Proper setup ensures efficient solvent removal and prevents issues like liquid projection or boiling. Below is a comprehensive guide to setting up a rotary evaporator, broken down into key steps and explanations.
Key Points Explained:

-
Assembly of Rotary Joint and Driving Unit:
- Fix the rotating joint ring to the glass rotary joint.
- Slide the rotary joint ring into the driving unit until it clicks securely.
- Attach the main and semi-vacuum seals to the rotary joint to ensure a tight seal.
- Secure the rotary joint ring to the driving unit to prevent any movement during operation.
-
Condenser and Trap Manifold Setup:
- Attach the condenser support to the driving unit.
- Connect the glass trap manifold to the driving unit, ensuring it is properly aligned.
- Attach the condenser column to the trap manifold, ensuring all connections are secure.
- Use the condenser clamp to fix the condenser to the supporting rod for stability.
-
Evaporating Flask and Feed Tube Installation:
- Fix the spherical flask to the trap manifold, ensuring it is securely attached.
- Attach the evaporating flask to the rotary joint, ensuring it is properly sealed.
- Fit the capillary feed tube into the system to allow for controlled addition of the sample.
-
Cooling and Vacuum System Connections:
- Attach the water cooling nozzles to the condenser for efficient cooling.
- Connect the vacuum nozzle to the condenser and ensure it is securely attached to the vacuum pump.
- Place the water bath under the evaporating flask and fill it with water, preferably pure or pre-treated tap water.
-
Adjusting Host Angle and Height:
- Loosen the main unit and column to adjust the host angle between 0 and 45 degrees.
- Press down the pressure bar at the bottom of the heating tank and adjust the radian left and right to set the proper height for the evaporating flask.
-
Power and Rotation Speed Setup:
- Turn the speed control knob to the minimum before starting.
- Press the power switch to turn on the indicator light and slowly rotate the knob to the desired speed.
- Use medium or low speeds for large evaporating flasks and lower speeds for high-viscosity solutions.
-
Vacuum and Cooling System Activation:
- Turn on the vacuum system and ensure it reaches the desired vacuum degree before releasing your hand.
- Open the coolant water intakes and ensure water flows gently through the condenser.
- Partially immerse the evaporating flask in the water bath to begin the evaporation process.
-
Final Checks and Operation:
- Verify that all glassware is clean and dry before use.
- Add the sample to the round-bottomed flask, ensuring it is not more than half full.
- Secure all glassware with plastic Keck clips or ring caps to prevent leaks.
- Lower the flask into the water bath, ensuring the water covers the liquid level.
- Monitor the evaporation process, adjusting the rotation speed and vacuum as needed to prevent vigorous boiling.
-
Shutdown and Sample Collection:
- After evaporation, raise the evaporating flask out of the water bath.
- Open the stopcock to release the vacuum and remove the evaporating flask to collect the residue.
- Switch off the vacuum source, condenser, and water bath to complete the process.
By following these steps, you can ensure a safe and efficient setup of your rotary evaporator, leading to successful solvent removal and sample concentration.
Summary Table:
| Step | Key Actions |
|---|---|
| 1. Rotary Joint Assembly | Fix and secure the rotary joint ring, attach vacuum seals, and prevent movement. |
| 2. Condenser Setup | Attach condenser support, trap manifold, and column; secure with clamps. |
| 3. Evaporating Flask Setup | Secure spherical flask, attach evaporating flask, and fit capillary feed tube. |
| 4. Cooling & Vacuum Setup | Connect cooling nozzles, vacuum pump, and fill the water bath. |
| 5. Adjust Host Angle & Height | Adjust host angle (0-45°) and set evaporating flask height. |
| 6. Power & Rotation Setup | Start at minimum speed, adjust for flask size and solution viscosity. |
| 7. Activate Vacuum & Cooling | Turn on vacuum, ensure coolant flow, and immerse flask partially in water bath. |
| 8. Final Checks & Operation | Verify clean glassware, secure connections, and monitor evaporation. |
| 9. Shutdown & Sample Collection | Release vacuum, collect residue, and turn off systems. |
Need help setting up your rotary evaporator? Contact our experts today for personalized guidance!
