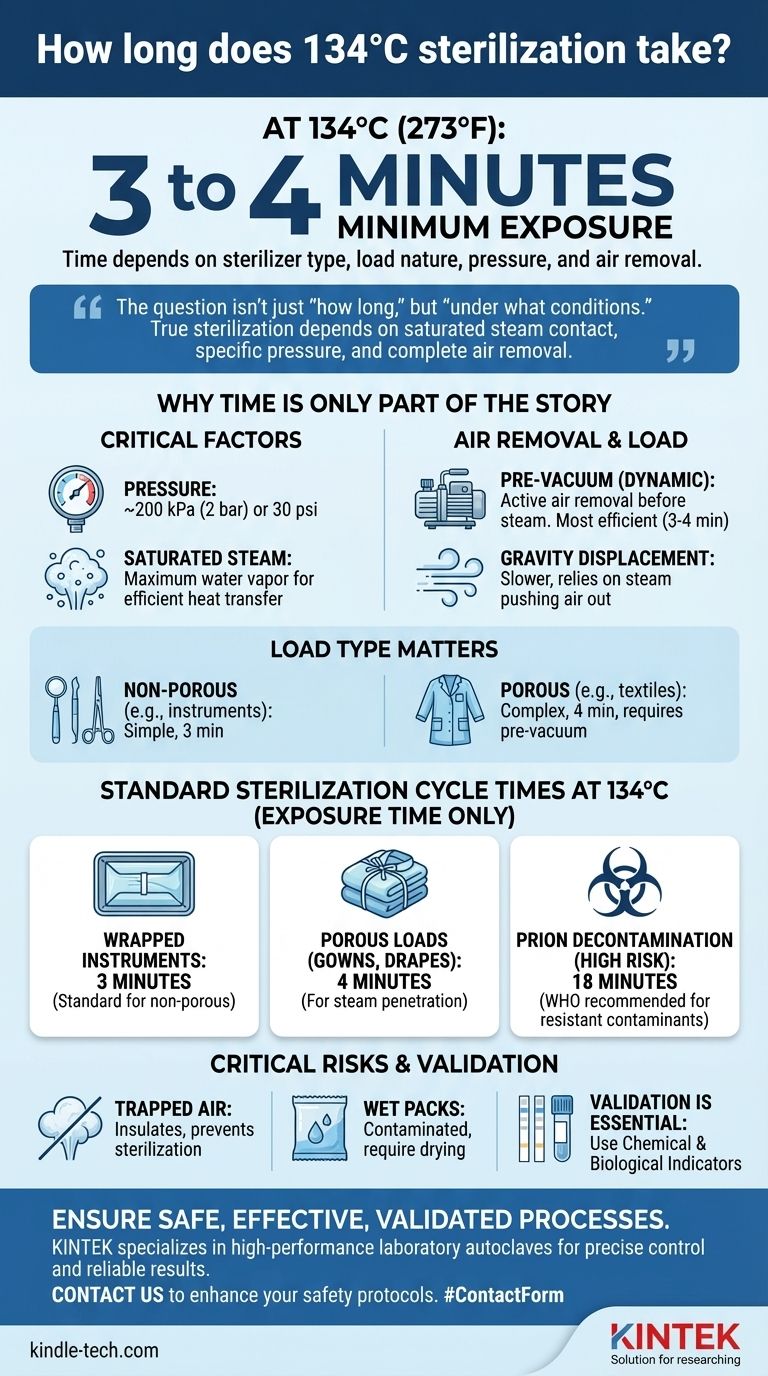
At 134 degrees Celsius (273°F), a standard steam sterilization cycle requires a minimum exposure time of 3 to 4 minutes. However, this time is highly dependent on the type of sterilizer and the nature of the items being sterilized. The specific pressure and complete removal of air are just as critical as the time itself.
The question isn't just "how long," but "under what conditions." Time at temperature is only one part of the equation; true sterilization at 134°C depends on achieving saturated steam contact, which requires specific pressure and the complete absence of air pockets.
Why Time Is Only Part of the Story
Achieving sterility is a function of time, temperature, and direct contact with the sterilizing agent—in this case, saturated steam. Focusing only on the duration of the cycle is a common and dangerous oversimplification.
The Critical Role of Saturated Steam and Pressure
To reach 134°C, an autoclave must generate pressure. This temperature is typically achieved and maintained at a pressure of approximately 200 kPa (2 bar) or 30 psi above atmospheric pressure.
This pressure ensures the steam is "saturated," meaning it holds the maximum possible water vapor and will efficiently transfer its thermal energy to the items upon contact, causing the rapid destruction of microorganisms.
Pre-Vacuum vs. Gravity Displacement Cycles
The type of autoclave dramatically changes the required time because of how it deals with air, the enemy of steam sterilization.
- Pre-vacuum (or Dynamic Air Removal) Sterilizers: These machines use a vacuum pump to actively remove air from the chamber before introducing steam. This allows for rapid and thorough steam penetration, making it the most efficient method. This is where the 3-4 minute cycles are standard.
- Gravity Displacement Sterilizers: These simpler machines introduce steam at the top of the chamber, relying on the fact that steam is lighter than air to gradually push the air out through a drain at the bottom. This process is slower and less efficient, requiring significantly longer cycles to ensure all air is removed.
How the Load Type Dictates the Cycle
The items you are sterilizing have a major impact on the cycle parameters.
- Non-Porous Items: Hard-surfaced items like metal surgical instruments or glassware are the simplest to sterilize.
- Porous Loads: Items like textiles, gowns, dressings, or rubber tubing are much more difficult. Air can be easily trapped within the material, preventing steam from making contact. These loads require a sterilizer capable of effective air removal (pre-vacuum) to be sterilized reliably.
Standard Sterilization Cycle Times at 134°C
With the proper context established, here are the validated minimum exposure times for different scenarios, primarily using modern pre-vacuum autoclaves. Note that these are exposure times and do not include the heating, air removal, or drying phases of the total cycle.
For Wrapped Instruments
The most common cycle for routine, wrapped surgical instruments is 3 minutes of exposure at 134°C. The wrapping helps maintain sterility after the cycle is complete.
For Porous Loads (e.g., Gowns, Drapes)
Due to the difficulty of steam penetration, the standard for porous loads is slightly longer. The typical minimum exposure time is 4 minutes at 134°C to ensure all trapped air is removed and steam reaches every surface.
For Prion Decontamination
Prions, the infectious proteins responsible for diseases like Creutzfeldt-Jakob Disease (CJD), are exceptionally resistant to conventional sterilization. To ensure their inactivation, a much longer exposure time is mandated.
The World Health Organization recommends an extended cycle of 18 minutes at 134°C in a pre-vacuum sterilizer for items potentially contaminated with prions.
Understanding the Critical Risks
Simply setting the machine and walking away is not enough. Failed sterilization can have severe consequences, and failures often trace back to a misunderstanding of the process.
The Danger of Trapped Air
If air is not completely removed from the chamber or from inside a package, an air pocket creates an insulating barrier. The steam cannot make contact with the surfaces within that pocket, and the items will not be sterilized, even if the machine's temperature sensor reads 134°C.
The Problem of Wet Packs
The sterilization cycle isn't over until the items are dry. A "wet pack" at the end of a cycle is considered contaminated because moisture can wick bacteria through the packaging material from the outside world. Proper drying phases are essential.
The Necessity of Validation
You cannot confirm sterility by looking at a printout. The only way to know your process is effective is through routine validation using:
- Chemical Indicators: These strips or tapes change color to confirm that sterilizing conditions (e.g., temperature) were met.
- Biological Indicators: These vials contain highly resistant bacterial spores (Geobacillus stearothermophilus). If the spores are killed during the cycle, it provides the highest level of assurance that the process was lethal.
Making the Right Choice for Your Process
Your required cycle time depends entirely on your specific equipment and load. Always default to the manufacturer's instructions for use (IFU) for both the sterilizer and the devices being sterilized.
- If your primary focus is speed for non-porous instruments: A pre-vacuum sterilizer running a 3-minute cycle at 134°C is the industry standard.
- If your primary focus is sterilizing textiles or complex devices: A 4-minute cycle at 134°C is the appropriate minimum, and a pre-vacuum system is essential for success.
- If your primary focus is maximum patient safety with high-risk items: You must use an extended 18-minute cycle at 134°C for potential prion contamination.
- Regardless of your focus: Your cycle is only valid if it is routinely monitored with chemical and biological indicators to prove its effectiveness.
Ultimately, understanding the principles of steam sterilization is far more important than memorizing a single number.
Summary Table:
| Load Type | Minimum Exposure Time at 134°C | Key Considerations |
|---|---|---|
| Wrapped Instruments | 3 minutes | Standard for non-porous items; requires pre-vacuum sterilizer for efficiency. |
| Porous Loads (Gowns, Drapes) | 4 minutes | Longer time needed for steam to penetrate materials and remove trapped air. |
| Prion Decontamination | 18 minutes | Extended cycle mandated by WHO for high-risk, resistant contaminants. |
Ensure your lab's sterilization process is safe, effective, and validated.
Choosing the right equipment and cycle parameters is critical for patient safety and compliance. KINTEK specializes in high-performance laboratory autoclaves and sterilizers, designed to deliver precise temperature control, effective air removal, and reliable results for all your sterilization needs—from simple instruments to complex porous loads.
Our experts can help you select the right sterilizer for your specific applications and ensure your processes are properly validated. Contact us today to discuss your laboratory's sterilization requirements and enhance your safety protocols.
Visual Guide
Related Products
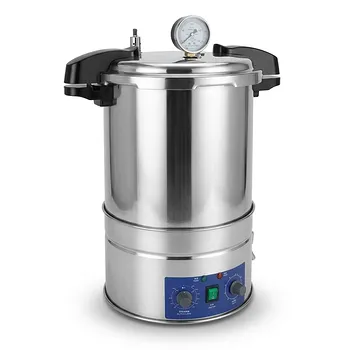
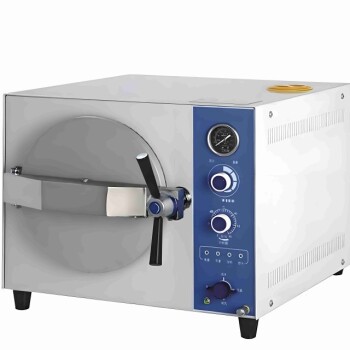
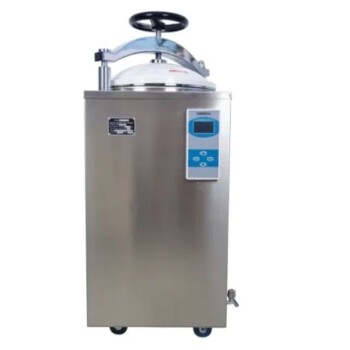
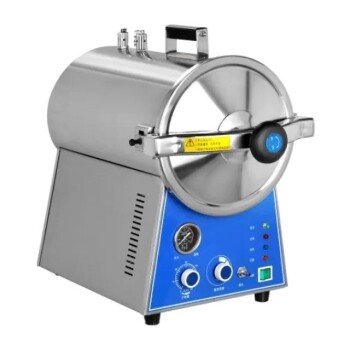
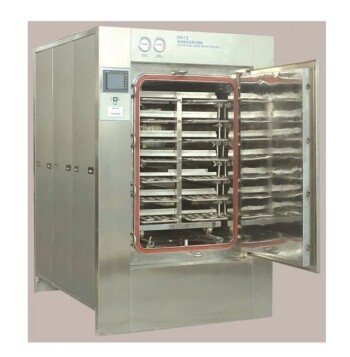
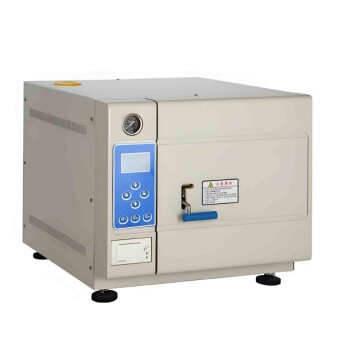
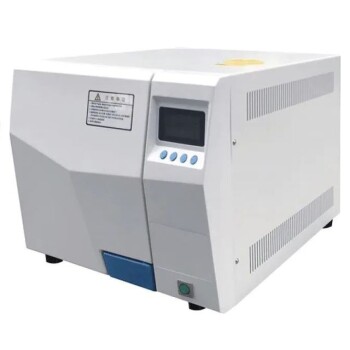
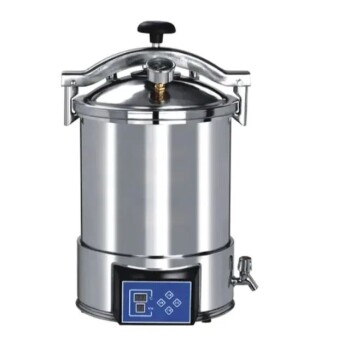
- Portable High Pressure Laboratory Autoclave Steam Sterilizer for Lab Use
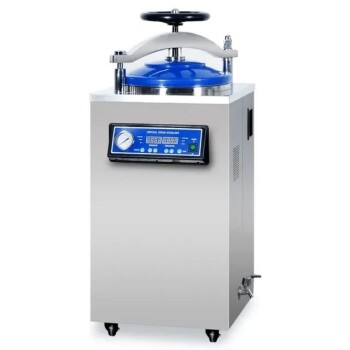
- Laboratory High Pressure Steam Sterilizer Vertical Autoclave for Lab Department
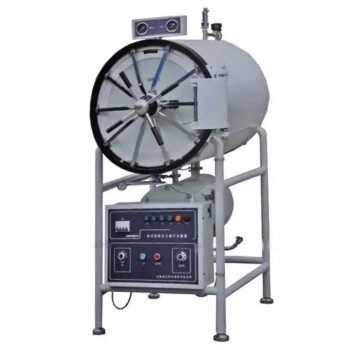
- Laboratory High Pressure Horizontal Autoclave Steam Sterilizer for Lab Use
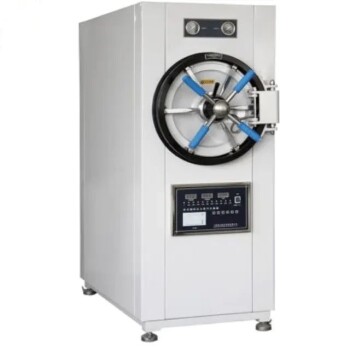
- Laboratory Horizontal Autoclave Steam Sterilizer Lab Microcomputer Sterilizer
- Laboratory Sterilizer Lab Autoclave Pulsating Vacuum Desktop Steam Sterilizer
People Also Ask
- What are the two types of autoclave used in the laboratory? Gravity vs. Pre-Vacuum Explained
- Why is a laboratory high-pressure autoclave sterilizer necessary? Ensure Accuracy in Antibacterial Research
- What role does a laboratory autoclave play in HEA corrosion research? Key to Validating Advanced Reactor Materials
- What is a laboratory autoclave? A Guide to Sterilization with Pressurized Steam
- What is the primary function of a laboratory autoclave in the pre-treatment of medical plastic waste for liquid fuel?