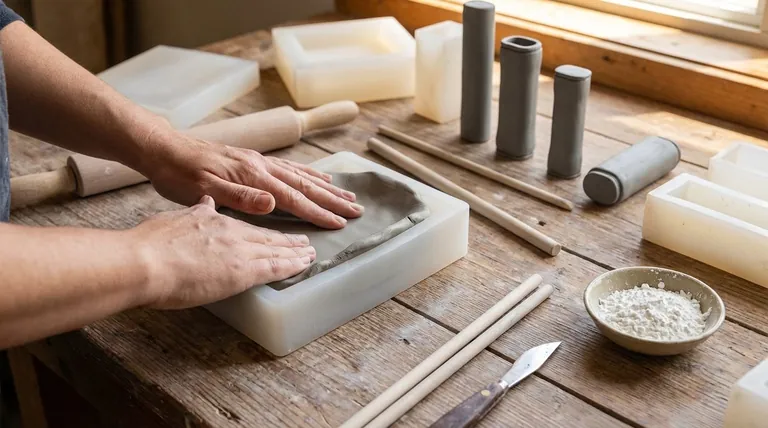
To properly press clay into a mold, you must begin with an evenly flattened slab of pliable clay. Lay the slab over the mold and systematically press it in, starting from the deepest point and working your way outward to expel all air. After trimming the excess clay from the edges, you must wait for the clay to dry and shrink to a firm, leather-hard state before it will release cleanly.
The most common mistake is impatience. A successful cast depends less on the force of pressing and more on managing moisture—both by preparing the mold surface correctly and by allowing the clay to dry and shrink naturally for a clean release.
The Foundation: Preparing Your Clay and Mold
Proper preparation is the single most important factor in achieving a clean, detailed impression from your mold. Rushing this stage often leads to a flawed final piece.
Selecting the Right Clay Consistency
Your clay should be soft and pliable, but not sticky. If you press your finger into it, it should leave a clear print without a wet residue clinging to your skin.
Clay that is too wet will be difficult to release from the mold. Clay that is too dry will be prone to cracking as you press it into shape.
Creating an Even Clay Slab
Use a rolling pin and guide sticks of a uniform thickness, or a slab roller, to create a slab of clay.
An even thickness is critical. It ensures the piece dries uniformly, which prevents warping and cracking both before and during the firing process.
Preparing the Mold Surface
For porous molds like plaster, no release agent is typically needed. The plaster naturally absorbs water from the clay, creating a dry layer that aids in release.
For non-porous molds made of silicone, plastic, or bisque-fired ceramic, you must use a release agent. A light dusting of cornstarch or a very thin coating of vegetable oil will prevent the wet clay from sticking.
The Core Technique: Pressing and Forming
The physical act of pressing the clay requires a methodical approach to prevent defects like trapped air.
Start from the Center
Place your clay slab over the mold and begin pressing at the lowest or most central point. Work your way up and out toward the edges.
This technique systematically pushes air out from between the clay and the mold. Trapped air bubbles will create weak spots or blemishes in the final form.
Apply Even, Firm Pressure
Use your fingertips and the heel of your hand to firmly press the clay into every detail of the mold. For fine textures, a soft, damp sponge can help push the clay into small crevices without marking the surface.
The goal is to ensure the clay makes complete contact with the entire mold surface, capturing all of its detail.
Trimming the Excess Clay
Once the mold is filled, use a potter's knife or a fettling knife held flat against the mold's rim to slice away any excess clay. A clean, level rim at this stage saves significant finishing work later.
The Critical Waiting Game: Drying and Release
Patience during the drying phase is paramount. The clay itself will tell you when it is ready to be removed.
Understanding the "Leather-Hard" Stage
As the clay begins to dry, it will transition from a soft, pliable state to a leather-hard state. At this point, it will feel firm and cool to the touch, similar to a piece of leather. It is strong enough to be handled without distorting its shape.
The Science of Shrinkage
As water evaporates from the clay, the clay particles move closer together. This process causes the entire piece to shrink uniformly.
This shrinkage is what makes release possible. You will notice the clay pulling away from the edges of the mold, creating a small gap. This is the sign that it is ready.
Releasing the Clay
If the piece has shrunk properly, it should release with minimal effort. Often, simply inverting the mold is enough for the clay form to fall out.
If you are using a flexible silicone mold, you can gently peel the mold away from the clay piece. Never force a piece from a mold; if it is sticking, it needs more time to dry and shrink.
Common Pitfalls to Avoid
Understanding these common issues will help you troubleshoot and perfect your technique.
Trapped Air Bubbles
These are the result of pressing the clay from the outside-in instead of the center-out. These pockets of air can cause soft spots in the cast or may even cause the piece to burst in the kiln.
Cracking During Drying
Cracks often form if the clay was too dry when pressed into the mold or if the piece was removed too early and handled while it was still too soft. Drastic changes in thickness can also cause stress and cracking as the piece dries.
The Clay Is Stuck
This is the most common problem and is almost always caused by one of two things: not using a release agent on a non-porous mold, or trying to remove the clay before it has shrunk enough. The only solution is patience.
Making the Right Choice for Your Goal
Your approach can be fine-tuned based on what you want to achieve with your molded pieces.
- If your primary focus is a perfect replica: Meticulously press from the center out to capture every detail, and use a suitable release agent on any non-porous mold.
- If your primary focus is speed and efficiency: Use absorbent plaster molds, which wick moisture faster, and prepare multiple clay slabs in advance to work in a batch.
- If your primary focus is avoiding breakage: Be patient and wait for the clay to reach the firm, leather-hard stage where it pulls away from the mold on its own.
Mastering this process is a matter of preparation and patience, turning a simple mold into a tool for consistent creation.
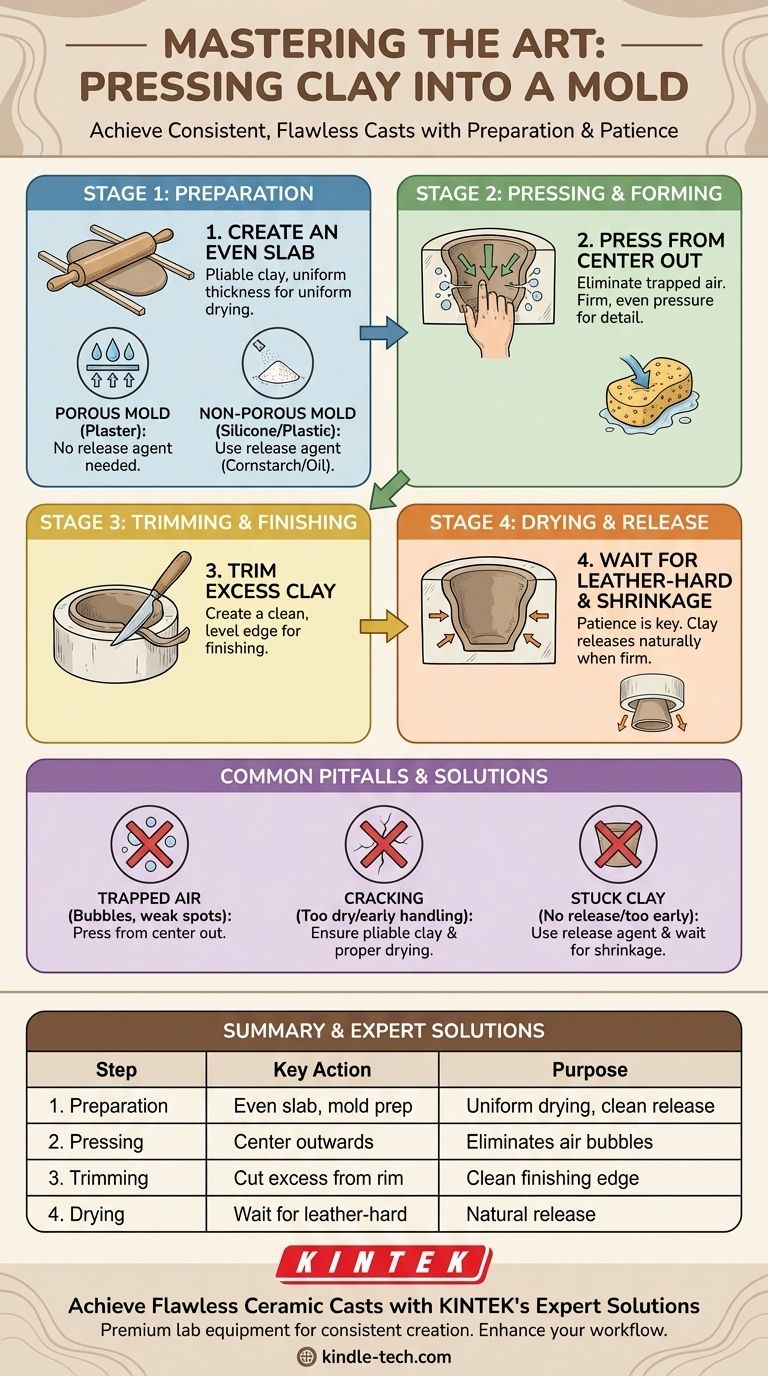
Summary Table:
| Step | Key Action | Purpose |
|---|---|---|
| 1. Preparation | Create an even slab; prepare mold surface | Ensures uniform drying and clean release |
| 2. Pressing | Press from the center outwards | Eliminates trapped air bubbles |
| 3. Trimming | Cut excess clay from the rim | Creates a clean edge for finishing |
| 4. Drying | Wait for clay to shrink to leather-hard | Allows the piece to release naturally |
Achieve Flawless Ceramic Casts with KINTEK's Expert Solutions
Perfecting your mold-pressing technique is just the beginning. The right equipment ensures consistent, high-quality results. KINTEK specializes in premium lab equipment and consumables, providing artists and ceramic labs with the reliable tools needed for every stage of creation.
Let us help you enhance your workflow and product quality. Contact our experts today to discuss your specific needs and discover how KINTEK can support your ceramic art or laboratory processes.
Visual Guide
Related Products
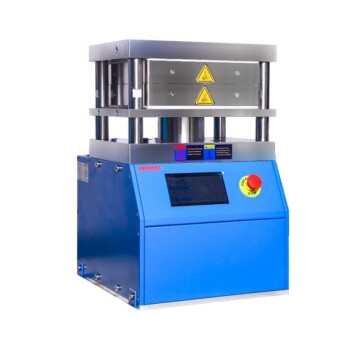
- Heated Hydraulic Press Machine with Heated Plates for Vacuum Box Laboratory Hot Press
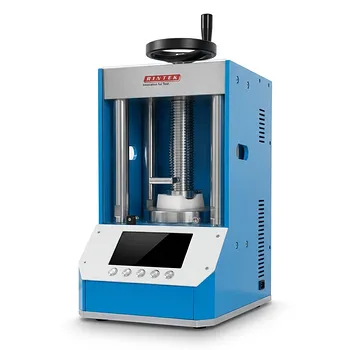
- Automatic High Temperature Heated Hydraulic Press Machine with Heated Plates for Lab
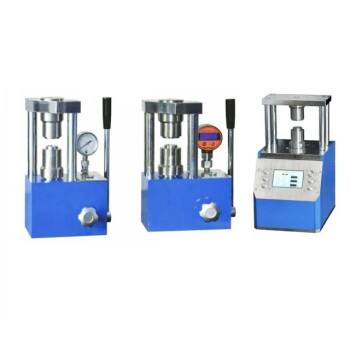
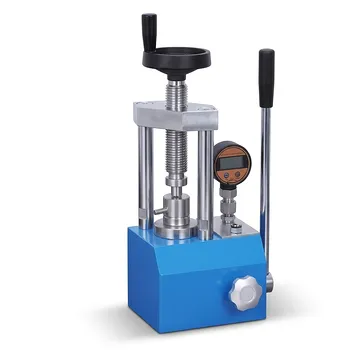
- Manual High Temperature Heated Hydraulic Press Machine with Heated Plates for Lab
- Heated Hydraulic Press Machine with Integrated Manual Heated Plates for Lab Use
- 24T 30T 60T Heated Hydraulic Press Machine with Heated Plates for Laboratory Hot Press
People Also Ask
- What is a heated hydraulic press used for? Essential Tool for Curing, Molding, and Laminating
- Why is a heated hydraulic press used for warm pressing NASICON green tapes? Optimize Your Solid Electrolyte Density
- Why is the heating function of a laboratory hydraulic press essential for MEA assembly in DEFC? Optimize Cell Bonding
- What technical conditions does a heated hydraulic press provide for PEO batteries? Optimize Solid-State Interfaces
- Why is a heated laboratory hydraulic press necessary for composite laminates? Achieve Void-Free Structural Integrity