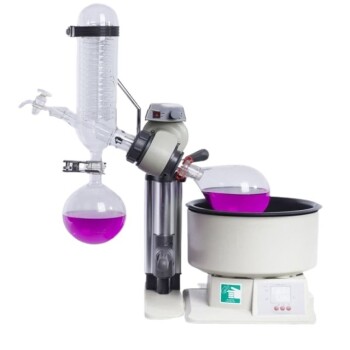
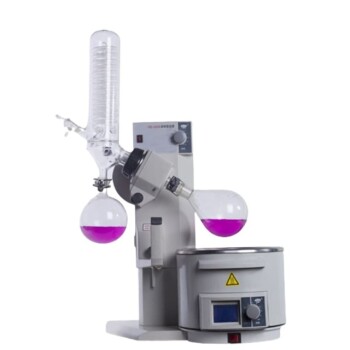
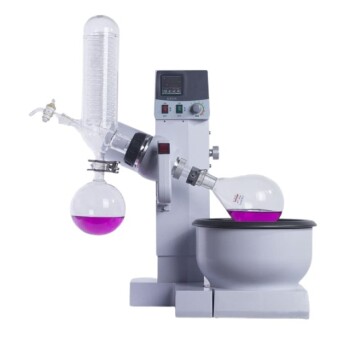
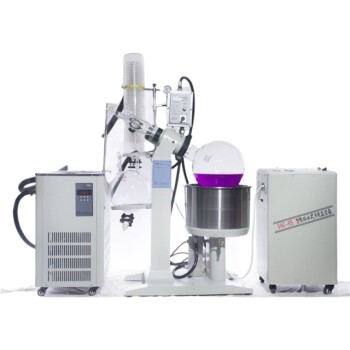
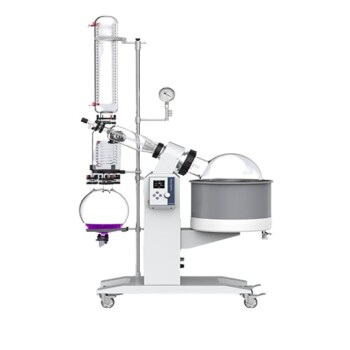
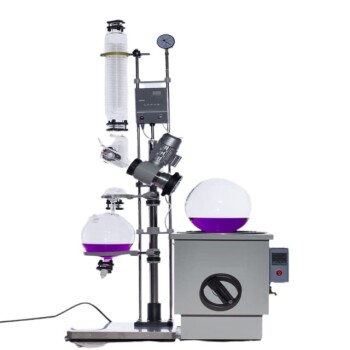
Rotary evaporation is a laboratory technique used to remove solvents from samples efficiently by reducing pressure, increasing surface area, and applying controlled heat. The process involves setting up the rotary evaporator, ensuring proper temperature and vacuum conditions, and carefully managing the rotation and evaporation steps. Key steps include preparing the equipment, adding the sample, applying vacuum and rotation, and monitoring the process until the solvent is fully removed. The technique is widely used in chemistry and biochemistry for solvent recovery and sample concentration.
Key Points Explained:

-
Preparation of Equipment:
- Ensure the heat bath is heated to the desired temperature (typically 30-40°C) and the condenser is cooled (usually to -10°C to 0°C).
- Empty the solvent trap to remove any residual solvents from previous use.
- Verify that the aspirator pump and recirculating water bath are filled with ice.
- Check that the power strip is turned on and all connections are secure.
-
Sample Preparation:
- Add the sample to a round-bottomed flask, ensuring it does not exceed 50% of the flask's volume to prevent spillage during rotation.
- Attach the flask to the bump trap at the end of the distillation tube, using an adapter if necessary.
- Secure all glassware with a plastic Keck clip or ring cap to ensure stability during rotation.
-
Setting Up the Rotary Evaporator:
- Activate the rotary evaporator motor and adjust the dial to rotate the flask at a medium speed (typically 150-200 rpm).
- Turn on the aspirator pump to begin reducing the pressure within the system.
- Seal the vacuum by closing the valve at the top of the condenser to maintain the reduced pressure.
-
Initiating Evaporation:
- Gradually increase the vacuum until condensation or bubbling is observed, indicating that the solvent is evaporating.
- Lower the flask into the water heating bath, ensuring the water covers the liquid level in the flask to facilitate even heating.
- Monitor the rotation speed and vacuum pressure to maintain optimal conditions for evaporation.
-
Monitoring the Process:
- Observe the formation of a thin film on the inner surface of the flask, which increases the surface area and enhances solvent evaporation.
- Adjust the vacuum and rotation speed as needed to ensure efficient and controlled evaporation.
- Continuously monitor the process until all the solvent has been removed from the sample.
-
Completing the Process:
- Once the solvent has been fully evaporated, stop the rotation and vacuum.
- Carefully remove the flask from the rotary evaporator, ensuring it is cool enough to handle.
- Collect the solvent from the distillate flask for disposal or further use.
By following these steps, rotary evaporation can be performed efficiently and safely, ensuring the effective removal of solvents from samples while minimizing the risk of contamination or loss.
Summary Table:
| Step | Key Actions |
|---|---|
| Preparation of Equipment | - Heat bath to 30-40°C, cool condenser to -10°C to 0°C. |
| - Empty solvent trap, fill aspirator pump with ice, check connections. | |
| Sample Preparation | - Add sample to round-bottomed flask (≤50% volume). |
| - Attach flask to bump trap, secure with Keck clip or ring cap. | |
| Setting Up the Evaporator | - Activate motor, set rotation speed (150-200 rpm). |
| - Turn on aspirator pump, seal vacuum. | |
| Initiating Evaporation | - Increase vacuum until condensation/bubbling occurs. |
| - Lower flask into heating bath, monitor rotation and vacuum. | |
| Monitoring the Process | - Observe thin film formation, adjust vacuum and rotation as needed. |
| Completing the Process | - Stop rotation and vacuum, remove flask, collect solvent from distillate flask. |
Need help with rotary evaporation? Contact our experts today for personalized guidance!
