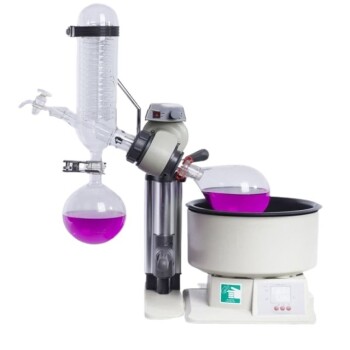
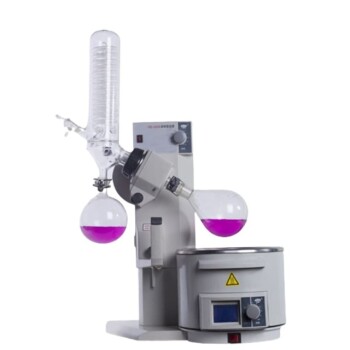
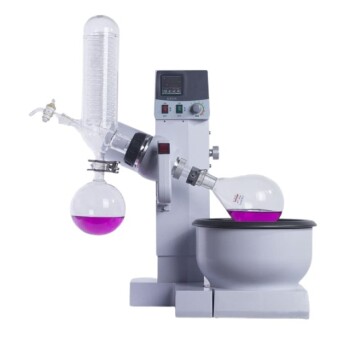
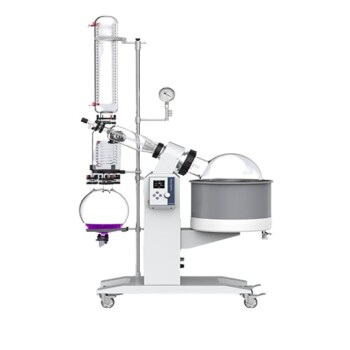
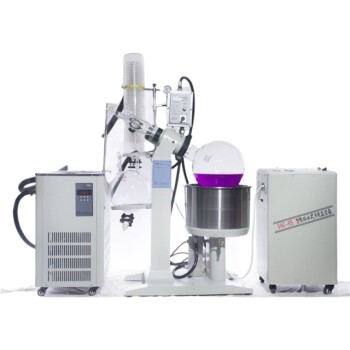
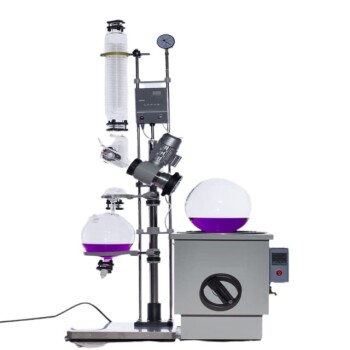
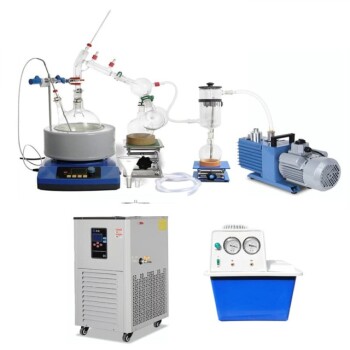
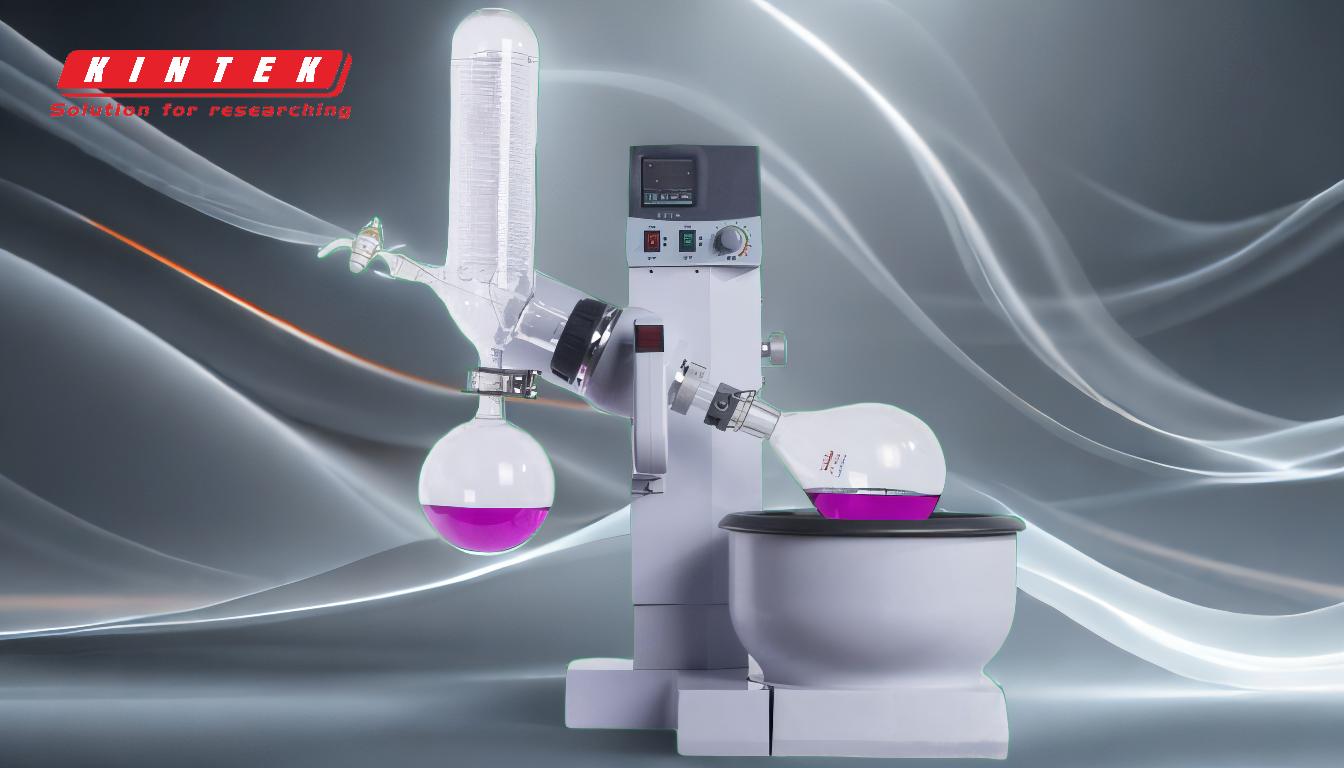
Using a rotary evaporator involves a systematic process to ensure efficient solvent removal under reduced pressure. The key steps include setting up the equipment, adjusting rotation and vacuum settings, monitoring the evaporation process, and safely concluding the operation. Proper setup and monitoring are critical to prevent issues like bumping or over-evaporation. Below is a detailed breakdown of the steps involved in using a rotary evaporator, along with explanations for each stage.
Key Points Explained:
-
Preparation and Setup:
- Ensure the aspirator pump and recirculating water bath are filled with ice or water, depending on the solvent being evaporated.
- Verify that all glassware, including the bump trap, is clean and dry to avoid contamination.
- Add the sample to a round-bottomed flask, ensuring it is not more than half full to prevent overflow during rotation.
- Attach the flask to the bump trap and secure it with a plastic Keck clip or ring cap to prevent dislodging during operation.
- Check that the power strip is turned on and all connections are secure.
-
Initial Operation:
- Turn on the water bath and set it to the appropriate temperature for the solvent being evaporated. This ensures controlled heating.
- Start the rotation of the evaporation flask at a medium speed suitable for the sample volume. This creates an even coating on the flask’s surface, increasing the evaporation area.
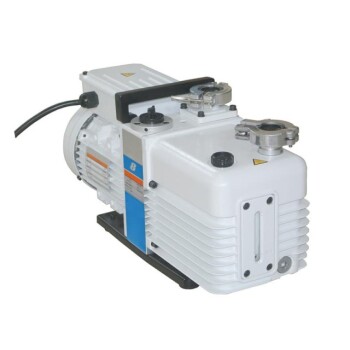
- Activate the vacuum pump and gradually increase the vacuum strength. Monitor the system for signs of condensation or bubbling, which indicate the onset of evaporation.
-
Evaporation Process:
- Lower the flask into the water bath, ensuring the water level covers the liquid in the flask. This provides consistent heating for evaporation.
- Maintain the system at a reduced pressure (typically 400 to 600 mm Hg) and adjust the rotation speed (50 to 160 rpm) as needed to optimize evaporation.
- Monitor the process closely to prevent bumping (sudden boiling) or over-evaporation. If bubbles reach the neck of the flask, re-pressurize the system briefly to stabilize it.
-
Completion and Shutdown:
- Once all the solvent has evaporated, raise the flask out of the water bath to stop further heating.
- Turn off the rotation and vacuum pump to halt the evaporation process.
- Carefully release the vacuum by opening the valve at the top of the condenser, returning the system to atmospheric pressure.
- Remove the flask from the rotary evaporator and disconnect any attached glassware.
-
Post-Operation Care:
- Clean and dry all glassware and components to prepare for the next use.
- Inspect the equipment for any signs of wear or damage, ensuring it remains in good working condition.
- Store the rotary evaporator and accessories properly to maintain their longevity.
By following these steps, users can effectively and safely operate a rotary evaporator for solvent removal. Proper setup, monitoring, and shutdown procedures are essential to achieving consistent results and maintaining the equipment's performance.
Summary Table:
| Step | Key Actions |
|---|---|
| Preparation & Setup | - Fill water bath and pump with ice/water. Clean and dry glassware. Secure flask. |
| Initial Operation | - Set water bath temperature. Start rotation and vacuum pump. Monitor evaporation. |
| Evaporation Process | - Lower flask into water bath. Adjust pressure and rotation speed. Prevent bumping. |
| Completion & Shutdown | - Raise flask, turn off rotation and vacuum. Release vacuum and disconnect glassware. |
| Post-Operation Care | - Clean, inspect, and store equipment for longevity. |
Need help optimizing your rotary evaporator process? Contact our experts today!
