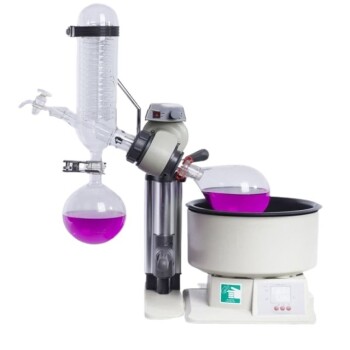
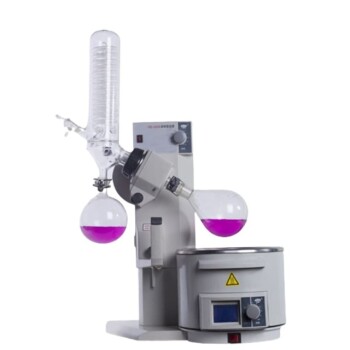
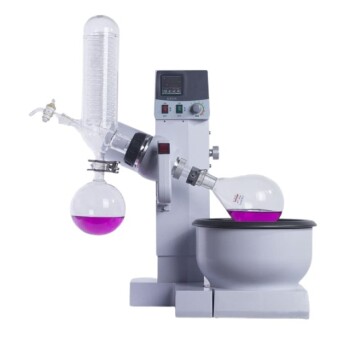
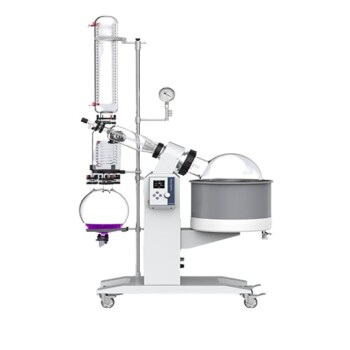
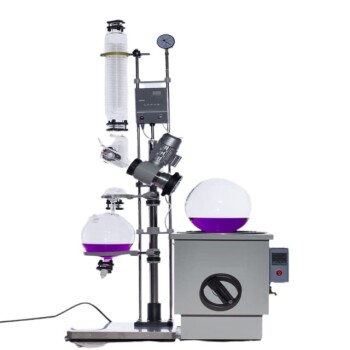
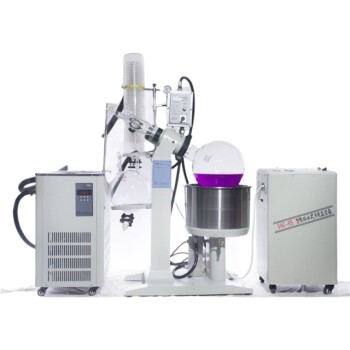
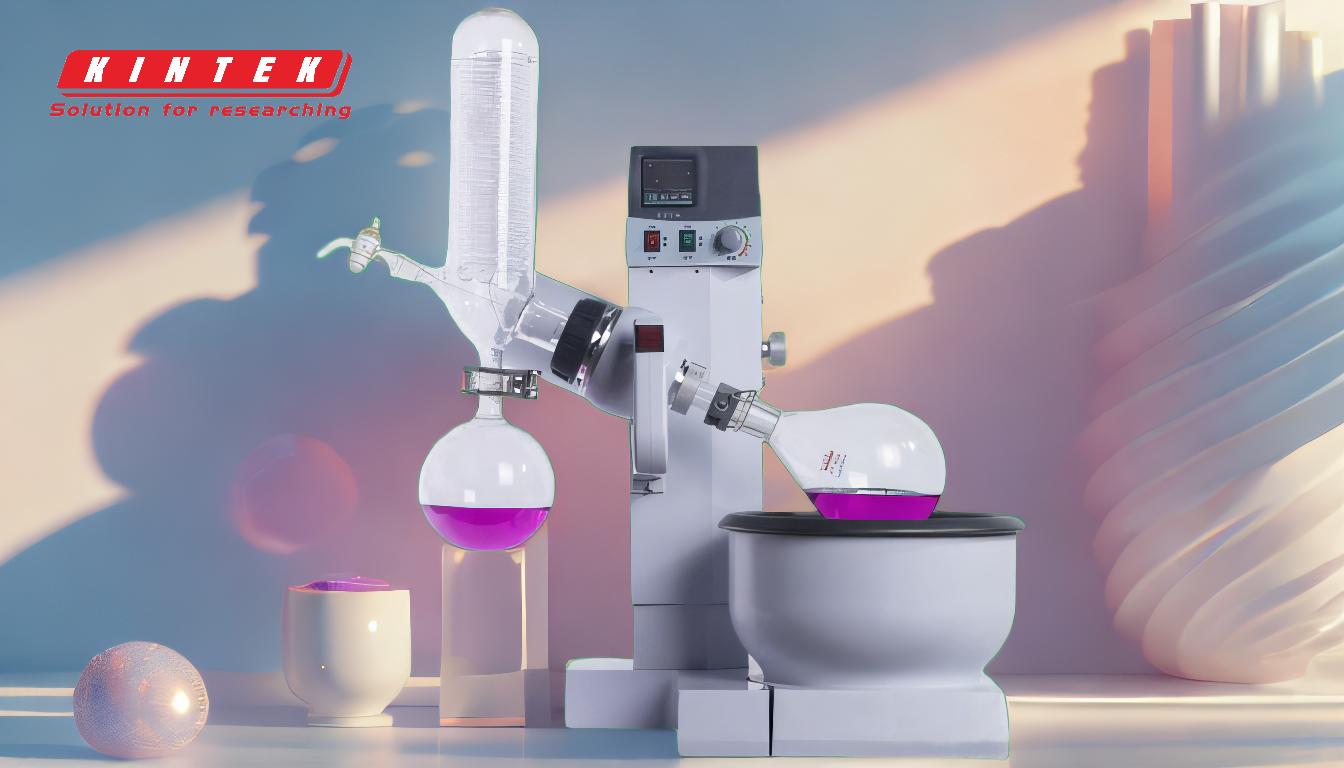
Rotary evaporation is a widely used technique in laboratories for the gentle and efficient removal of solvents from samples. The process involves several key steps, including setting up the equipment, reducing pressure, rotating the sample flask, heating the solution, and collecting the evaporated solvent. By lowering the boiling point of the solvent through vacuum application and increasing the surface area of the sample through rotation, rotary evaporation ensures rapid and effective solvent removal without damaging heat-sensitive compounds. Below is a detailed breakdown of the steps involved in rotary evaporation.
Key Points Explained:
-
Preparation of the Rotary Evaporator Setup:
- Ensure the condenser is cold and the water bath is preheated to the desired temperature (typically 30-40°C for ethanol).
- Check and empty the solvent trap to avoid contamination from residual solvents.
- Secure the sample flask and bump trap using clamps to prevent spills or accidents during rotation.
-
Loading the Sample Flask:
- Fill the sample flask to no more than 50% of its capacity to allow sufficient space for the formation of a thin film during rotation.
- Attach the flask to the rotary evaporator, ensuring a tight seal to maintain the vacuum.
-
Initiating Rotation:
- Start the rotation at a moderate speed (150-200 rpm) to create a thin, even film of the sample on the inner surface of the flask. This increases the surface area, promoting faster evaporation.
-
Applying Vacuum:
- Gradually reduce the pressure in the system using a vacuum pump. This lowers the boiling point of the solvent, allowing it to evaporate at a lower temperature, which is particularly useful for heat-sensitive samples.
-
Heating the Water Bath:
- Immerse the sample flask into the preheated water bath. The controlled heat accelerates the evaporation process while maintaining a safe temperature for the sample.
-
Monitoring the Process:
- Observe the formation of condensation in the condenser and the collection of the solvent in the receiving flask. Adjust the vacuum and rotation speed as needed to optimize evaporation.
-
Completing the Process:
- Once all the solvent has evaporated, stop the rotation and release the vacuum carefully to avoid sudden pressure changes.
- Remove the sample flask and collect the concentrated sample or residue.
-
Cleaning and Maintenance:
- Clean the equipment thoroughly after use to prevent cross-contamination in future experiments.
- Ensure the solvent trap and condenser are emptied and dried.
By following these steps, rotary evaporation provides a reliable and efficient method for solvent removal, making it an essential technique in chemical and biological laboratories.
Summary Table:
| Step | Description |
|---|---|
| 1. Preparation | Ensure condenser is cold, water bath is preheated, and solvent trap is empty. |
| 2. Loading Sample Flask | Fill flask ≤50%, attach securely, and ensure a tight seal. |
| 3. Initiating Rotation | Rotate at 150-200 rpm to create a thin film for faster evaporation. |
| 4. Applying Vacuum | Gradually reduce pressure to lower the solvent's boiling point. |
| 5. Heating Water Bath | Immerse flask in preheated water bath for controlled heating. |
| 6. Monitoring Process | Observe condensation and adjust vacuum/rotation speed as needed. |
| 7. Completing Process | Stop rotation, release vacuum, and collect concentrated sample. |
| 8. Cleaning & Maintenance | Clean equipment thoroughly and dry condenser/solvent trap. |
Need help setting up your rotary evaporator? Contact our experts today for personalized guidance!
