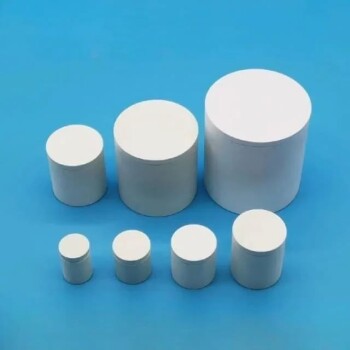
Ceramic mold casting is a precision manufacturing process that uses a specialized, liquid ceramic slurry to form a highly detailed, single-use mold. This method involves coating a reusable pattern with the slurry, allowing it to solidify, and then firing it in a furnace at high temperatures to create a hard, inert mold capable of receiving molten metal.
The core value of ceramic mold casting is not speed or low cost, but its ability to produce components with exceptional surface finishes and tight dimensional tolerances, particularly for complex shapes and high-temperature alloys.

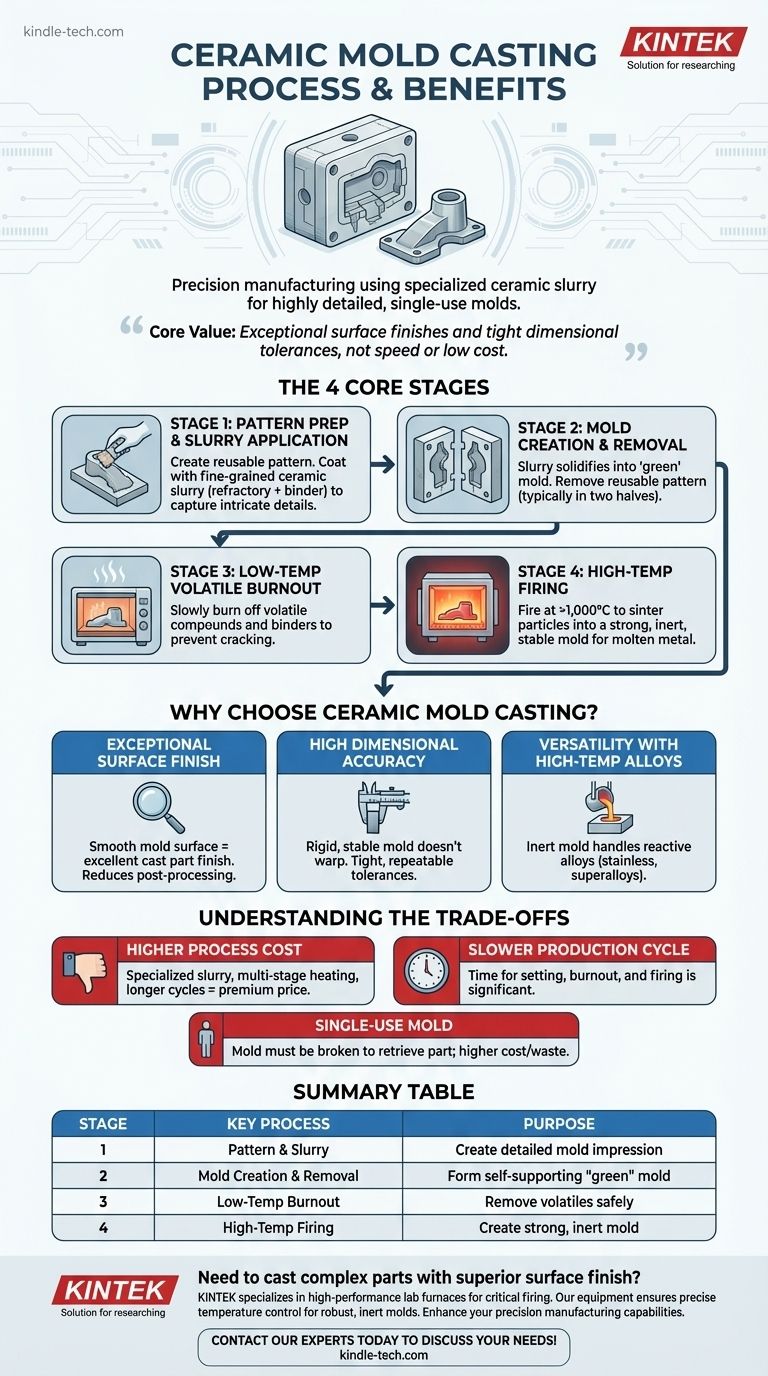
The Four Core Stages of Ceramic Mold Casting
The process is methodical, with each stage building upon the last to ensure the final mold's integrity and precision. Understanding these steps reveals why the method delivers such high-quality results.
Stage 1: Pattern Preparation and Slurry Application
First, a reusable pattern of the final part is created. This pattern can be made from various materials, including wood, plastic, or metal.
The pattern is then coated with a specialized ceramic slurry. This slurry is a critical mixture of fine-grained refractory materials (like zircon or fused silica) and a chemical binder. This fine-grained nature is what allows the mold to capture extremely intricate details from the pattern.
Stage 2: Mold Creation and Removal
The slurry is allowed to gel and solidify around the pattern, forming a "green" mold. This initial hardening creates a self-supporting shell.
Once the mold has set, the reusable pattern is carefully removed. Typically, the mold is designed in two halves (a cope and drag) to facilitate this removal and allow for the later creation of internal cavities using cores.
Stage 3: Low-Temperature Volatile Burnout
The green mold is placed in a low-temperature oven or exposed to a flame. The purpose of this step is to slowly and carefully burn off any volatile compounds and binders from the slurry.
Performing this at a low temperature prevents the rapid expansion of gases that could crack or damage the delicate mold structure before it is fully strengthened.
Stage 4: High-Temperature Firing
Finally, the mold is moved to a high-temperature furnace and fired, often at temperatures exceeding 1,000°C (1,832°F).
This crucial step sinters the ceramic particles, fusing them together into a single, robust, and chemically inert structure. The resulting mold is strong, stable, and can withstand the extreme thermal shock of molten metal being poured into it without distortion.
Why Choose Ceramic Mold Casting?
This process is selected when the final part's quality and precision are more critical than the manufacturing cost or speed.
Exceptional Surface Finish
The fine refractory grains in the ceramic slurry produce a mold surface that is incredibly smooth. This translates directly to a cast part with an excellent surface finish, significantly reducing the need for secondary machining or polishing.
High Dimensional Accuracy
The firing process creates a rigid and thermally stable mold. Unlike sand molds, a ceramic mold will not warp, flex, or erode when filled with molten metal, resulting in parts with very tight and repeatable dimensional tolerances.
Versatility with High-Temperature Alloys
Because the fired mold is chemically inert, it is ideal for casting reactive or high-temperature alloys like stainless steels, tool steels, and nickel-based superalloys. These metals would degrade or react with molds made from less robust materials.
Understanding the Trade-offs
No process is perfect. The precision of ceramic mold casting comes with clear and important trade-offs.
Higher Process Cost
The specialized ceramic slurry, multi-stage heating process, and longer cycle times make this method significantly more expensive than conventional sand casting. It is a premium process for demanding applications.
Slower Production Cycle
The time required for the slurry to set, followed by the low-temperature burnout and high-temperature firing, makes the overall production cycle much longer than for other casting methods like die casting.
Single-Use Mold
Like investment casting, the ceramic mold must be broken away to retrieve the finished part. This single-use nature contributes to the higher cost per part and generates more waste material compared to permanent mold processes.
Making the Right Choice for Your Goal
Selecting the correct casting process depends entirely on balancing project requirements for quality, cost, and material compatibility.
- If your primary focus is high-fidelity detail and superior surface quality: Ceramic mold casting is an excellent choice for complex geometries where minimizing post-processing is a key goal.
- If your primary focus is casting high-temperature or reactive alloys: The inert nature of the fired ceramic mold makes it one of the most reliable and effective options available.
- If your primary focus is low cost and high-volume production: You should evaluate other methods like sand casting or die casting, as the cost and cycle time of ceramic molding are likely not a good fit.
Ultimately, choosing ceramic mold casting is an investment in achieving a final part that meets the highest standards of precision and material integrity.
Summary Table:
| Stage | Key Process | Purpose |
|---|---|---|
| 1 | Pattern Preparation & Slurry Application | Create a detailed mold impression |
| 2 | Mold Creation & Pattern Removal | Form a self-supporting "green" mold |
| 3 | Low-Temperature Burnout | Remove volatile compounds safely |
| 4 | High-Temperature Firing | Create a strong, inert mold ready for metal pouring |
Need to cast complex parts with superior surface finish and dimensional accuracy?
KINTEK specializes in providing the high-performance lab furnaces essential for the critical firing stage of ceramic mold casting. Our equipment ensures the precise, high-temperature control needed to create robust, inert molds capable of handling reactive alloys and achieving exceptional results.
Let us help you enhance your precision manufacturing capabilities. Contact our experts today to discuss your specific laboratory and production needs!
Visual Guide
Related Products
- Special Shape Press Mold for Lab
- Polygon Press Mold for Lab
- Assemble Lab Cylindrical Press Mold
- Cylindrical Press Mold with Scale for Lab
- Square Lab Press Mold for Laboratory Applications
People Also Ask
- What are the primary functions of graphite molds? Optimize Your Cu-Ti3SiC2 Composite Sintering Today
- What is the function of high-purity graphite molds in vacuum hot press sintering? Achieve Dense ZrC-SiC Composites
- What roles do high-purity graphite molds play during VHP of SiC/Al? Enhance Your Composite Material Quality
- What is a three-up mold? Boost Production Efficiency with Multi-Cavity Tooling
- What is the use of potassium bromide in IR? Achieve Clear Solid Sample Analysis with KBr Pellets
- What function does a graphite mold serve during vacuum hot pressing? Optimize Your Mg(Al1-xCrx)2O4 Sintering Process
- What role do graphite molds play during vacuum hot pressing sintering? Mastering Titanium Composite Densification
- How does a stainless steel pressure die ensure the quality of the electrolyte layer? Unlock Precision Battery Assembly
