In essence, the mold press process uses a heated mold and immense pressure to shape a raw material into a finished part. A pre-measured amount of material is placed into the open mold cavity, the mold is closed, and then heat and pressure are applied simultaneously. This forces the material to fill the mold's shape and holds it there until it cures into a solid, stable state.
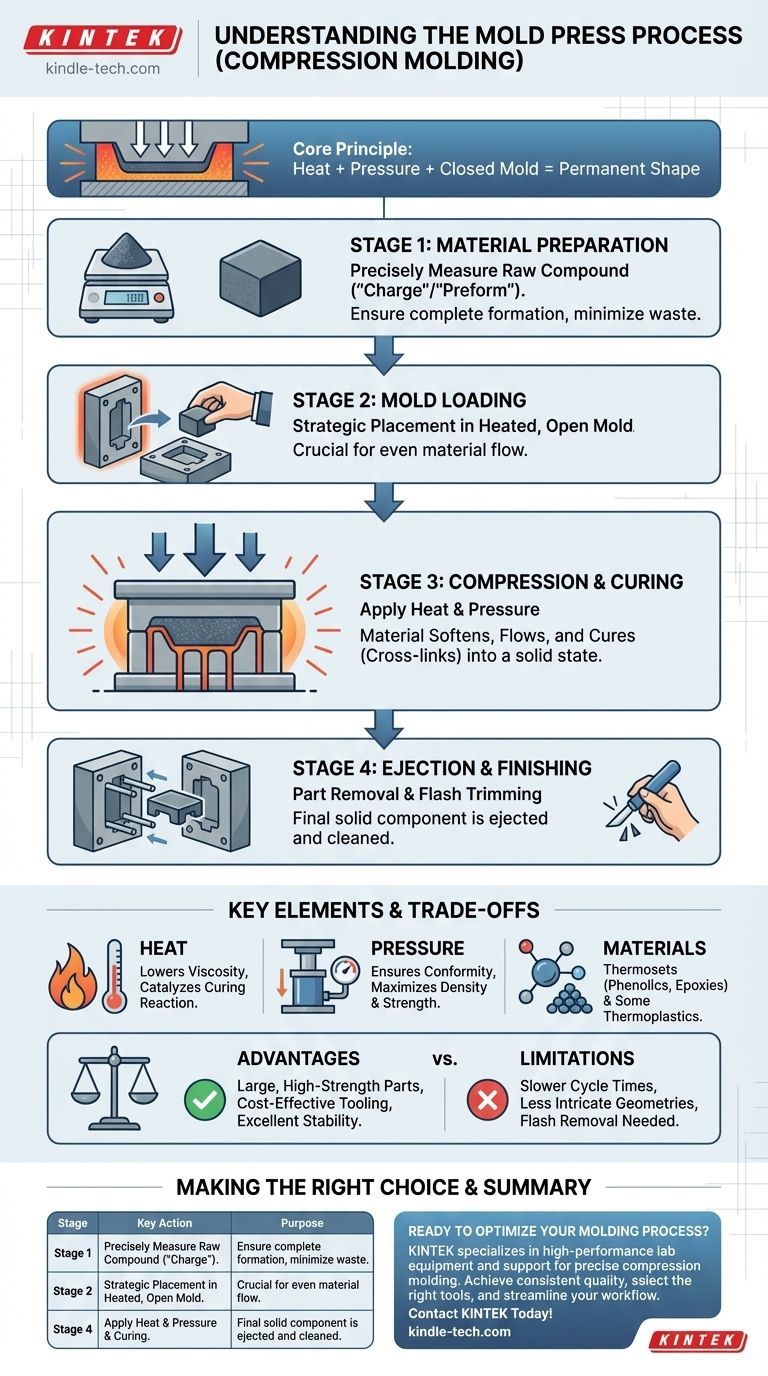
The core principle of mold pressing, often called compression molding, is the direct application of heat and pressure to a material within a closed mold, triggering a chemical or physical change that permanently sets the part's shape.
The Step-by-Step Compression Molding Process
To fully grasp the method, it's best to break it down into its distinct operational stages. Each step is critical for producing a high-quality, finished component.
Stage 1: Material Preparation
The process begins with preparing the raw molding compound. This material, often a thermosetting polymer, is measured precisely to ensure the final part is complete without excessive waste. This measured quantity is known as the "charge" or "preform."
Stage 2: Mold Loading
The preform is then strategically placed into the bottom half of a heated, open mold. The placement is crucial for ensuring the material flows evenly throughout the cavity during compression.
Stage 3: Compression and Curing
The top half of the mold is closed, applying immense pressure to the preform. The combination of heat from the mold and applied pressure causes the material to soften, flow, and fill every detail of the mold cavity.
This heat and pressure are maintained for a specific duration. During this "cure time," the thermosetting material undergoes an irreversible chemical reaction (cross-linking), hardening it into its final, solid form.
Stage 4: Ejection and Finishing
Once curing is complete, the mold is opened, and the finished part is removed, often with the help of ejector pins. The part may have a small amount of excess material, called "flash," around the edges, which is trimmed in a final finishing step.
Key Elements: Material, Heat, and Pressure
The success of compression molding hinges on the precise control and interaction of three core elements. Understanding their roles is key to understanding the process itself.
The Role of Heat
Heat serves two primary functions. First, it lowers the viscosity of the molding compound, allowing it to flow and conform to the mold's geometry. Second, and more critically for thermosets, it acts as the catalyst for the curing reaction, transforming the material from a pliable compound into a rigid, durable solid.
The Function of Pressure
Pressure is the force that ensures the material's complete conformity to the mold. It forces the compound into every corner and detail, squeezes out any trapped air or gases, and maximizes the density and strength of the final part.
Suitable Materials
Compression molding is most famously used for thermosetting resins like phenolics, epoxies, and silicones. These materials are ideal because they cure into a permanently hardened state under heat.
The process can also be adapted for some thermoplastic materials, especially for producing simple shapes where the speed of other methods like injection molding is not required.
Understanding the Trade-offs
Like any manufacturing process, compression molding has distinct advantages and limitations that make it suitable for specific applications.
Key Advantages
The primary strength of this process is its ability to produce very large, high-strength parts with excellent dimensional stability. Tooling (the molds) can also be less complex and therefore more cost-effective than those required for high-pressure injection molding. It is exceptionally well-suited for composite materials with high fiber content.
Common Limitations
The main drawback is cycle time. The need to hold the part under heat and pressure for curing makes the process slower than injection molding. This makes it less ideal for extremely high-volume production of small parts. Furthermore, achieving highly intricate geometries or parts with undercuts can be challenging.
Making the Right Choice for Your Application
Selecting the correct manufacturing process requires aligning its capabilities with your project's specific goals.
- If your primary focus is large, strong, and relatively simple parts (like automotive panels or electrical enclosures): Compression molding is often the most effective and economical choice.
- If your primary focus is high-volume production of small, complex parts (like LEGO bricks or electronic connectors): Injection molding is almost always the superior alternative.
- If your primary focus is cost-effective tooling for moderate production volumes: The simpler molds used in compression molding can provide a significant cost advantage.
Ultimately, choosing compression molding is a strategic decision based on the part's size, material requirements, and production volume.
Summary Table:
| Stage | Key Action | Purpose |
|---|---|---|
| 1. Material Preparation | Precisely measure the raw material (charge/preform). | Ensure complete part formation without waste. |
| 2. Mold Loading | Place the preform into the bottom half of the heated mold. | Position material for even flow during compression. |
| 3. Compression & Curing | Close mold, apply heat and pressure for a set cure time. | Soften material to fill the mold and harden it via curing. |
| 4. Ejection & Finishing | Open mold, eject the part, and trim any excess flash. | Remove the finished, solid component. |
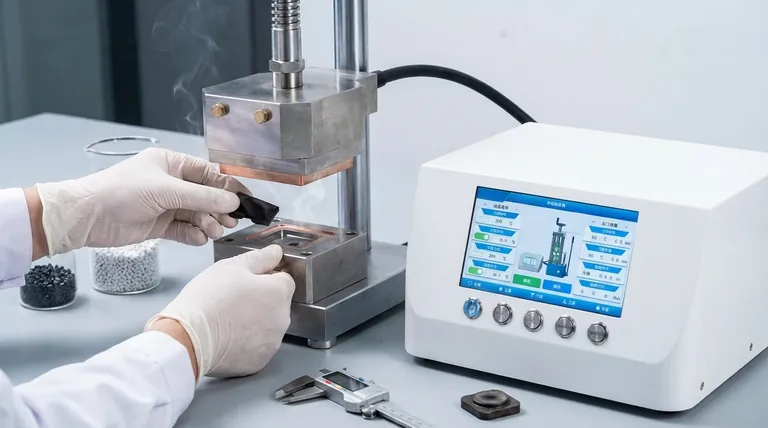
Ready to Optimize Your Molding Process?
Understanding the fundamentals of compression molding is the first step. Implementing it effectively with the right equipment is what delivers results. KINTEK specializes in high-performance lab equipment and consumables, providing the reliable machinery and expert support needed for precise and efficient molding operations.
We help you:
- Achieve consistent, high-quality parts with controlled heat and pressure.
- Select the right equipment for your specific material and production volume.
- Streamline your workflow from material preparation to final finishing.
Let's discuss your project requirements. Our experts are ready to help you choose the perfect solution for your laboratory's needs.
Contact KINTEK today to get started!
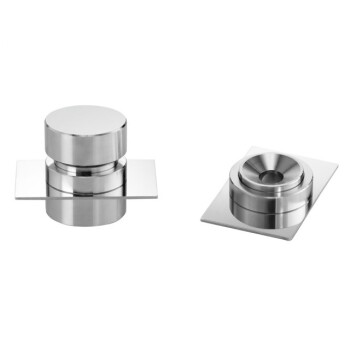
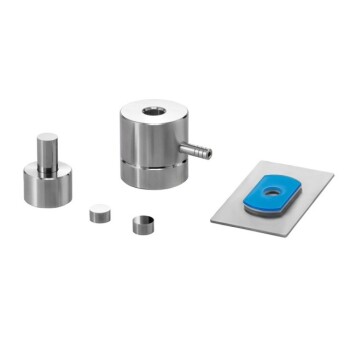
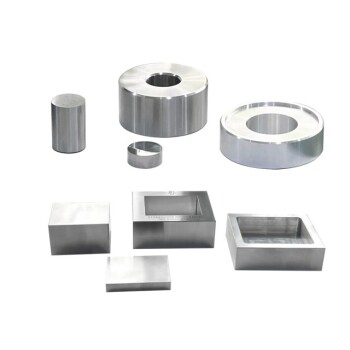
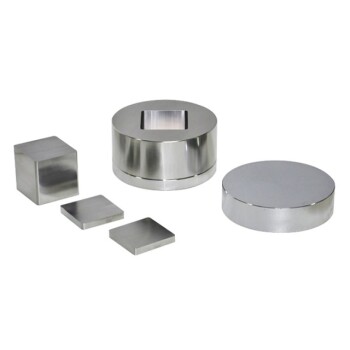
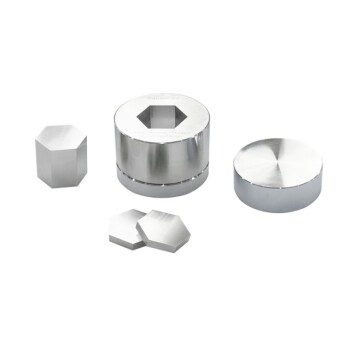
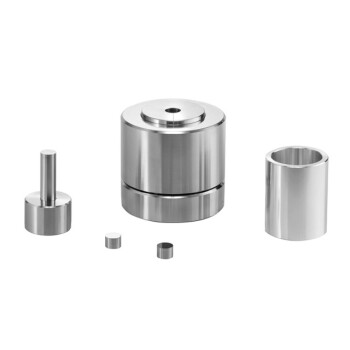
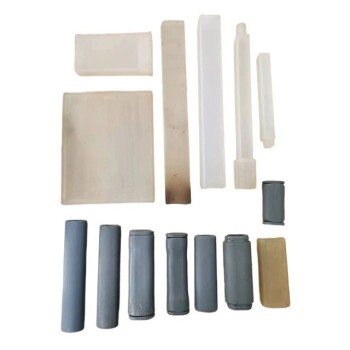
Visual Guide
Related Products
- Anti-Cracking Press Mold for Lab Use
- Double Plate Heating Press Mold for Lab
- No Demolding Lab Infrared Press Mold for Laboratory Applications
- Lab Infrared Press Mold
- Ball Press Mold for Lab
People Also Ask
- What is the primary function of mold pressing for LAGP powders? Achieve High-Performance Solid Electrolytes
- What is a press mold used for? Achieve Repeatable Precision and Efficiency
- What is the purpose of specialized pressure devices in sulfide solid-state batteries? Ensure Chemo-Mechanical Stability
- What role do high-pressure mold components play in the thermal pressing of nano-crystalline tungsten? Maximize Density
- Why are pressure molds with non-conductive resin inner walls required for battery testing? Ensure Data Accuracy