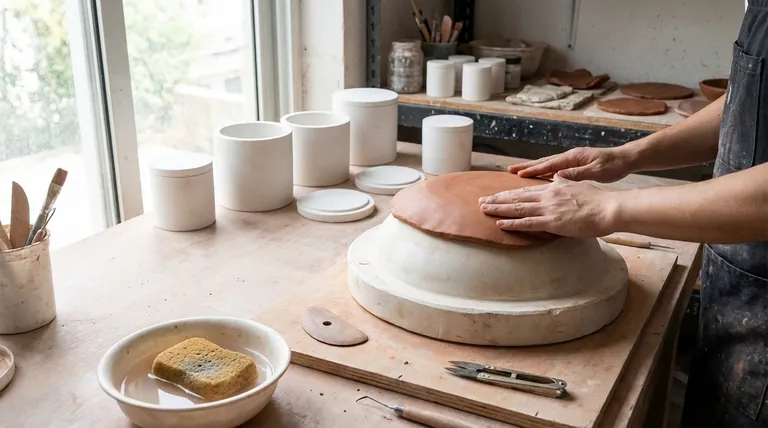
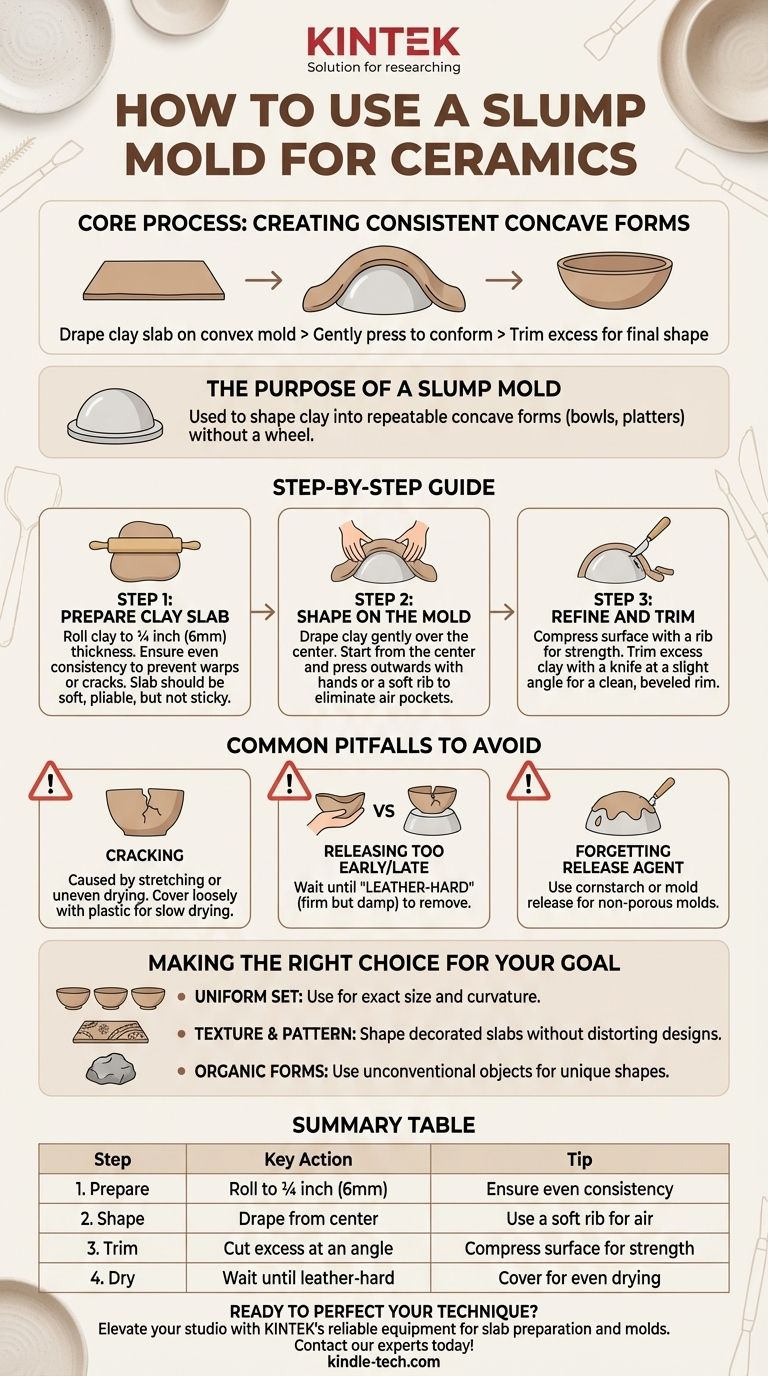
At its core, using a slump mold is a straightforward process for creating consistent, concave ceramic forms. You drape a prepared slab of clay over the mold's convex surface, gently press it to conform to the shape, and then trim the excess clay from the edges.
The key to success with slump molds isn't just pressing clay into a shape; it's about preparing a slab of ideal consistency and allowing the clay to firm up properly on the mold to prevent cracking during drying.
The Purpose of a Slump Mold
A slump mold is a convex form, typically made of plaster, bisque-fired ceramic, or even wood, used to shape clay. Its primary function is to help you create repeatable concave shapes, like bowls, platters, or trays, without needing a potter's wheel.
Step 1: Prepare Your Clay Slab
The quality of your final piece is determined before the clay ever touches the mold. Your slab must be even and have the right moisture content.
Roll your clay to a consistent thickness, typically around ¼ inch (6mm). An inconsistent slab will dry and shrink unevenly, leading to warps or cracks.
The slab should be soft and pliable but not sticky. If it's too wet, it will stick to the mold and tear easily. If it's too dry (approaching leather-hard), it will crack as you try to shape it.
Step 2: Shape the Clay on the Mold
This is where the form takes shape. The goal is to encourage the clay to slump into its new form with minimal force.
Carefully lift your clay slab and drape it gently over the center of the mold. Letting it fall naturally helps prevent the clay from stretching or thinning out in the middle.
Using your hands, a soft rubber rib, or a damp sponge, begin pressing the clay down against the mold's surface. Start from the center and work your way outwards to eliminate air pockets.
Step 3: Refine and Trim the Form
Once the clay is fully conformed to the mold, you need to compress the surface and create a clean edge.
Use a wooden or metal rib to smooth the entire surface of the clay. This act of compression strengthens the clay wall by aligning the clay particles, which helps prevent cracks from forming later.
With a fettling knife or potter's needle tool, hold the blade at a slight angle to the edge and trim away the excess clay. This creates a clean, beveled rim.
Common Pitfalls to Avoid
Slump molding seems simple, but a few common issues can frustrate beginners. Understanding them ahead of time is the best way to ensure success.
The Risk of Cracking
Cracks are the most common problem. They usually occur when the clay is forced to stretch too much or when it dries too quickly.
The rim of your piece is exposed to air while the body is against the mold, causing the rim to dry faster. Cover the piece and mold loosely with plastic to encourage slow, even drying.
Releasing the Piece Too Early or Too Late
Knowing when to remove your piece from the mold is critical. You must wait until the clay is "leather-hard"—firm enough to hold its shape without collapsing but still damp enough to be handled.
If you remove it while too soft, it will distort. If you wait until it is too dry, it will shrink and crack against the unyielding mold.
Forgetting a Release Agent
Most plaster or bisque molds don't require a release agent. However, if you are using a non-porous mold (like glass or plastic), you may need a very thin layer of cornstarch or a special mold release soap to prevent sticking.
Making the Right Choice for Your Goal
Use this technique to achieve specific outcomes in your ceramic work.
- If your primary focus is creating a uniform set of plates or bowls: Use a slump mold to guarantee that every piece has the exact same size and curvature.
- If your primary focus is adding texture and pattern to a simple form: Drape a slab that you have already decorated with stamps or textures onto the mold to give it shape without distorting your design.
- If your primary focus is creating organic, asymmetrical forms: Use an unconventional object, like a smooth rock or a piece of wood, as a slump mold to create unique, nature-inspired shapes.
Slump molding empowers you to build consistent and complex forms, freeing you to focus on the surface and artistic details of your work.
Summary Table:
| Step | Key Action | Tip |
|---|---|---|
| 1. Prepare Slab | Roll clay to ¼ inch (6mm) thickness | Ensure even consistency to prevent cracks |
| 2. Shape on Mold | Drape slab gently from center outwards | Use a soft rib to eliminate air pockets |
| 3. Trim & Refine | Cut excess clay at a beveled angle | Compress surface with a rib for strength |
| 4. Dry Properly | Wait until leather-hard to release | Cover with plastic for even drying |
Ready to perfect your ceramic slump molding technique? Elevate your studio with reliable equipment from KINTEK, your trusted partner for lab and pottery supplies. Whether you need precise tools for slab preparation or durable molds for consistent results, we provide the quality you need. Contact our experts today to find the right solutions for your ceramic projects!
Visual Guide
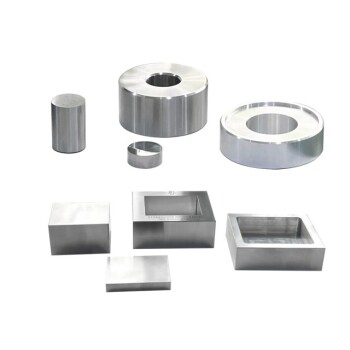
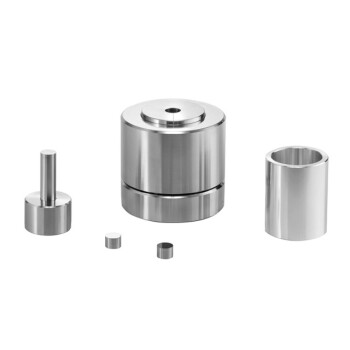
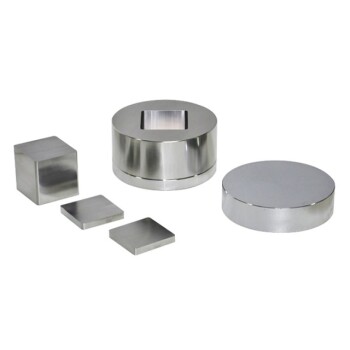
Related Products
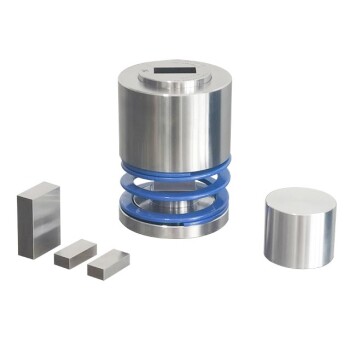
- Anti-Cracking Press Mold for Lab Use
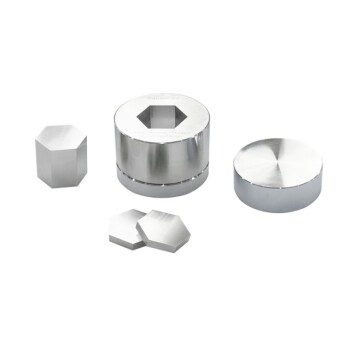
- Special Shape Press Mold for Lab
- Cylindrical Press Mold with Scale for Lab
- Cylindrical Press Mold for Lab Applications
- Ring Press Mold for Lab Applications
People Also Ask
- What is the purpose of specialized pressure devices in sulfide solid-state batteries? Ensure Chemo-Mechanical Stability
- What role do high-pressure mold components play in the thermal pressing of nano-crystalline tungsten? Maximize Density
- Why are pressure molds with non-conductive resin inner walls required for battery testing? Ensure Data Accuracy
- What is the press mould method? A Guide to Consistent, Detailed Ceramic Forms
- What is the function of press molds during the preparation of SiCf/Ti-43Al-9V composites? Achieve Structural Precision