Properly preparing instruments for autoclaving is a non-negotiable prerequisite for achieving true sterility. The process involves more than just loading the machine; it begins with meticulous cleaning and inspection, followed by correct packaging and strategic placement within the autoclave chamber to ensure complete steam penetration. Each step is designed to eliminate any physical or chemical barriers that could shield microorganisms from sterilization.
The core principle of instrument preparation is straightforward: you cannot sterilize what is not clean. Effective preparation ensures that pressurized steam can make direct contact with every surface of an instrument, which is the only way to guarantee the elimination of all microbial life and ensure a safe, successful cycle.
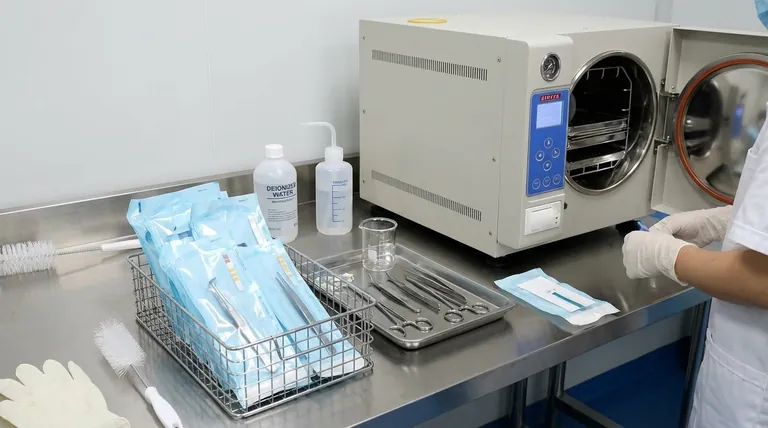
The Foundation: Decontamination and Cleaning
Before an instrument can be sterilized, it must be thoroughly cleaned. This initial decontamination step is the most critical phase of the entire process.
Removing Bioburden
"Bioburden" refers to organic material like blood, tissue, and other bodily fluids left on an instrument after use. Steam cannot penetrate this material, meaning any microbes trapped within it will survive the autoclave cycle, rendering the sterilization process a failure.
Using Appropriate Methods
Instruments should be cleaned as soon as possible after use to prevent bioburden from drying. This can be done manually with brushes, in an ultrasonic cleaner, or with an automated washer-disinfector, using a pH-neutral enzymatic detergent designed for medical instruments.
Rinsing and Drying
After washing, instruments must be thoroughly rinsed with purified water (ideally deionized, as mentioned in the references) to remove any detergent residue. They should then be dried completely, as excess water can dilute the steam and affect sterilization efficiency.
Packaging and Arrangement for Sterilization
How you package and arrange instruments is essential for allowing steam in and air out. Trapped air is a primary cause of failed sterilization cycles.
Choosing the Right Packaging
Use approved sterilization packaging such as peel pouches, textile wraps, or rigid containers. The packaging must be permeable to steam but also able to maintain a sterile barrier after the cycle is complete.
Opening and Disassembling Instruments
Hinged instruments like forceps or scissors must be placed in the open, unlocked position. Complex instruments should be disassembled according to the manufacturer's instructions. This ensures steam reaches every joint, crevice, and internal channel.
Using Chemical Indicators
A chemical indicator strip must be placed inside every package or container. This indicator changes color only when it has been exposed to the specific parameters of sterilization (time, temperature, and steam), providing crucial evidence that sterilizing conditions were met inside the pack.
Loading the Autoclave Chamber
Correctly loading the autoclave ensures that steam can circulate freely throughout the chamber and penetrate every package.
Preparing the Chamber
Before loading, confirm the autoclave's chamber and drain screen are clean and free of any debris from previous cycles. Ensure the drain valve is closed and add the appropriate amount of distilled or deionized water as specified by the manufacturer.
Avoiding Overloading
Never overload the autoclave chamber. Packages should be loaded loosely to allow for adequate air removal and steam circulation between them. Overloading is a common cause of wet packs and sterilization failures.
Orienting Items Correctly
Place all items so that moisture can drain. Pouches should be placed on their edge in racks. Rigid containers and instrument trays should be placed flat on the shelf, and any items that could collect water (like basins) should be tilted on their side.
Understanding Critical Safety Exclusions
Equally important to knowing what to do is knowing what not to do. Placing forbidden items in an autoclave can cause catastrophic damage to the unit and present a severe safety hazard.
Never Autoclave Sealed Containers
Any container that is sealed airtight, including a bottle with a tightly screwed cap, will build up immense pressure internally. This can cause the container to shatter or explode, damaging the autoclave and posing a significant risk of injury.
Never Autoclave Flammable or Volatile Chemicals
Do not place items containing solvents, oils, or other volatile compounds in an autoclave. The high heat can cause them to vaporize and emit toxic or flammable fumes, creating a fire or explosion hazard.
Never Autoclave Corrosive Agents
Chemicals like bleach or other cleaners containing chlorides must never be autoclaved. When heated, these chlorides release corrosive gases that will cause irreversible pitting and damage to the stainless steel chamber and components of the autoclave.
Making the Right Choice for Your Goal
Follow this guidance to ensure your preparation process aligns with your primary objective for each sterilization cycle.
- If your primary focus is guaranteed sterility: Double-check that all bioburden has been cleaned off and that an internal chemical indicator is placed in every single package.
- If your primary focus is instrument longevity: Always use a pH-neutral detergent for cleaning and ensure instruments are thoroughly rinsed and dried before packaging.
- If your primary focus is operator and equipment safety: Strictly adhere to the rules of what to exclude, never autoclaving sealed containers, solvents, or bleach.
Ultimately, successful sterilization is a direct result of disciplined and knowledgeable preparation.
Summary Table:
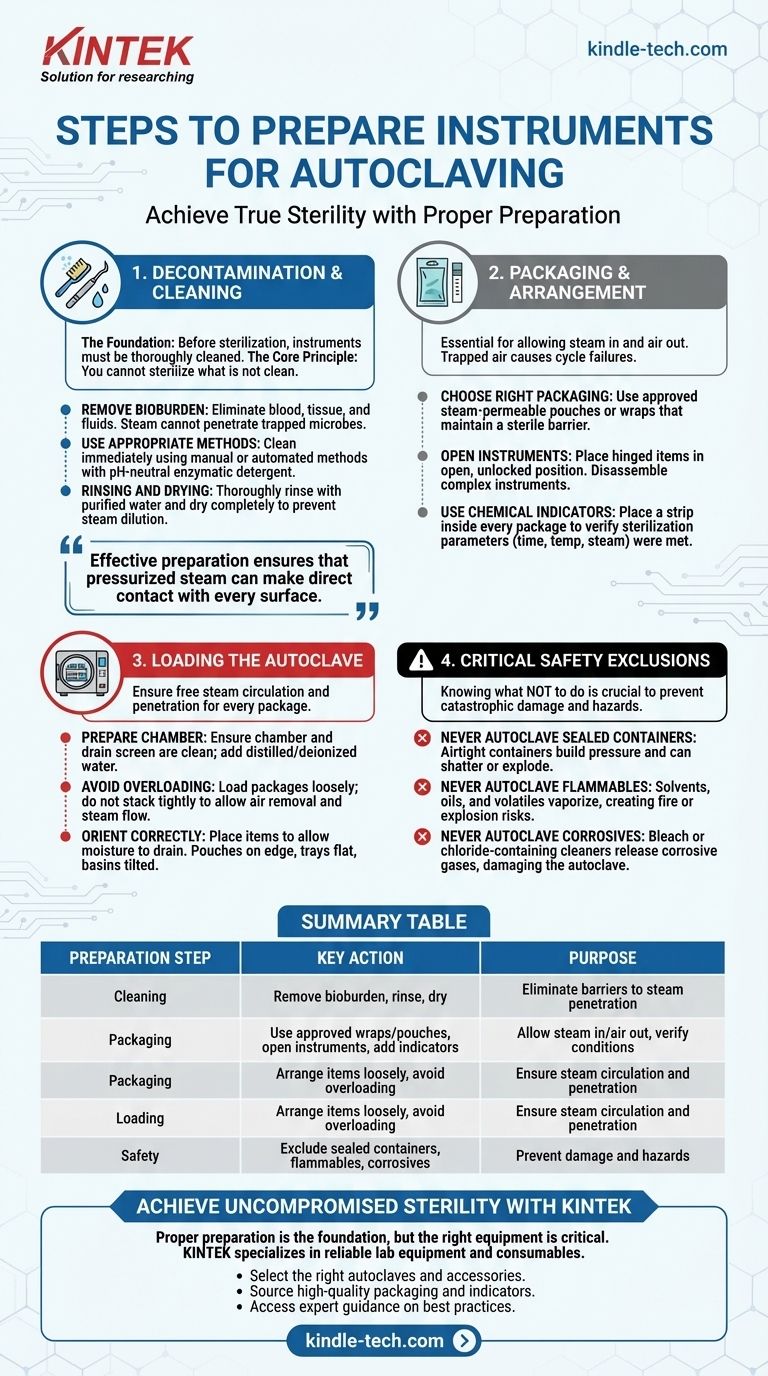
| Preparation Step | Key Action | Purpose |
|---|---|---|
| Cleaning | Remove bioburden, rinse, and dry | Eliminate barriers to steam penetration |
| Packaging | Use approved wraps/pouches, open instruments, add indicators | Allow steam in and air out, verify conditions |
| Loading | Arrange items loosely, avoid overloading | Ensure steam circulation and penetration |
| Safety | Exclude sealed containers, flammables, and corrosives | Prevent damage and hazards |
Achieve Uncompromised Sterility and Protect Your Lab Investment with KINTEK
Proper instrument preparation is the foundation of effective autoclaving, but having the right equipment and support is just as critical. KINTEK specializes in providing reliable lab equipment and consumables tailored to your laboratory's needs, ensuring your sterilization processes are safe, efficient, and compliant.
Let us help you:
- Select the right autoclaves and accessories for your specific applications.
- Source high-quality packaging materials and indicators to validate every cycle.
- Access expert guidance on best practices for instrument care and sterilization.
Don't leave sterility to chance—contact KINTEK today to enhance your lab's safety and performance!
Visual Guide
Related Products
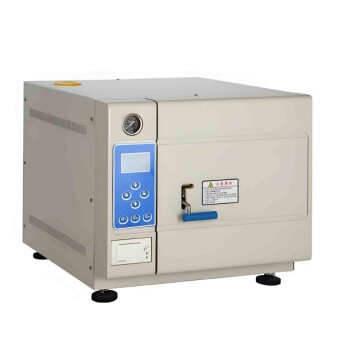
- Desktop Fast Laboratory Autoclave Sterilizer 35L 50L 90L for Lab Use
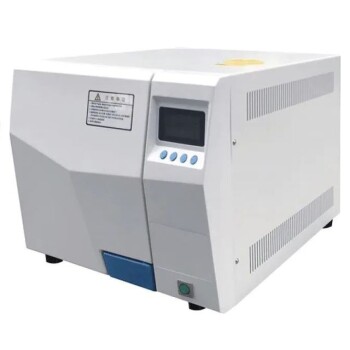
- Desktop Fast Laboratory Autoclave Sterilizer 20L 24L for Lab Use
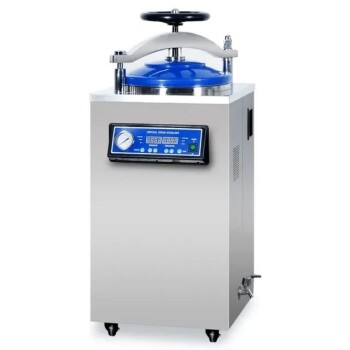
- Laboratory High Pressure Steam Sterilizer Vertical Autoclave for Lab Department
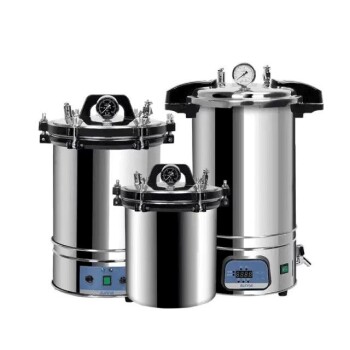
- Portable High Pressure Laboratory Autoclave Steam Sterilizer for Lab Use
- Laboratory Sterilizer Lab Autoclave Herbal Powder Sterilization Machine for Plant
People Also Ask
- What is the temperature of autoclave in microbiology lab? Achieve Sterile Conditions with 121°C
- How do you autoclave lab equipment? A Step-by-Step Guide to Sterile Results
- Which autoclave is used in microbiology lab? Gravity Displacement vs. Pre-Vacuum Explained
- What is an autoclave laboratory equipment? The Ultimate Guide to Steam Sterilization
- What is an autoclave used for in a lab? Achieve Total Sterilization for Lab Safety and Integrity
