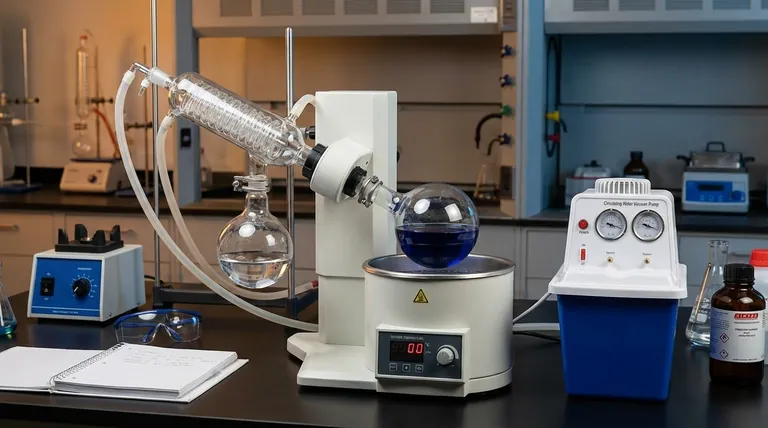
In essence, the rotary evaporator, often called a "rotovap," is a laboratory instrument designed for the efficient and gentle removal of solvents from samples through evaporation. It accomplishes this not by using extreme heat, but by reducing the pressure within the system. This lowers the solvent's boiling point, allowing for rapid evaporation at a lower temperature, which protects the integrity of the sample.
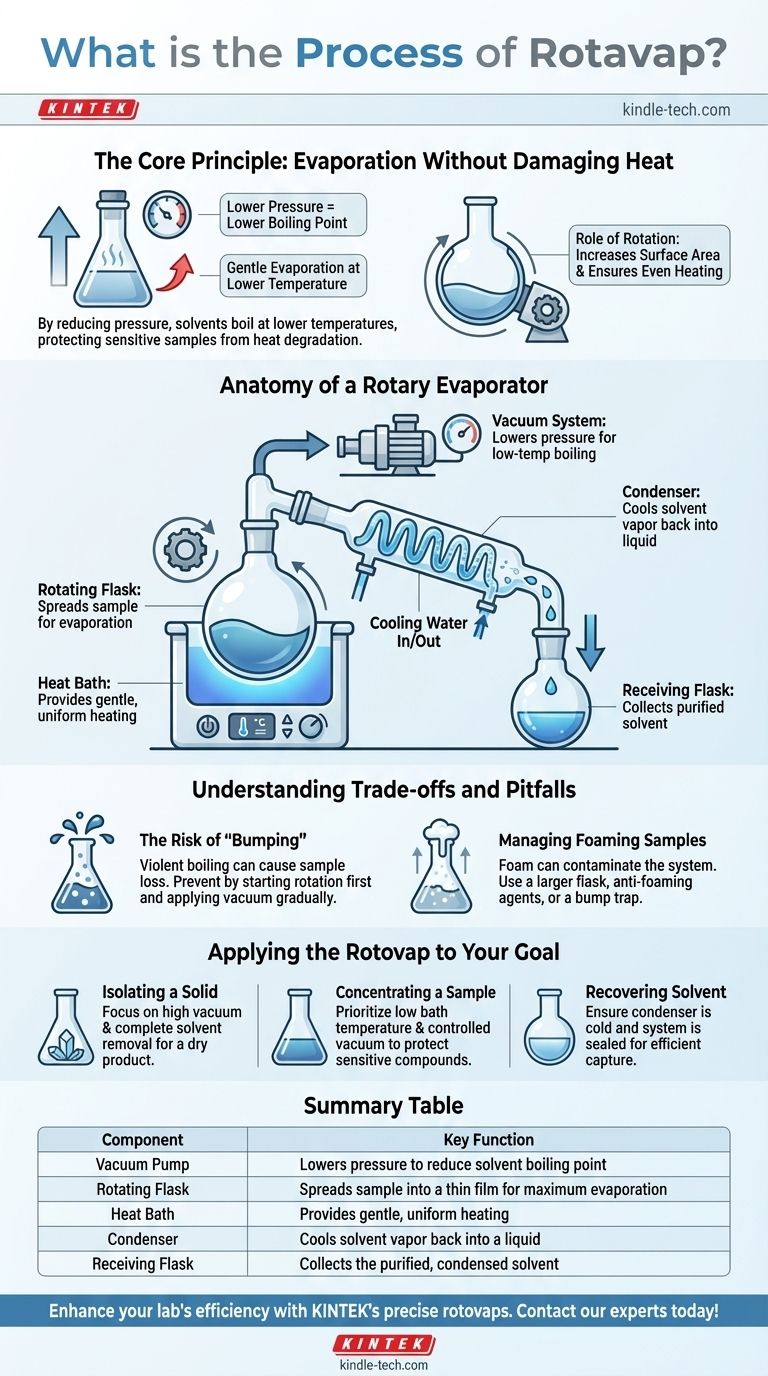
The core principle of the rotovap is simple yet powerful: by lowering the pressure, you lower a liquid's boiling point. This allows for fast, controlled evaporation without the high heat that could destroy a sensitive compound.
The Core Principle: Evaporation Without Damaging Heat
The Boiling Point and Pressure Relationship
The temperature at which a liquid boils is directly dependent on the pressure above it. At sea level, water boils at 100°C (212°F). On a high mountain, where atmospheric pressure is lower, water boils at a significantly lower temperature.
A rotovap exploits this physical law by attaching a vacuum pump to a sealed system of glassware. By actively removing air, the vacuum pump dramatically lowers the internal pressure, forcing solvents to boil at temperatures as low as room temperature.
The Role of Rotation
The second key function is the rotation of the sample flask. This rotation serves two critical purposes.
First, it constantly spreads the sample mixture into a thin film on the inner wall of the flask, vastly increasing the surface area available for evaporation. Second, it ensures even and gentle heating as the flask rotates through a heated water or oil bath, preventing localized overheating and violent boiling.
Anatomy of a Rotary Evaporator
A rotovap is a system of interconnected components, each with a specific function.
The Rotating Flask and Heat Bath
The sample, dissolved in a solvent, is placed in a round-bottom flask. This flask is attached to the main apparatus and is partially submerged in a water or oil bath that provides gentle, uniform heat. The rotation is controlled by a motor.
The Vacuum System
A vacuum pump is connected to the system via a port. This is the heart of the process, as it removes air and lowers the pressure, enabling low-temperature boiling. A vacuum gauge allows for precise monitoring and control.
The Condenser
As the solvent evaporates into a gas, it travels up into a condenser. This component is a glass coil that is continuously cooled, typically by circulating cold water or another coolant.
When the hot solvent vapor contacts the cold surface of the condenser coil, it rapidly cools and condenses back into a liquid.
The Receiving Flask
Gravity pulls the condensed liquid solvent down the coil, where it drips into a separate collection flask called the receiving flask. This allows you to recover the solvent, which can be useful for reuse or proper disposal. The non-volatile sample remains behind in the original rotating flask.
Understanding the Trade-offs and Pitfalls
While highly effective, the process is not without potential issues that require operator attention.
The Risk of "Bumping"
If the vacuum is applied too quickly or the heat is too high, the sample can boil violently. This is known as bumping, and it can cause the sample to splash out of the evaporating flask, leading to sample loss and contamination of the glassware.
This is prevented by starting the rotation before applying vacuum and heat, and by applying the vacuum gradually.
Managing Foaming Samples
Some mixtures, particularly those containing soaps, proteins, or certain plant extracts, have a tendency to foam under vacuum. This foam can easily travel through the system, causing contamination.
Using a larger flask, adding anti-foaming agents, or using a specialized "bump trap" between the flask and condenser can mitigate this issue.
Volatility and Co-Evaporation
The rotovap separates components based on their boiling points (volatility). If your sample of interest is also somewhat volatile, it may co-evaporate with the solvent, leading to loss of product. Careful control over temperature and vacuum level is essential to prevent this.
Applying the Rotovap to Your Goal
The optimal setup depends on what you are trying to achieve.
- If your primary focus is isolating a solid compound: Concentrate on achieving a high vacuum and complete solvent removal to yield a dry, solvent-free product in the evaporating flask.
- If your primary focus is concentrating a heat-sensitive sample: Prioritize low bath temperatures and a carefully controlled, moderate vacuum to gently remove the solvent without degrading your compound.
- If your primary focus is recovering a high-purity solvent: Ensure your condenser is sufficiently cold and your system is well-sealed to efficiently capture all solvent vapor in the receiving flask.
Mastering this process transforms it from a simple piece of laboratory equipment into a precise and powerful tool for chemical separation.
Summary Table:
| Component | Key Function |
|---|---|
| Vacuum Pump | Lowers pressure to reduce solvent boiling point |
| Rotating Flask | Spreads sample into a thin film for maximum evaporation |
| Heat Bath | Provides gentle, uniform heating |
| Condenser | Cools solvent vapor back into a liquid |
| Receiving Flask | Collects the purified, condensed solvent |
Ready to enhance your lab's efficiency and protect your sensitive samples?
KINTEK specializes in high-quality rotary evaporators and lab equipment designed for precise, gentle solvent removal. Our rotovaps help you achieve faster evaporation at lower temperatures, ensuring the integrity of your valuable compounds.
Contact our experts today to find the perfect rotary evaporator for your specific application and workflow!
Visual Guide
Related Products
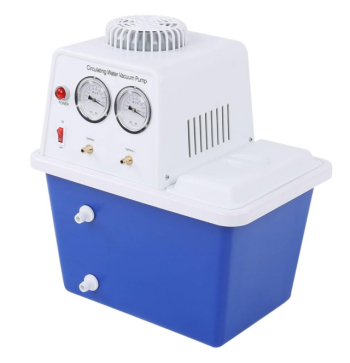
- Circulating Water Vacuum Pump for Laboratory and Industrial Use
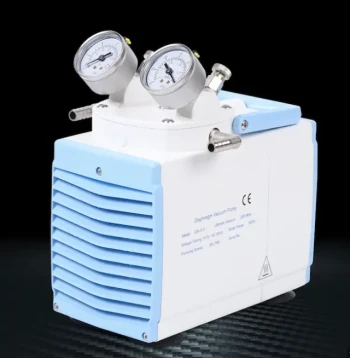
- Oil Free Diaphragm Vacuum Pump for Laboratory and Industrial Use
- 1400℃ Controlled Atmosphere Furnace with Nitrogen and Inert Atmosphere
- Electric Heated Hydraulic Vacuum Heat Press for Lab
- Small Vacuum Heat Treat and Tungsten Wire Sintering Furnace
People Also Ask
- How is a circulating water vacuum pump utilized for hydrogen production residues? Optimize Your Solid-Liquid Separation
- How does the impeller rotation affect the gas flow in a water circulating vacuum pump? A Guide to the Liquid Ring Principle
- What determines the vacuum degree achievable by a water circulating vacuum pump? Unlock the Physics of Its Limits
- What is the primary function of a vacuum pump? Remove Gas Molecules to Create a Controlled Vacuum
- Why is a water circulating vacuum pump suitable for handling flammable or explosive gases? Inherent Safety Through Isothermal Compression
