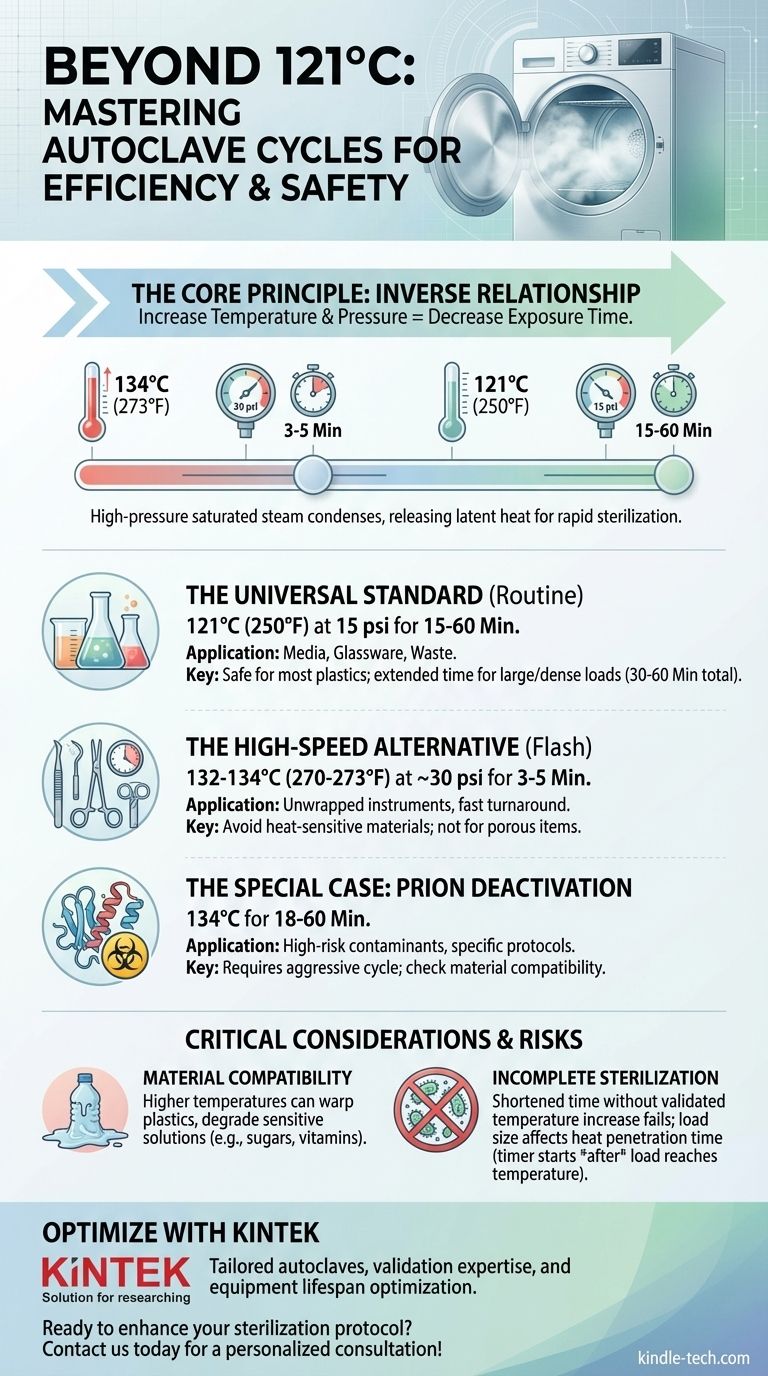
Beyond the standard 121°C for 15 minutes, the most common alternative autoclave setting is 134°C (273°F) for 3-5 minutes. Other specialized cycles exist, such as extended times for large volumes or specific protocols for destroying highly resistant prions, which can require holding at 134°C for 18 minutes or longer. The choice depends entirely on the material being sterilized and the speed required.
The core principle is not a single magic number, but an inverse relationship: as you increase the temperature and pressure of the saturated steam, you can decrease the exposure time required to achieve complete sterilization.
The Principle: Why Temperature and Time are Interchangeable
An autoclave does not sterilize with dry heat; it sterilizes with high-pressure saturated steam. This distinction is critical to understanding how the different cycles work.
The Role of Saturated Steam
Pressurizing the autoclave chamber allows water to boil at a temperature much higher than its normal 100°C (212°F). This superheated, high-pressure steam is the sterilizing agent.
When this steam makes contact with cooler items in the load, it rapidly condenses back into liquid water, releasing a massive amount of energy known as latent heat.
This sudden transfer of heat is what instantly denatures the essential proteins and enzymes in bacteria, viruses, and spores, rendering them inactive and non-reproductive.
The Interplay of Variables
Temperature, pressure, and time are inextricably linked. You cannot change one without affecting the others.
Higher temperatures cause more violent and rapid denaturation of microbial proteins. Therefore, a higher temperature like 134°C can achieve the same level of sterility in a fraction of the time needed at 121°C.
Standard and Alternative Sterilization Cycles
While countless combinations are theoretically possible, professional and medical environments rely on a few well-validated cycles.
The Universal Standard: 121°C
The cycle of 121°C (250°F) at 15 psi for a minimum of 15 minutes is the most widely used setting. It is effective for the vast majority of general laboratory applications, including media, glassware, and instruments.
This setting provides a reliable balance, being hot enough to kill heat-resistant spores without damaging most laboratory plastics (like polypropylene) or degrading common media components.
The High-Speed Alternative: 132-134°C
For applications where speed is critical, cycles at 132°C to 134°C (270-273°F) at approximately 30 psi are used. The exposure time is drastically reduced to just 3 to 5 minutes.
This is often called "flash sterilization" and is common in medical settings for quickly sterilizing unwrapped instruments between procedures.
The Special Case: Prion Deactivation
Prions, the infectious proteins responsible for diseases like Creutzfeldt-Jakob Disease (CJD), are notoriously resistant to standard sterilization methods.
Deactivating prions requires a more aggressive approach. The World Health Organization often recommends a cycle of 134°C for a minimum of 18 minutes, with some protocols extending this to 60 minutes for maximum safety.
The Most Important Factor: Load Size and Density
It is crucial to understand that the timer starts only after the load itself has reached the target temperature. This "heat penetration time" is often the longest part of the cycle.
A large flask of liquid or a dense bag of biohazard waste will take much longer to reach 121°C at its core than a single metal instrument. For these loads, the total cycle time is often extended to 30, 45, or even 60 minutes to ensure the 15-minute exposure time is met throughout the entire load.
Understanding the Trade-offs and Risks
Choosing a faster, hotter cycle is not always the better option. It involves significant trade-offs that must be considered.
Material Compatibility
Higher temperatures can be destructive. Many common plastics will warp or melt at 134°C. Sensitive solutions, such as cell culture media with sugars or vitamins, can be degraded or carmelized by the intense heat, rendering them unusable.
The Risk of Incomplete Sterilization
The single biggest risk is failing to achieve sterility. Simply shortening the time without a corresponding and validated increase in temperature will result in a failed cycle. This is especially dangerous with dense or liquid loads where heat penetration is slow.
The Necessity of Validation
Regardless of the cycle you choose, its effectiveness for your specific load must be verified. Use chemical indicators (tape or strips that change color) in every load and conduct periodic validation with biological indicators (vials of highly resistant spores) to prove your process works.
Selecting the Right Cycle for Your Application
Use your specific goal to determine the appropriate starting point for your autoclave cycle.
- If your primary focus is routine sterilization of media, glassware, or waste: Use the standard 121°C for 15 minutes, extending the total time to 30-60 minutes for larger volumes.
- If your primary focus is speed for unwrapped, non-porous instruments: A cycle of 132-134°C for 3-5 minutes is the most efficient choice.
- If your primary focus is sterilizing heat-sensitive plastics or solutions: Stick with the lower 121°C temperature to minimize damage to the materials.
- If your primary focus is decontaminating materials potentially exposed to prions: You must use an extended cycle, such as 134°C for at least 18 minutes.
Understanding these core principles empowers you to move beyond default settings and implement a sterilization process that is both safe and effective for your specific needs.
Summary Table:
| Application | Recommended Cycle | Key Considerations |
|---|---|---|
| Routine Sterilization (Media, Glassware) | 121°C for 15-60 min | Extend time for large/dense loads; safe for most plastics |
| High-Speed (Flash Sterilization) | 134°C for 3-5 min | Ideal for unwrapped instruments; avoid heat-sensitive materials |
| Prion Deactivation | 134°C for 18-60 min | Required for high-risk contaminants; check material compatibility |
| Heat-Sensitive Plastics/Solutions | 121°C with extended time | Prevents warping/degradation; validate penetration for dense loads |
Optimize Your Lab’s Sterilization Process with KINTEK
Choosing the right autoclave cycle is critical for safety, efficiency, and material integrity. At KINTEK, we specialize in lab equipment and consumables, offering autoclaves tailored to your specific needs—whether you’re handling routine media, heat-sensitive plastics, or high-risk contaminants. Our experts can help you validate cycles, ensure compliance, and maximize equipment lifespan.
Ready to enhance your sterilization protocol? Contact us today for a personalized consultation!
Visual Guide
Related Products
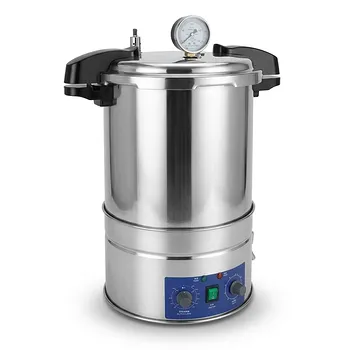
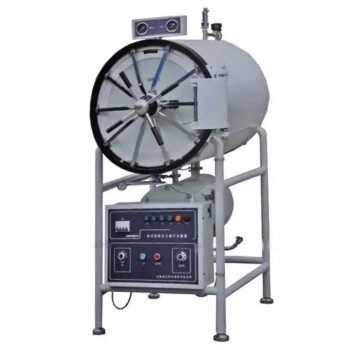
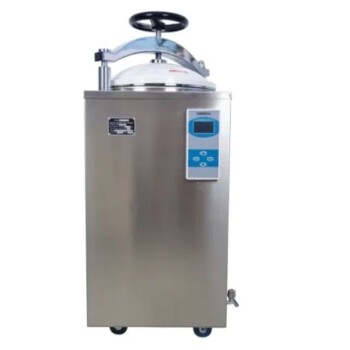
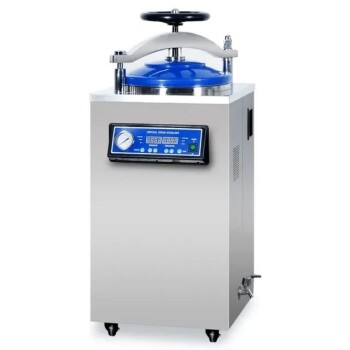
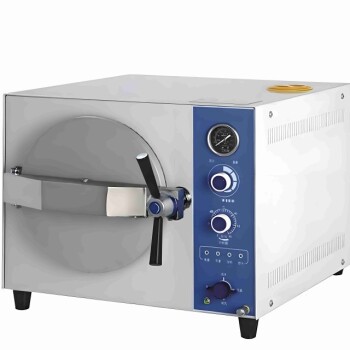
- Portable High Pressure Laboratory Autoclave Steam Sterilizer for Lab Use
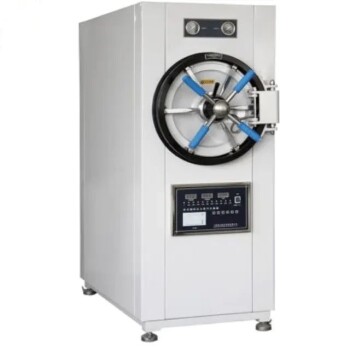
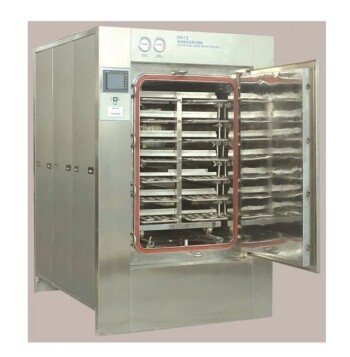
- Laboratory Horizontal Autoclave Steam Sterilizer Lab Microcomputer Sterilizer
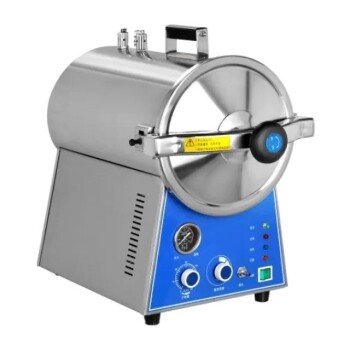
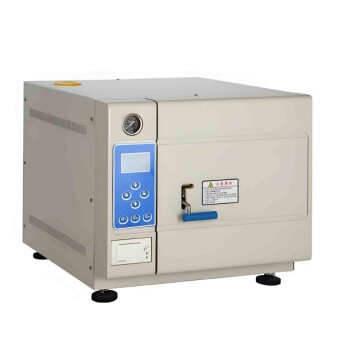
- Desktop Fast High Pressure Laboratory Autoclave Sterilizer 16L 24L for Lab Use
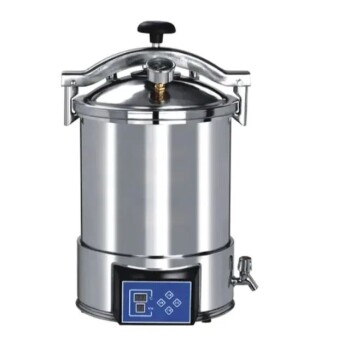
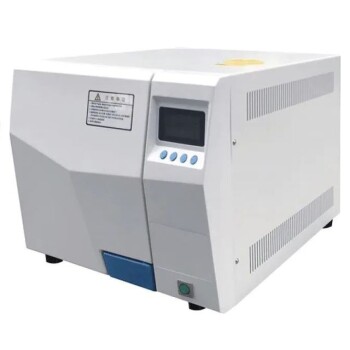
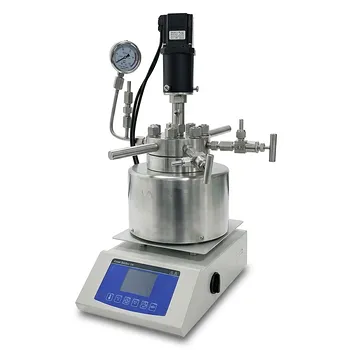
- Portable Digital Display Automatic Laboratory Sterilizer Lab Autoclave for Sterilization Pressure
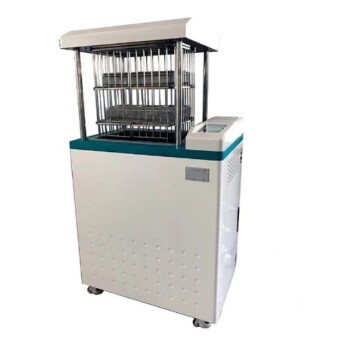
- Desktop Fast Laboratory Autoclave Sterilizer 35L 50L 90L for Lab Use
People Also Ask
- What is a laboratory autoclave? A Guide to Sterilization with Pressurized Steam
- What extreme conditions does a laboratory autoclave simulate? Testing Wear Resistance of Nuclear Fuel Cladding
- What precautions should be taken during autoclave in laboratory? A Complete Safety Guide to Prevent Burns and Explosions
- Why is a laboratory autoclave necessary for Postgate Medium B (PMB)? Ensure Pure SRB Cultures & Accurate MIC Research
- What role does a laboratory autoclave play in HEA corrosion research? Key to Validating Advanced Reactor Materials