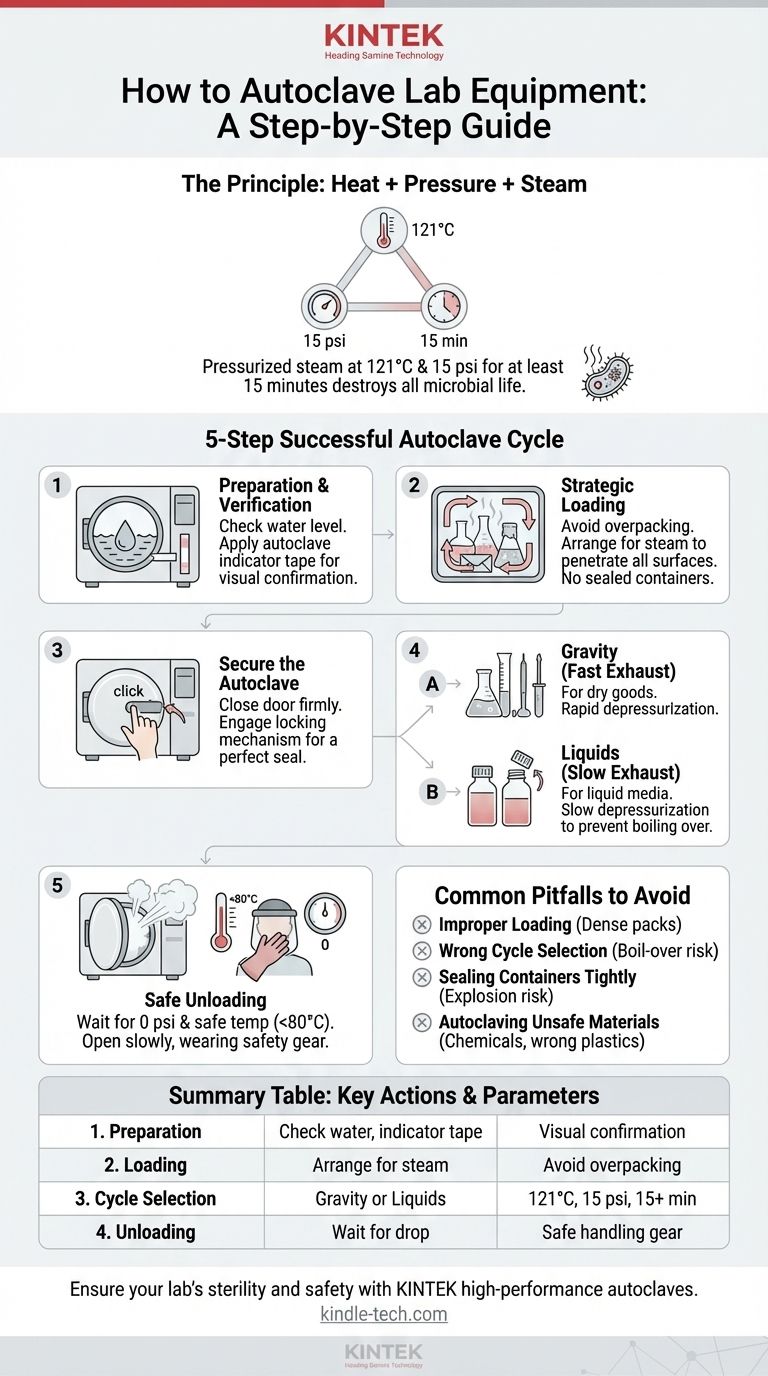
To properly autoclave lab equipment, you must first ensure the machine has sufficient water, load your items so that steam can penetrate all surfaces, and securely latch the door. You then select the appropriate sterilization cycle—typically targeting 121°C at 15 psi for a minimum of 15 minutes. Once the cycle finishes, you must wait for both the pressure and temperature to return to safe levels before carefully opening the door to remove your sterile equipment.
An autoclave doesn't just heat things up; it uses pressurized steam to achieve true sterilization by destroying all microbial life. Success depends less on the buttons you push and more on preparing your load correctly to allow for complete steam penetration.
The Principle of Autoclaving: Beyond Simple Heat
To use an autoclave effectively, it's critical to understand how it works. It’s not just an oven; its power lies in the combination of heat, pressure, and steam.
How Pressurized Steam Works
Water boils at 100°C (212°F) at normal atmospheric pressure. By increasing the pressure inside a sealed chamber, an autoclave forces water to remain liquid at higher temperatures.
This superheated steam is far more effective at transferring heat than dry air. It rapidly penetrates materials and denatures the essential proteins and enzymes within microorganisms, including resilient bacterial spores, rendering them non-functional and sterile.
The Three Critical Parameters
A successful sterilization cycle depends on achieving a precise balance of three factors:
- Temperature: The standard is 121°C (250°F).
- Pressure: The pressure required to reach 121°C is approximately 15 pounds per square inch (psi).
- Time: The minimum exposure time at this temperature and pressure is 15 minutes. Densely packed or large-volume loads require longer cycle times.
A Step-by-Step Guide to a Successful Cycle
Executing a proper autoclave cycle is a systematic process where preparation and safety are paramount.
Step 1: Preparation and Verification
Before loading, inspect the autoclave. Check that the drain screen is clean and that there is an adequate amount of deionized water in the reservoir.
Place a strip of autoclave indicator tape on your items. This tape changes color or displays a pattern when the correct temperature has been reached, providing a visual confirmation of a successful cycle.
Step 2: Strategic Loading for Steam Penetration
How you load the autoclave is the most common point of failure. Steam must be able to circulate freely and contact every surface.
Do not overpack the chamber. Leave space between all items. If sterilizing items in bags, place them on their side in a shallow, autoclave-safe pan to allow steam to enter and air to escape.
Step 3: Securing the Autoclave
Close the autoclave door firmly and engage the locking mechanism. The door must form a perfect seal to allow pressure to build. A faulty seal is a major safety hazard and will cause the cycle to fail.
Step 4: Selecting the Correct Cycle
Modern autoclaves have pre-programmed cycles for different materials. The two most common are:
- Gravity (or Fast Exhaust): For dry goods like glassware, instruments, and waste. Steam displaces air, and at the end of the cycle, the chamber is rapidly depressurized.
- Liquids (or Slow Exhaust): For liquid media. The chamber depressurizes slowly to prevent the liquids from boiling over violently.
Step 5: Safe Unloading
After the cycle completes, do not open the door immediately. The chamber is still under pressure. Wait for the pressure gauge to read zero and the temperature to drop to a safe level (typically below 80°C).
Wear heat-resistant gloves and a face shield. Stand back from the door and open it slowly to allow any remaining steam to escape safely.
Common Pitfalls to Avoid
Trusting your results means knowing what can go wrong. Avoiding these common mistakes is essential for ensuring true sterility and safety.
Pitfall: Improper Loading
Dense, tightly packed loads are the number one cause of failed sterilization. If steam cannot reach an item's core, it will not be sterile, even if the indicator tape on the outside changes color.
Pitfall: Wrong Cycle Selection
Using a fast exhaust cycle for liquids will cause them to boil over, resulting in lost media, a hazardous mess, and potential damage to the autoclave.
Pitfall: Sealing Containers Tightly
Never autoclave a completely sealed container, such as a bottle with a tightly screwed cap. As the contents heat, pressure will build inside the container, creating an explosion risk. Always loosen caps before loading.
Pitfall: Autoclaving Unsafe Materials
Never place flammable, corrosive, or volatile chemicals (like bleach) in an autoclave. Additionally, not all plastics are autoclavable; using the wrong type will result in melted plastic and a difficult cleanup.
Making the Right Choice for Your Sterilization Goal
Your approach should be tailored to what you are trying to accomplish.
- If your primary focus is sterilizing glassware and instruments: Use a gravity (fast exhaust) cycle and arrange items to ensure they are not creating pockets where air can be trapped.
- If your primary focus is sterilizing liquid media: Use a dedicated liquids (slow exhaust) cycle and ensure all bottle caps are loosened to one-quarter turn.
- If your primary focus is decontaminating biohazardous waste: Use a longer gravity cycle (e.g., 30-60 minutes) and add about 100-200ml of water inside the autoclave bag to help generate steam internally.
By mastering these principles, you move from simply operating a machine to guaranteeing the integrity and safety of your scientific work.
Summary Table:
| Step | Key Action | Critical Parameter |
|---|---|---|
| 1. Preparation | Check water level, apply indicator tape | Visual confirmation of cycle success |
| 2. Loading | Arrange items for steam penetration | Avoid overpacking |
| 3. Cycle Selection | Choose Gravity (dry goods) or Liquids (media) | 121°C at 15 psi for 15+ minutes |
| 4. Unloading | Wait for pressure & temperature to drop | Safe handling with heat-resistant gear |
Ensure your lab's sterility and safety with the right equipment.
Mastering autoclave technique is essential, but it starts with a reliable machine. KINTEK specializes in high-performance lab autoclaves and consumables designed for precise temperature control, safety, and durability. Whether you need to sterilize glassware, liquid media, or biohazardous waste, our equipment helps you achieve guaranteed results and protect your research integrity.
Contact us today to find the perfect autoclave solution for your laboratory's specific needs. #ContactForm
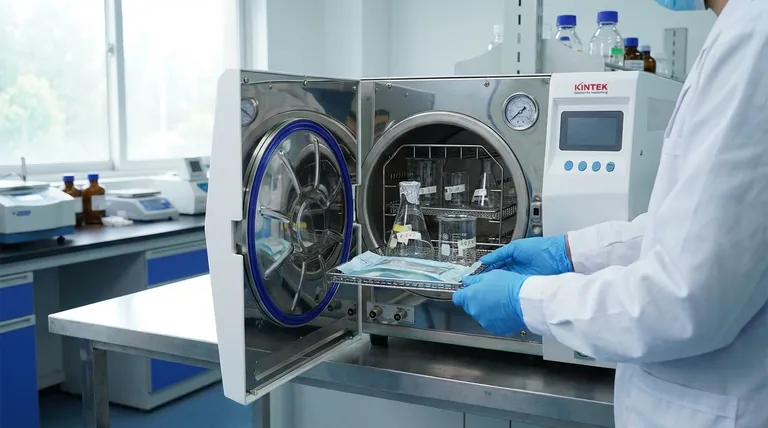
Visual Guide
Related Products
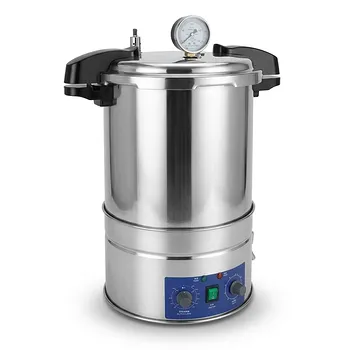
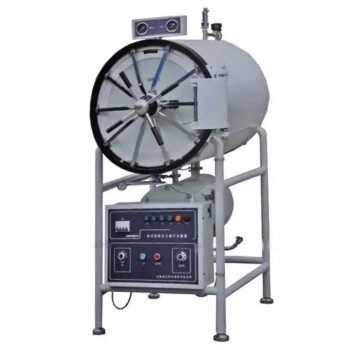
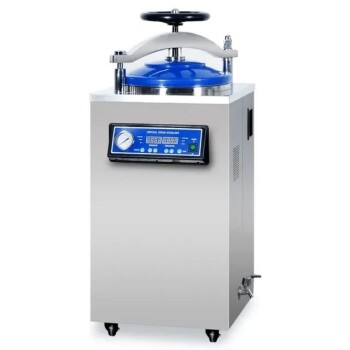
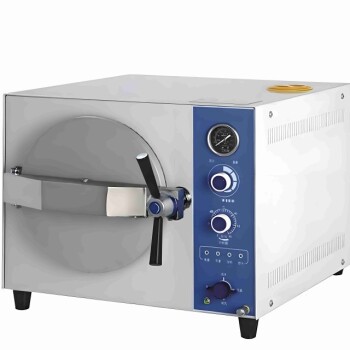
- Portable High Pressure Laboratory Autoclave Steam Sterilizer for Lab Use
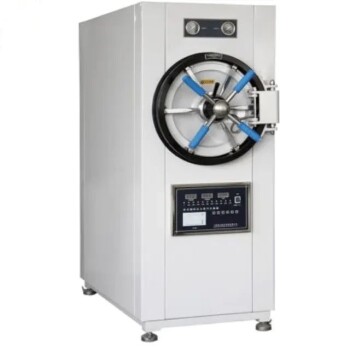
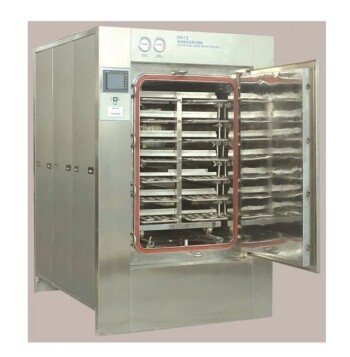
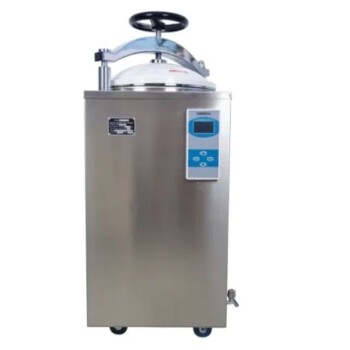
- Laboratory Horizontal Autoclave Steam Sterilizer Lab Microcomputer Sterilizer
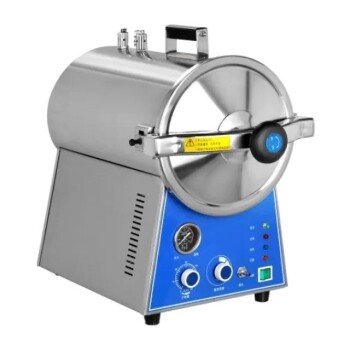
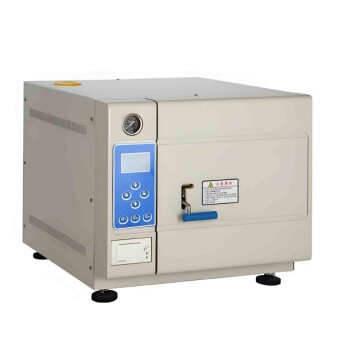
- Desktop Fast High Pressure Laboratory Autoclave Sterilizer 16L 24L for Lab Use
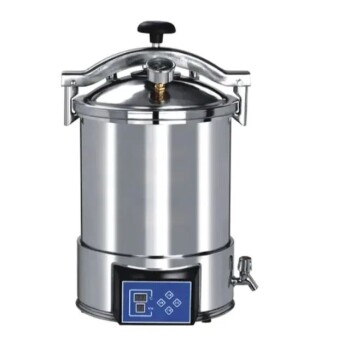
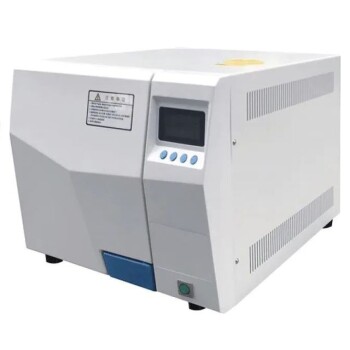
- Portable Digital Display Automatic Laboratory Sterilizer Lab Autoclave for Sterilization Pressure
- Desktop Fast Laboratory Autoclave Sterilizer 35L 50L 90L for Lab Use
People Also Ask
- What role does a laboratory autoclave play in HEA corrosion research? Key to Validating Advanced Reactor Materials
- What is a laboratory autoclave? A Guide to Sterilization with Pressurized Steam
- What is the importance of using a laboratory autoclave in ZSM-5 synthesis? Achieve Perfect Zeolite Crystallization
- Why is a laboratory high-pressure autoclave sterilizer necessary? Ensure Accuracy in Antibacterial Research
- What precautions should be taken during autoclave in laboratory? A Complete Safety Guide to Prevent Burns and Explosions