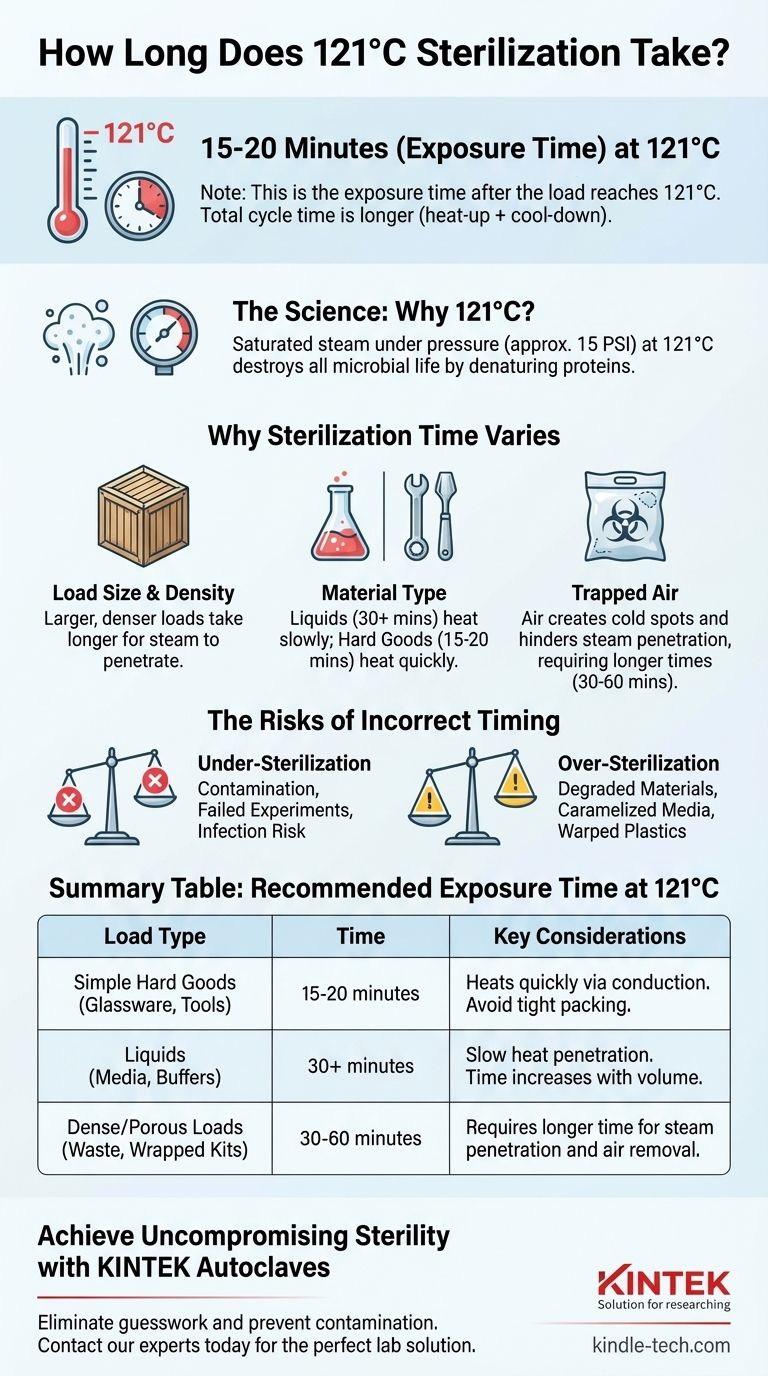
At 121°C, a standard autoclave sterilization cycle requires an exposure time of at least 15 to 20 minutes. This duration, however, is only the holding period after the entire load has reached the target temperature and pressure. The total cycle time, including heat-up and cool-down phases, will be significantly longer.
The 15-minute rule is a baseline, not a universal constant. True sterilization time is dictated by the size, density, and type of the load, as these factors determine how long it takes for pressurized steam to penetrate and effectively kill all microorganisms.
The Science Behind the 15-Minute Standard
To use an autoclave correctly, you must understand why these specific parameters exist. The goal is not just to heat an object, but to ensure lethal conditions are met throughout the entire mass of the object being sterilized.
Why 121°C?
Sterilization at 121°C (250°F) is achieved by using saturated steam under pressure, typically around 15 pounds per square inch (PSI) above atmospheric pressure.
This combination of heat and moisture is exceptionally effective at destroying all forms of microbial life, including highly resistant bacterial spores. The heat works by irreversibly denaturing essential proteins and enzymes, leading to cell death.
What "Time" Really Means in Sterilization
A common point of confusion is the difference between total cycle time and exposure time.
The 15-20 minute recommendation refers exclusively to the exposure time (or "holding time"). This is the period during which the load is held at the full 121°C. The timer for this phase should only begin after the internal temperature of the load itself—not just the chamber air—reaches 121°C.
Why Your Sterilization Time Might Need to Be Longer
The 15-minute baseline assumes ideal conditions and a simple load. In practice, many factors demand a longer exposure time to guarantee sterility.
The Critical Role of Load Size and Density
A large, dense load takes much longer for steam to penetrate than a small, simple one. Think of it like cooking a small potato versus a large turkey; the center of the turkey takes far longer to reach the target temperature.
If the exposure timer starts before the center of the densest item in the autoclave reaches 121°C, that item will not be sterilized.
Sterilizing Liquids vs. Hard Goods
Different materials absorb heat at different rates.
- Liquids (e.g., growth media, buffers) have a high heat capacity and heat up slowly through convection. A large flask of liquid may require 30 minutes or more at 121°C.
- Hard Goods (e.g., empty glassware, metal instruments) heat quickly via conduction and typically adhere to the 15-20 minute standard.
- Porous Materials (e.g., biohazard waste, wrapped surgical kits) are the most challenging, as they can trap air.
The Problem of Trapped Air
Air is the enemy of steam sterilization. It is a poor conductor of heat and, if trapped within the load or the chamber, it creates "cold spots" where the temperature never reaches 121°C.
This is a primary cause of sterilization failure. Proper loading techniques that allow for air removal and steam circulation are as important as the time and temperature settings.
Understanding the Trade-offs and Risks
Choosing the right cycle length is a balancing act. Both under- and over-processing have significant consequences.
The Danger of Under-Sterilization
This is the most critical risk. If the cycle is too short, or if steam penetration is incomplete, microbial spores can survive. This leads to contaminated media, failed experiments, or in a clinical setting, a direct risk of infection.
The Problem of Over-Sterilization
While less dangerous, running a cycle for too long can also cause problems. Excessive heat and time can degrade sensitive materials.
Sugars in growth media can caramelize, changing their nutritional properties. Some plastics can warp or melt, and sharp metal instruments can become dull.
Relying Solely on the Timer
A common pitfall is trusting the autoclave's timer without verifying the results. The only way to confirm sterility is by using chemical or biological indicators placed at the center of the load. These indicators provide physical proof that sterilizing conditions were met where it matters most.
Making the Right Choice for Your Load
Use the following guidelines to select an appropriate starting point for your sterilization cycle. Always validate your specific process with indicators.
- If your primary focus is sterilizing simple hard goods (e.g., empty glassware, metal tools): A 15-20 minute exposure time is generally sufficient, assuming the load is not packed too tightly.
- If your primary focus is sterilizing liquids (e.g., media, buffer solutions): Increase the time based on volume; a 1-liter flask may need 30 minutes, while larger volumes will require more.
- If your primary focus is sterilizing dense or porous loads (e.g., biohazard waste bags, wrapped instrument kits): A longer cycle of 30-60 minutes is often necessary to ensure full steam penetration and the displacement of all trapped air.
Effective sterilization is achieved not by just setting a timer, but by understanding the principles that govern it.
Summary Table:
| Load Type | Recommended Exposure Time at 121°C | Key Considerations |
|---|---|---|
| Simple Hard Goods (Glassware, Tools) | 15-20 minutes | Heats quickly via conduction. Avoid tight packing. |
| Liquids (Media, Buffers) | 30+ minutes | Slow heat penetration. Time increases with volume. |
| Dense/Porous Loads (Waste, Wrapped Kits) | 30-60 minutes | Requires longer time for steam penetration and air removal. |
Achieve Uncompromising Sterility with KINTEK Autoclaves
Ensuring your laboratory's sterility is non-negotiable for successful experiments and safe operations. The right autoclave, correctly configured for your specific loads, is essential.
KINTEK specializes in high-performance lab equipment, including reliable autoclaves designed to meet the precise demands of research and clinical laboratories. Our solutions help you eliminate guesswork, prevent contamination, and protect your valuable work.
Let us help you enhance your lab's safety and efficiency.
Contact our sterilization experts today to discuss your specific needs and find the perfect autoclave solution for your laboratory.
Visual Guide
Related Products
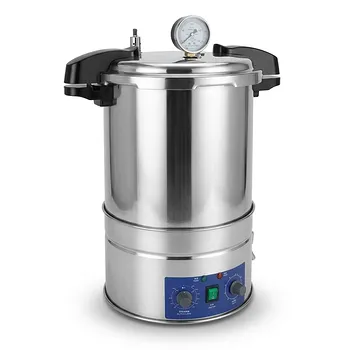
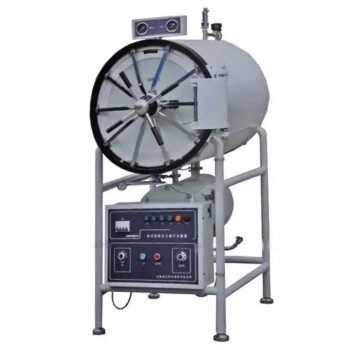
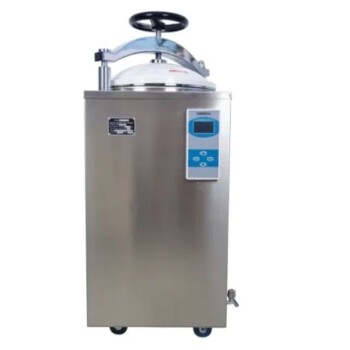
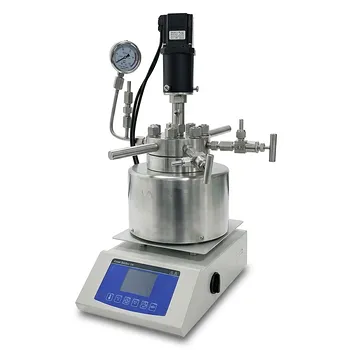
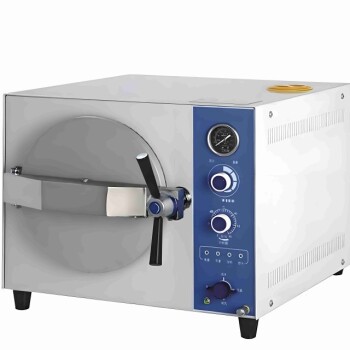
- Portable High Pressure Laboratory Autoclave Steam Sterilizer for Lab Use
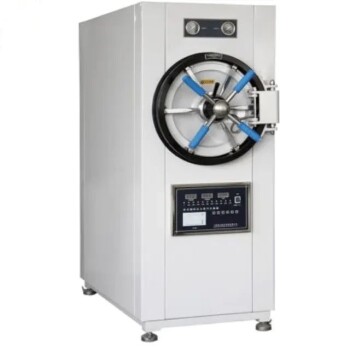
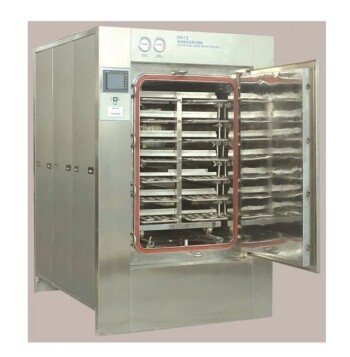
- Laboratory Horizontal Autoclave Steam Sterilizer Lab Microcomputer Sterilizer
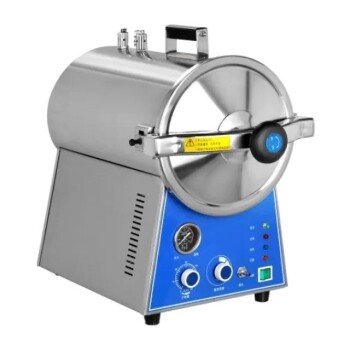
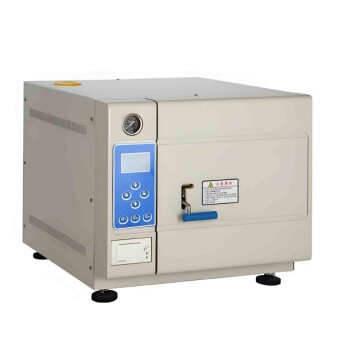
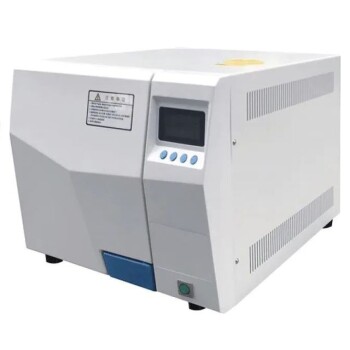
- Desktop Fast High Pressure Laboratory Autoclave Sterilizer 16L 24L for Lab Use
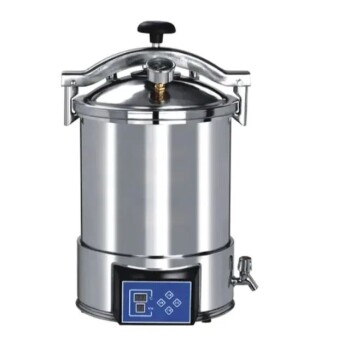
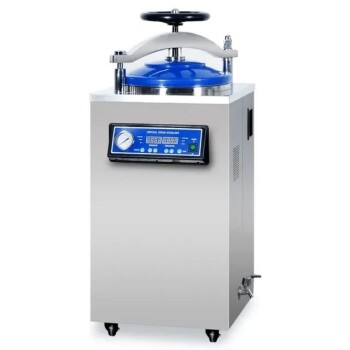
- Portable Digital Display Automatic Laboratory Sterilizer Lab Autoclave for Sterilization Pressure
- Desktop Fast Laboratory Autoclave Sterilizer 35L 50L 90L for Lab Use
People Also Ask
- What is a laboratory autoclave? A Guide to Sterilization with Pressurized Steam
- What is an autoclave laboratory equipment? The Ultimate Guide to Steam Sterilization
- What precautions should be taken during autoclave in laboratory? A Complete Safety Guide to Prevent Burns and Explosions
- What role does a laboratory autoclave play in HEA corrosion research? Key to Validating Advanced Reactor Materials
- Why is a laboratory high-pressure autoclave sterilizer necessary? Ensure Accuracy in Antibacterial Research