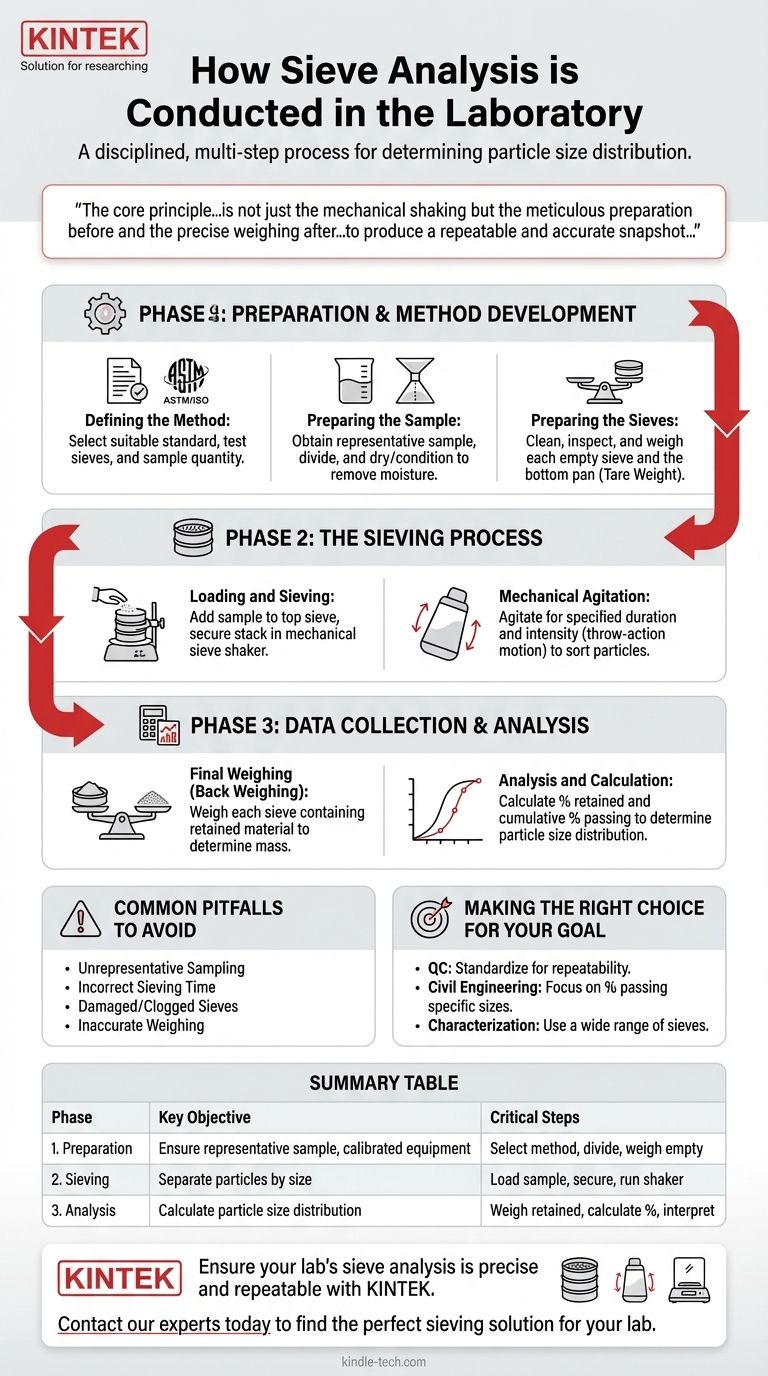
In short, sieve analysis is conducted in a laboratory through a disciplined, multi-step process. This involves preparing and weighing a representative sample of material, passing it through a stacked column of sieves with progressively smaller mesh openings using a mechanical shaker, and then weighing the precise amount of material retained on each individual sieve to determine the particle size distribution.
The core principle of a reliable sieve analysis is not just the mechanical shaking but the meticulous preparation before and the precise weighing after. The entire procedure is designed to produce a repeatable and accurate snapshot of a material's particle size range, which is fundamental for quality control and material suitability assessment.
The Three Phases of Sieve Analysis
A successful sieve analysis can be broken down into three distinct phases: preparation, mechanical separation, and finally, data collection and analysis. Each phase requires careful attention to detail to ensure the final results are valid.
Phase 1: Preparation and Method Development
This initial phase is foundational for accuracy. Rushing these steps will invalidate the entire test.
Defining the Method
Before any material is handled, you must establish the testing parameters. This involves selecting a suitable standard method (like ASTM or ISO) based on the material being tested.
Based on the standard, you will select the appropriate set of test sieves and determine the necessary starting quantity of the sample.
Preparing the Sample
The sample used must be a true representation of the entire batch of material. Often, a larger sample is reduced to a manageable test size through a process called sample division.
The sample may also require pre-drying or conditioning to remove moisture, which can cause particles to clump together and skew the results.
Preparing the Sieves
Each sieve in the stack, along with the bottom pan, must be clean, dry, and undamaged.
You must then weigh each empty sieve and the pan individually and record these weights meticulously. This "tare" weight is critical for the final calculations.
Phase 2: The Sieving Process
This is the mechanical separation phase where the particles are sorted by size.
Loading and Sieving
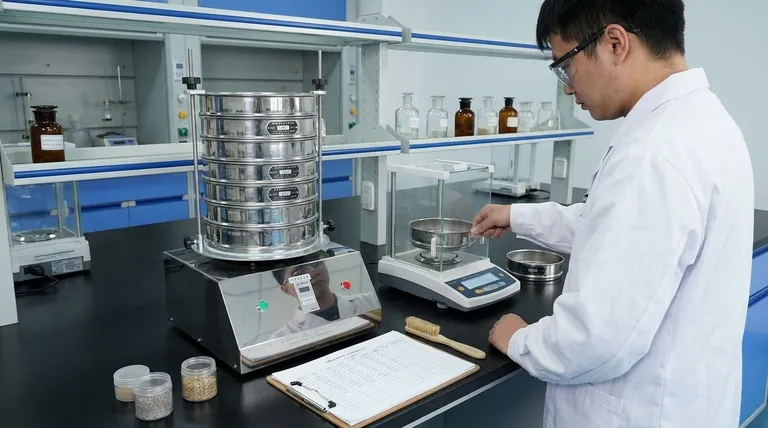
The prepared and pre-weighed sample is carefully added to the top sieve in the stack. The stack is then securely clamped into a sieve shaker.
The shaker agitates the stack, typically using a throw-action motion. This combines a vertical throwing movement with a slight circular one, ensuring particles are distributed over the entire sieve surface and have opportunities to pass through the mesh.
The duration and intensity of the shaking are specified by the chosen test method to ensure consistent results.
Phase 3: Data Collection and Interpretation
This final phase transforms the separated material into usable data.
Final Weighing
After the shaking cycle is complete, the stack is carefully disassembled.
Each sieve is weighed again, this time containing the fraction of material it retained. This is often called back weighing.
Analysis and Calculation
For each sieve, the initial empty weight is subtracted from the final weight to determine the mass of the retained material.
These weights are used to calculate the percentage of material retained on each sieve and the cumulative percentage passing through. The results reveal the material's particle size distribution, which is critical for determining its properties and suitability for a specific application, from concrete aggregate to pharmaceutical powders.
Common Pitfalls to Avoid
Even with a defined procedure, errors can compromise the results. Awareness of these issues is key to producing reliable data.
Unrepresentative Sampling
If the initial sample taken from the bulk material does not accurately reflect the whole, the entire analysis will be flawed. Proper sampling techniques are non-negotiable.
Incorrect Sieving Time
Sieving for too short a time will result in an incomplete separation, leaving too much coarse material on the upper sieves. Conversely, excessive sieving of friable materials can cause particles to break down, skewing the distribution towards finer sizes.
Damaged or Clogged Sieves
A torn mesh will allow oversized particles to pass through, while a clogged or "blinded" mesh will retain particles that should have passed. Regular inspection and cleaning of sieves are mandatory.
Inaccurate Weighing
Small errors in weighing, both of the empty sieves and the final fractions, can accumulate and lead to significant inaccuracies in the final percentage calculations. Using a calibrated, high-precision balance is essential.
Making the Right Choice for Your Goal
The interpretation of your sieve analysis results depends entirely on your objective.
- If your primary focus is manufacturing quality control: Standardize your sample size, sieving time, and shaker settings to ensure your results are highly repeatable and can be reliably compared between different production batches.
- If your primary focus is civil engineering material suitability: Pay close attention to the percentage of particles passing through specific sieve sizes, as these values must meet strict specifications for applications like concrete mixes or road base aggregates.
- If your primary focus is general material characterization: Use a wider range of sieve sizes to get a comprehensive view of the entire particle distribution, which can inform processing, handling, and performance characteristics.
Ultimately, a properly executed sieve analysis provides a clear, quantitative description of your granular material, empowering you to make informed decisions.
Summary Table:
| Phase | Key Objective | Critical Steps |
|---|---|---|
| 1. Preparation | Ensure a representative, dry sample and calibrated equipment. | - Select test method (ASTM/ISO) - Divide sample - Weigh empty sieves |
| 2. Sieving | Separate particles by size using mechanical agitation. | - Load sample onto top sieve - Secure stack in shaker - Run for specified time/intensity |
| 3. Analysis | Calculate the particle size distribution. | - Weigh material on each sieve - Calculate % retained/passing - Interpret for application |
Ensure your lab's sieve analysis is precise and repeatable with KINTEK.
Accurate particle size data is critical for your quality control, material suitability assessments, and R&D. KINTEK specializes in high-quality lab equipment and consumables, including precision test sieves, reliable sieve shakers, and calibrated balances, to serve all your laboratory needs.
Contact our experts today to discuss your specific application and find the perfect sieving solution for your lab.
Visual Guide
Related Products
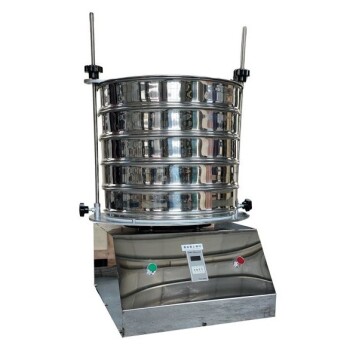
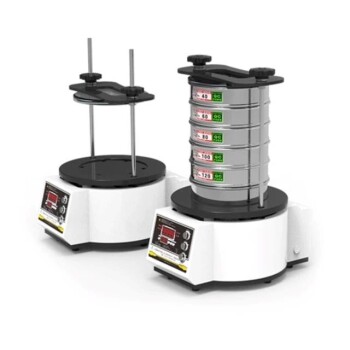
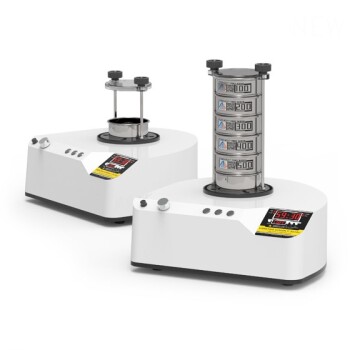
- Laboratory Test Sieves and Vibratory Sieve Shaker Machine
- Laboratory Test Sieves and Sieving Machines
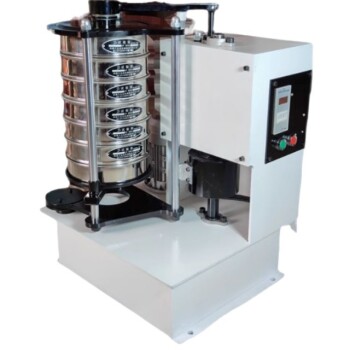
- Laboratory Vibratory Sieve Shaker Machine Slap Vibrating Sieve
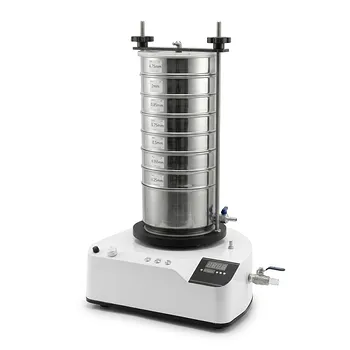
- Laboratory Vibratory Sieve Shaker Machine for Dry and Wet Three-Dimensional Sieving
- Vibratory Sieve Shaker Machine Dry Three-Dimensional Vibrating Sieve
People Also Ask
- Why use a vibratory sieve shaker for PET powder? Achieve Precise Particle Size Control for Chemical Research
- What is the function of a vibratory sieve shaker? Achieve Precise Particle Size Analysis
- What role does a laboratory vibrating sieve shaker play in the LiFePO4 powder processing workflow? Ensure Batch Quality
- How does a laboratory vibratory sieve shaker facilitate the microstructural study of gas-atomized alloy powders?
- What are the different types of sieve shakers? Match the Shaker to Your Material for Accurate Particle Analysis