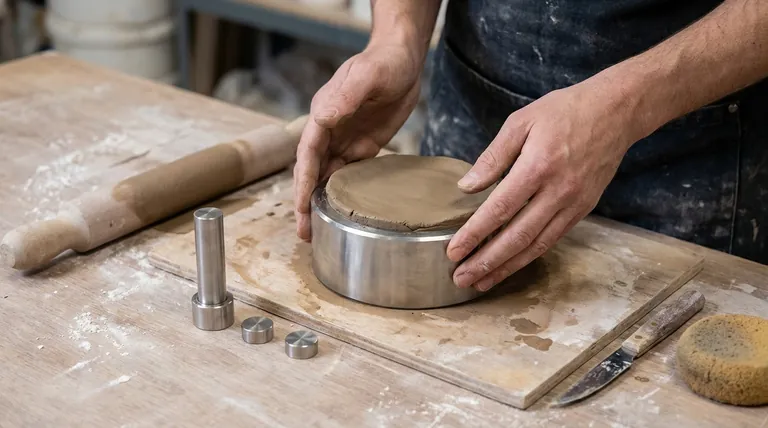
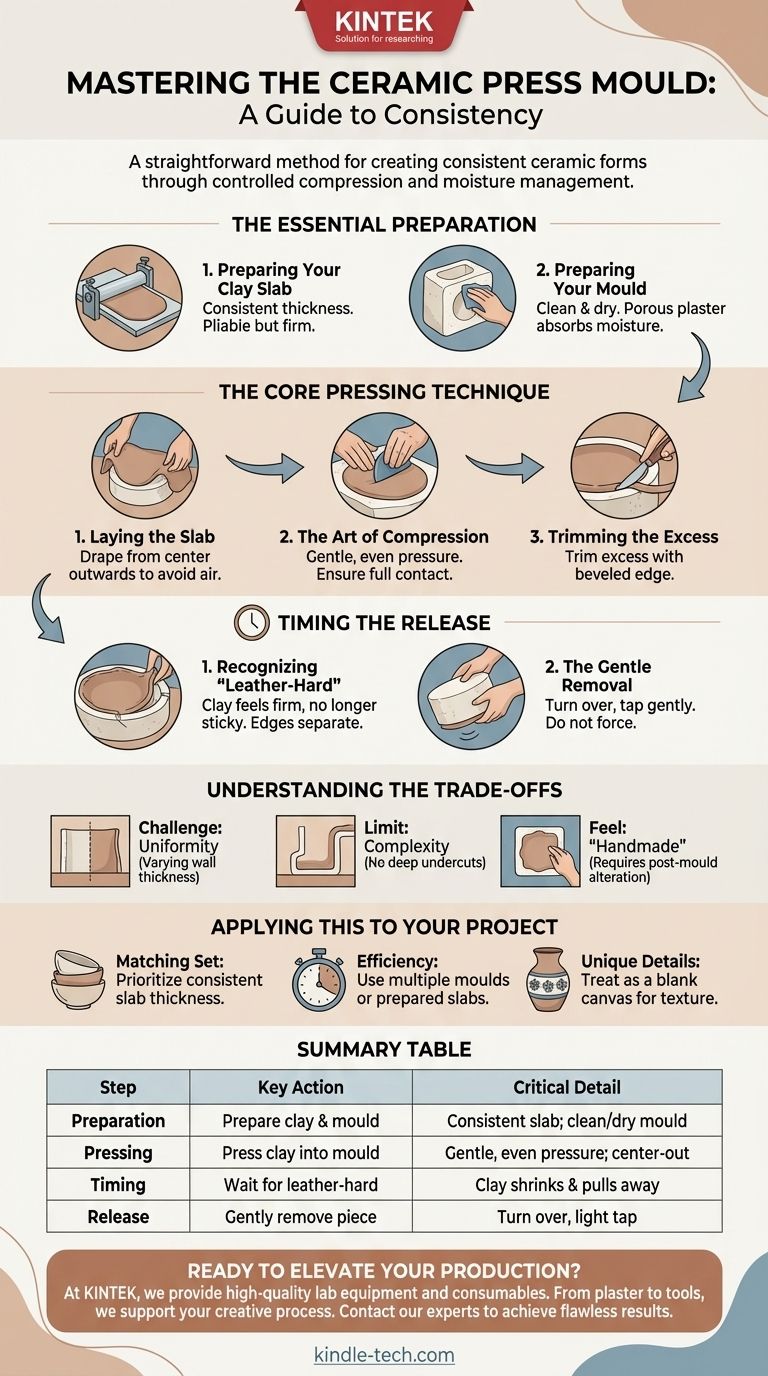
Using a press mould is a straightforward method for creating consistent ceramic forms. It involves laying a prepared clay slab over or into the mould, gently and evenly compressing it to capture the shape, and allowing the clay to stiffen just enough to be removed without distortion.
The success of press moulding hinges on timing and moisture management. The mould, typically made of plaster, works by absorbing water from the clay, causing the clay to shrink slightly and firm up—this is the precise moment it releases cleanly from the form.
The Essential Preparation
Proper preparation of both your clay and your mould is the foundation for a successful outcome. Skipping these steps is the most common source of error.
Preparing Your Clay Slab
The ideal clay slab is not too wet and not too dry. It should be pliable enough to shape without cracking but firm enough to handle without stretching or tearing.
Ensure your slab has a consistent thickness throughout. Use rolling pin guides or a slab roller to achieve an even surface, as this will prevent weak spots in the final piece.
Preparing Your Mould
Most press moulds are made of porous plaster, which is essential for absorbing moisture. Before use, ensure your mould is completely clean and dry. Any old clay residue can cause the new piece to stick.
A dry plaster mould naturally releases the clay as it absorbs water. You do not typically need a release agent unless your mould is old, exceptionally detailed, or made from a non-porous material.
The Core Pressing Technique
This is the active stage where you shape the clay. The key is gentle, even pressure to avoid thinning the clay or trapping air.
Laying the Slab
Carefully lift and drape your clay slab over the mould. Start by making contact in the deepest part of the form and work your way outwards to avoid trapping air bubbles between the clay and the mould surface.
The Art of Compression
Using your fingers, the heel of your hand, or a soft potter's rib, gently press the clay into the mould. The goal is to ensure the clay makes full contact with the mould's surface, not to thin the clay out.
Work systematically from the center to the edges. Even pressure is critical for a uniform piece.
Trimming the Excess
Once the clay is fully pressed, use a potter's knife or a fettling knife to trim the excess clay from the edges. Hold the tool at a slight angle away from the piece to create a clean, beveled edge.
Timing the Release
Patience is the most important tool at this stage. Removing the clay too soon will cause it to warp or tear; waiting too long can cause it to crack as it shrinks.
Recognizing "Leather-Hard"
You are waiting for the clay to reach the leather-hard stage. At this point, it will no longer be sticky to the touch and will feel firm, like a piece of leather.
The most obvious sign is that the edges of the clay will begin to naturally pull away from the plaster as the clay shrinks. This is your cue that it's ready for removal.
The Gentle Removal
Carefully turn the mould over and allow the piece to release onto your hand or a soft surface. If it doesn't release immediately, a gentle tap on the back of the mould is usually all that is needed. Do not force it.
Understanding the Trade-offs
While excellent for replication, press moulding has limitations you must understand to use it effectively.
The Challenge of Uniformity
Although the shape will be consistent, the wall thickness can vary if you do not apply even pressure during compression. This can create weak points that are prone to cracking during drying or firing.
The Limit on Complexity
Press moulds are ideal for open, relatively simple shapes like plates, bowls, and tiles. They cannot be used for forms with deep undercuts, as the clay would be locked into the mould.
The "Handmade" Feel
Because it is a replication technique, pieces can sometimes lack the spontaneous character of wheel-thrown or fully hand-built pottery. The artist's touch comes in how the form is altered or decorated after it leaves the mould.
Applying This to Your Project
Use these principles to align the technique with your specific creative goal.
- If your primary focus is creating a matching set (e.g., plates or bowls): Prioritize rolling slabs of identical thickness for every piece to ensure consistency.
- If your primary focus is efficiency and speed: Work with multiple moulds at once, or prepare several clay slabs ahead of time to use the same mould repeatedly as it dries.
- If your primary focus is adding unique details: Treat the moulded form as a blank canvas, adding textures, altering the rim, or attaching handles after it has been released.
Mastering the press mould is about controlling consistency while creating opportunities for your own artistic expression.
Summary Table:
| Step | Key Action | Critical Detail |
|---|---|---|
| Preparation | Prepare clay slab & mould | Ensure consistent slab thickness; mould must be clean and dry. |
| Pressing | Press clay into mould | Apply gentle, even pressure from center outwards to avoid air bubbles. |
| Timing | Wait for leather-hard stage | Clay should shrink and pull away from mould edges before removal. |
| Release | Gently remove the piece | Turn mould over; a light tap should release the clay without force. |
Ready to elevate your ceramic production with precision and consistency? At KINTEK, we specialize in providing high-quality lab equipment and consumables tailored for artists, educators, and production studios. Whether you need reliable plaster for moulds or tools for perfect slab preparation, our solutions are designed to support your creative process from start to finish. Contact our experts today to discover how we can help you achieve flawless results in your studio.
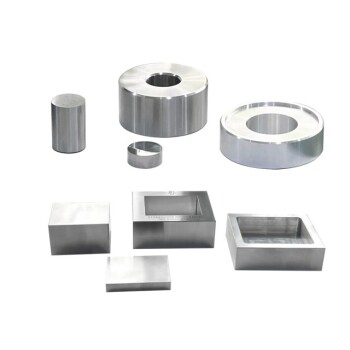
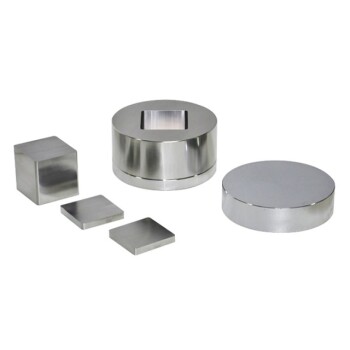
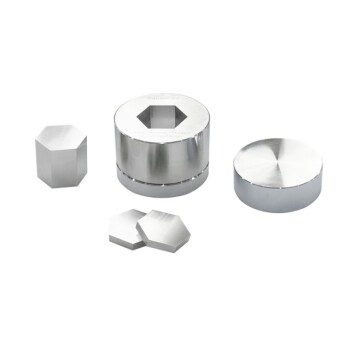
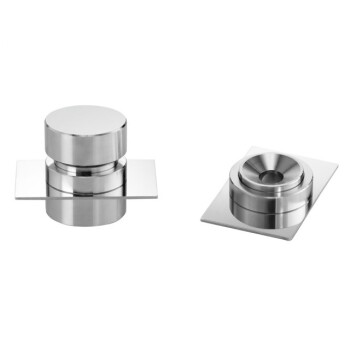
Visual Guide
Related Products
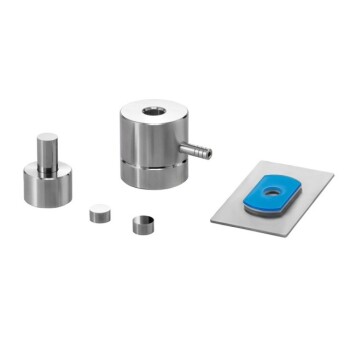
- Anti-Cracking Press Mold for Lab Use
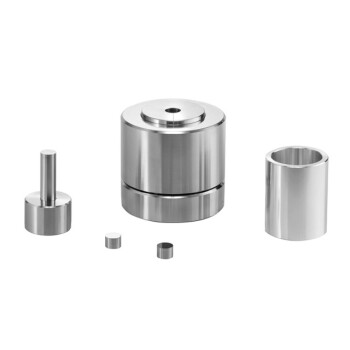
- Round Bidirectional Press Mold for Lab
- Ball Press Mold for Lab
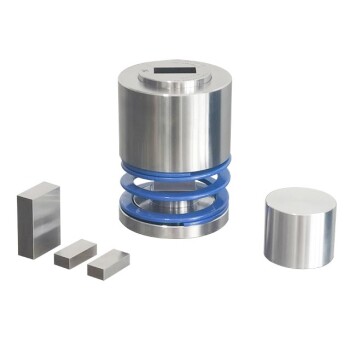
- Special Heat Press Mold for Lab Use
- Cylindrical Lab Electric Heating Press Mold for Laboratory Applications
People Also Ask
- What role do high-pressure mold components play in the thermal pressing of nano-crystalline tungsten? Maximize Density
- What is the function of press molds during the preparation of SiCf/Ti-43Al-9V composites? Achieve Structural Precision
- What is the press mould method? A Guide to Consistent, Detailed Ceramic Forms
- What is a press mold used for? Achieve Repeatable Precision and Efficiency
- What is the process of mold press? A Step-by-Step Guide to Compression Molding