To handle an autoclave correctly, you must follow a systematic procedure that includes pre-operation checks, proper loading, selecting the correct cycle, and a cautious unloading process. The core steps involve adding water, loading materials, securely closing the door, running the sterilization cycle at the appropriate temperature and pressure, and allowing the unit to completely cool and depressurize before carefully removing the sterilized items.
The safe and effective operation of an autoclave is not merely a mechanical task; it is a strict protocol rooted in the physics of high-pressure steam. Adhering to every step meticulously is non-negotiable for achieving true sterilization and, more importantly, ensuring operator safety.
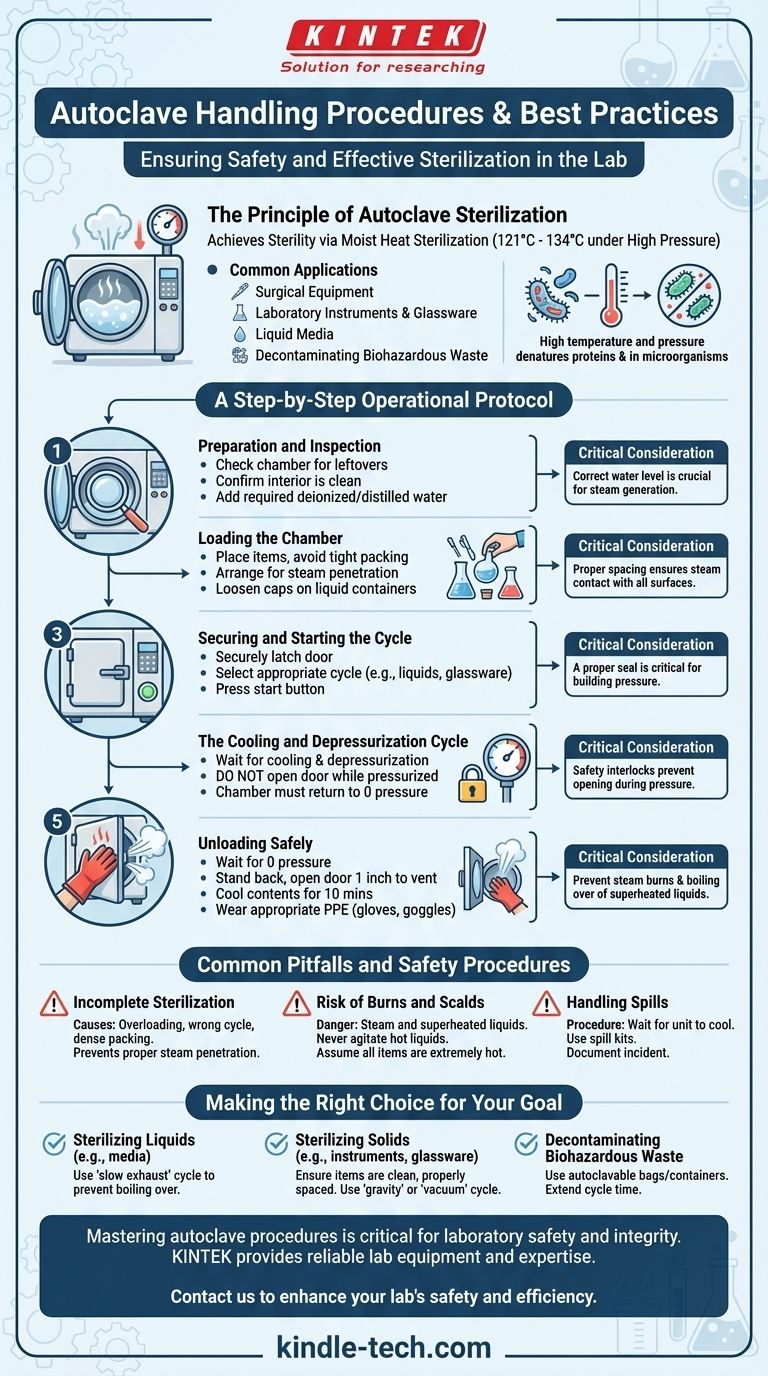
The Principle of Autoclave Sterilization
How It Achieves Sterility
An autoclave operates on the principle of moist heat sterilization. It uses steam heated to temperatures typically between 121°C and 134°C under high pressure.
This combination of high temperature and pressure is extremely effective at killing all microorganisms, including resilient bacterial spores, by denaturing their essential proteins and enzymes.
Common Applications
This method is the gold standard for sterilizing a wide range of materials in medical, laboratory, and research settings.
Applications include sterilizing surgical equipment, laboratory instruments and glassware, liquid media, and decontaminating biohazardous waste.
A Step-by-Step Operational Protocol
Phase 1: Preparation and Inspection
Before any cycle, ensure the autoclave is ready for use. First, check the chamber for any items left over from a previous cycle.
Confirm the interior of the autoclave is clean. A dirty chamber can compromise the sterilization process.
Finally, add the required amount of deionized or distilled water. The correct water level is crucial for generating the steam needed for sterilization.
Phase 2: Loading the Chamber
Place items inside the chamber, ensuring they are not packed too tightly. Proper spacing is essential to allow for full steam penetration.
Arrange containers and packages in a way that facilitates air removal and steam contact with all surfaces. For liquid media, do not seal containers tightly; caps should be left slightly loose to allow for pressure equalization.
Phase 3: Securing and Starting the Cycle
Close the autoclave door and ensure it is securely latched or tightened. A proper seal is critical for building and maintaining pressure.
On the control panel, select the appropriate sterilization cycle based on the materials being processed (e.g., liquids, glassware, waste). Set the correct time and temperature if using a manual model.
Press the start button to begin the cycle. The autoclave will begin to heat, purge air from the chamber, and build pressure.
Phase 4: The Cooling and Depressurization Cycle
After the sterilization phase is complete, the autoclave will enter a cooling and depressurization cycle. Do not attempt to open the door during this phase.
The chamber must return to atmospheric pressure (zero on the pressure gauge) and cool to a safe temperature before it can be opened. Modern autoclaves have safety interlocks that prevent the door from opening while the chamber is pressurized.
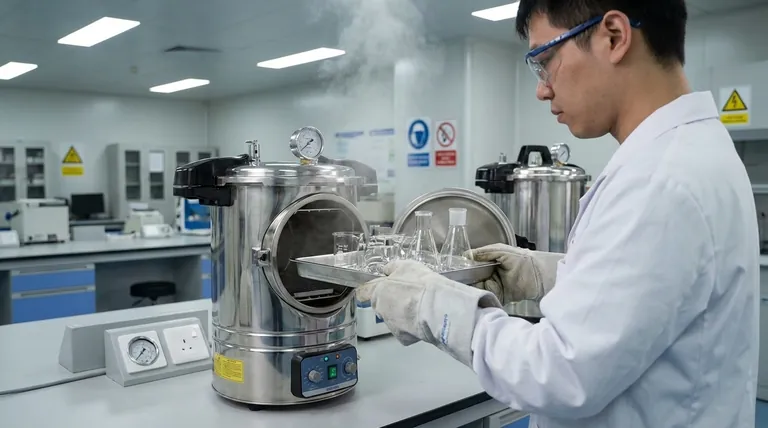
Phase 5: Unloading Safely
Once the pressure gauge reads zero, you can proceed with extreme caution. Stand back from the door and open it just a crack (about one inch) to allow any residual steam to vent slowly.
Let the contents cool for at least 10 minutes after cracking the door. This prevents superheated liquids from boiling over and minimizes the risk of steam burns.
Wear appropriate Personal Protective Equipment (PPE), including a lab coat, eye protection, and heat-resistant gloves, to remove the hot items. Place them in a designated safe area to cool completely.
Common Pitfalls and Safety Procedures
Incomplete Sterilization
The most common failure is a result of operator error. Overloading the chamber, using the wrong cycle for the material, or packing items too densely can prevent proper steam penetration, leading to an incomplete sterilization cycle.
Risk of Burns and Scalds
The greatest immediate danger to the operator comes from steam and superheated liquids. Never agitate hot liquid containers or remove their caps immediately after a cycle, as this can cause them to boil over violently. Always assume all items removed from the autoclave are extremely hot.
Handling Spills
If a spill occurs, do not operate the unit. Wait for it to cool to room temperature before cleaning. Use appropriate spill kits and cleaning protocols, especially for biohazardous materials, and document the incident in the autoclave logbook.
Making the Right Choice for Your Goal
- If your primary focus is sterilizing liquids (e.g., media): Use a dedicated liquid or "slow exhaust" cycle to prevent the media from boiling over during the depressurization phase.
- If your primary focus is sterilizing solid instruments or glassware: Ensure items are clean and properly spaced to allow steam to reach every surface, and use a standard "gravity" or "vacuum" cycle.
- If your primary focus is decontaminating biohazardous waste: Use specialized autoclavable bags and containers, and ensure the cycle time is extended to guarantee complete sterilization of the dense material.
Mastering the autoclave procedure is a fundamental skill that directly impacts the integrity of your work and your personal safety.
Summary Table:
| Step | Key Action | Critical Consideration |
|---|---|---|
| 1. Preparation | Check chamber & add water | Use deionized/distilled water |
| 2. Loading | Arrange items with space | Ensure steam penetration |
| 3. Cycle Start | Secure door & select cycle | Choose correct cycle for material type |
| 4. Cooling | Wait for depressurization | Never open door until pressure is zero |
| 5. Unloading | Vent steam & use PPE | Wear heat-resistant gloves and eye protection |
Ensure Your Lab's Sterilization is Safe and Effective
Mastering autoclave procedures is critical for laboratory safety and integrity. KINTEK specializes in providing reliable lab equipment and consumables, including autoclaves designed for precise sterilization of instruments, media, and biohazardous waste. Our experts can help you select the right equipment and establish safe protocols for your specific laboratory needs.
Contact us today (#ContactForm) to discuss how our solutions can enhance your lab's safety and efficiency. Let KINTEK be your partner in achieving flawless sterilization results.
Visual Guide
Related Products
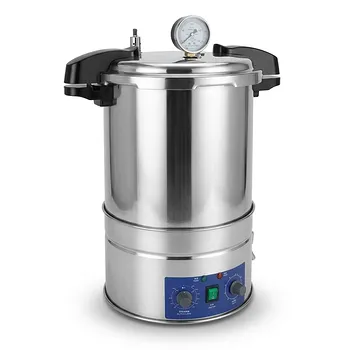
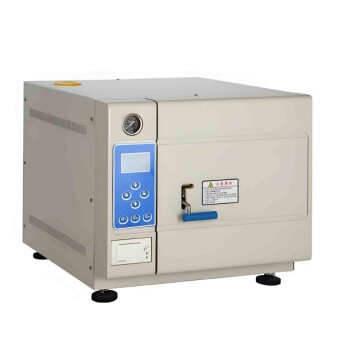
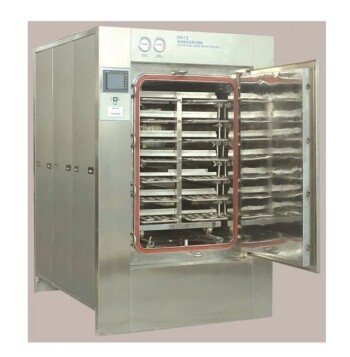
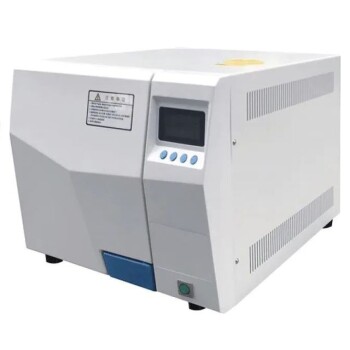
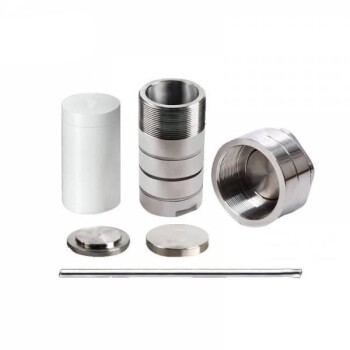
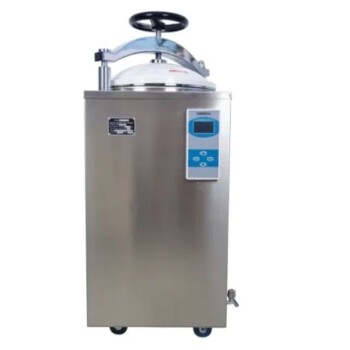
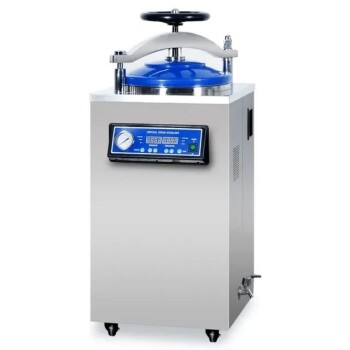
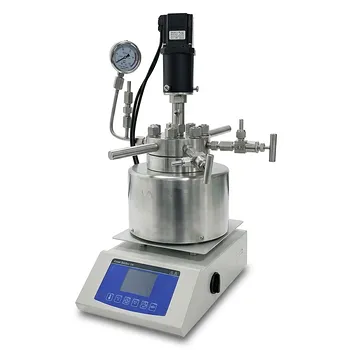
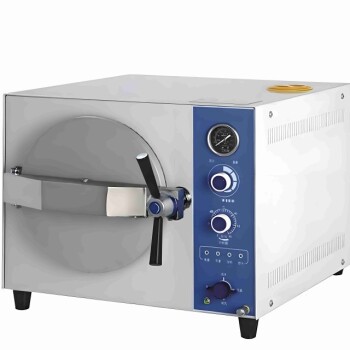
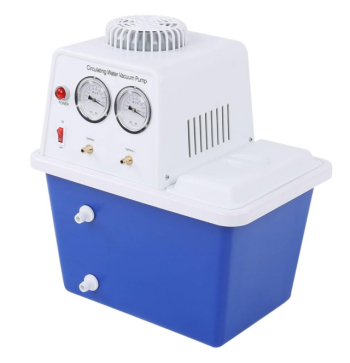
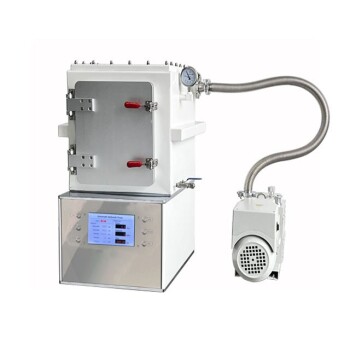
- Portable High Pressure Laboratory Autoclave Steam Sterilizer for Lab Use
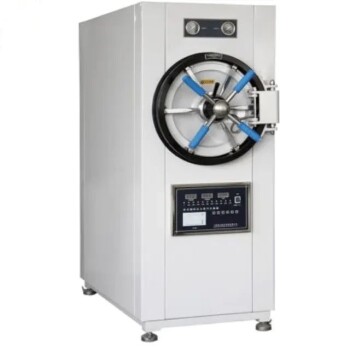
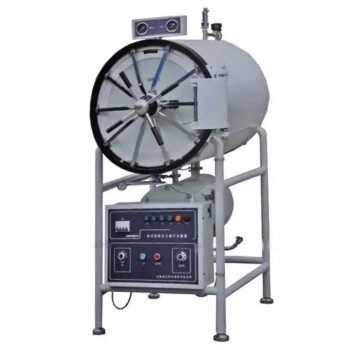
- Laboratory Horizontal Autoclave Steam Sterilizer Lab Microcomputer Sterilizer
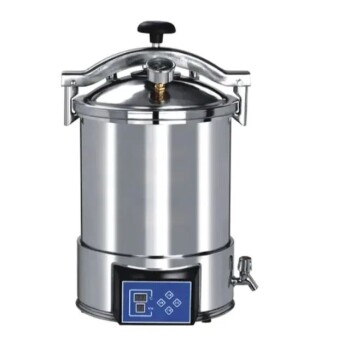
- Desktop Fast High Pressure Laboratory Autoclave Sterilizer 16L 24L for Lab Use
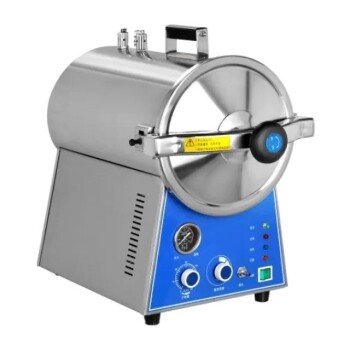
- Portable Digital Display Automatic Laboratory Sterilizer Lab Autoclave for Sterilization Pressure
- Desktop Fast Laboratory Autoclave Sterilizer 35L 50L 90L for Lab Use
People Also Ask
- What role does a laboratory autoclave play in HEA corrosion research? Key to Validating Advanced Reactor Materials
- What extreme conditions does a laboratory autoclave simulate? Testing Wear Resistance of Nuclear Fuel Cladding
- What is an autoclave laboratory equipment? The Ultimate Guide to Steam Sterilization
- What is the importance of using a laboratory autoclave in ZSM-5 synthesis? Achieve Perfect Zeolite Crystallization
- What precautions should be taken during autoclave in laboratory? A Complete Safety Guide to Prevent Burns and Explosions