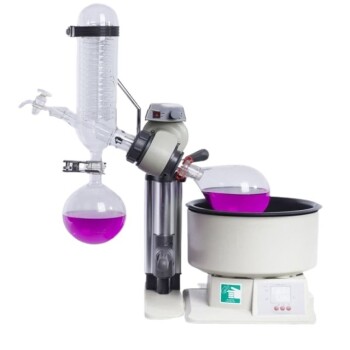
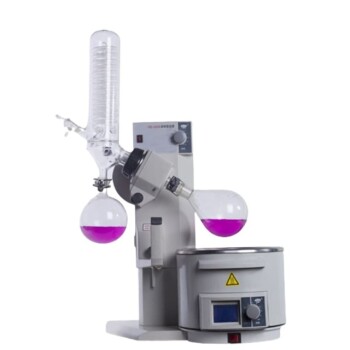
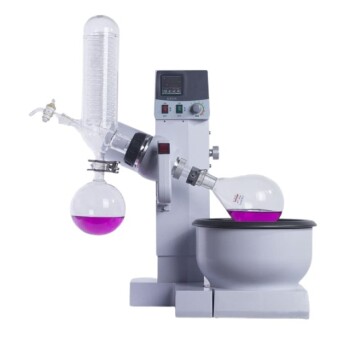
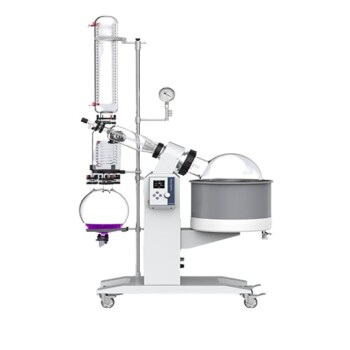
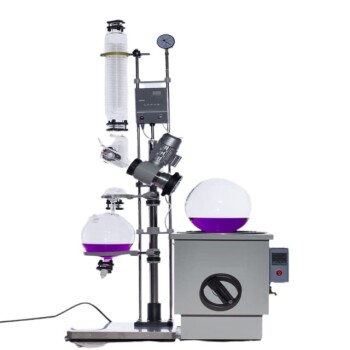
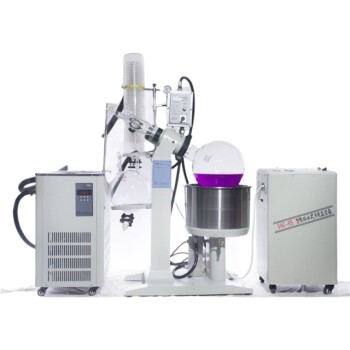
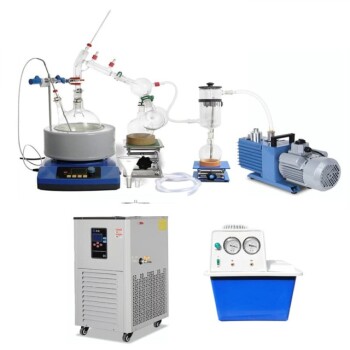
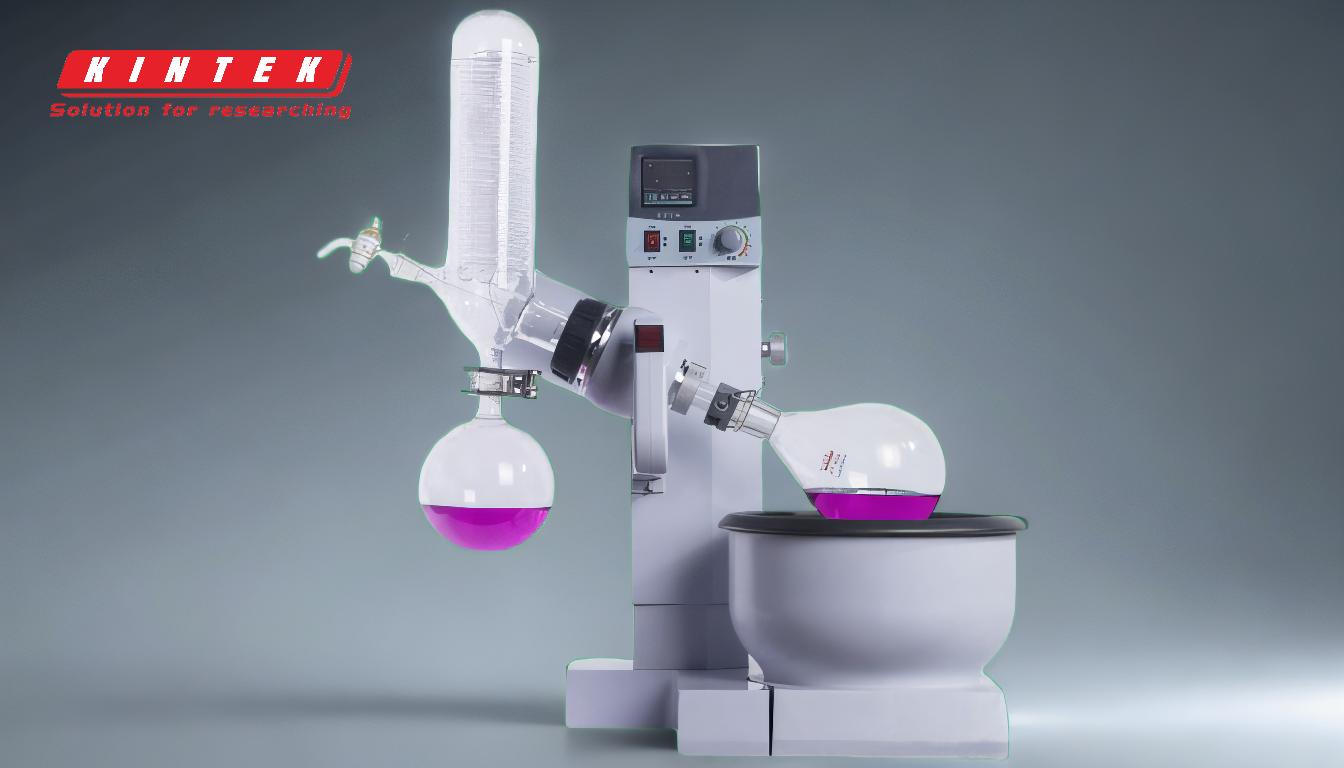
Setting up a rotary evaporator after attaching your sample involves a series of systematic steps to ensure efficient and safe operation. The process includes preparing the equipment, setting the water bath temperature, connecting the condenser and vacuum system, adjusting the flask position, and monitoring the evaporation process. Proper setup ensures optimal performance, prevents sample loss, and maintains safety. Below is a detailed breakdown of the key steps and considerations.
Key Points Explained:
-
Preparation and Equipment Check
- Ensure all components of the rotary evaporator are clean, dry, and in good working condition. This includes the evaporating flask, condenser, bump trap, and vacuum system.
- Verify that the water bath is filled with water (preferably pure or deionized) and that the temperature is set to the desired level based on your sample's requirements.
- Check that the vacuum pump is functioning and that the cooling system (e.g., chiller or condenser water supply) is ready.
-
Connecting the Condenser and Cooling System
- Attach the condenser to the rotary evaporator and connect it to the cooling water source. Ensure the water flows gently through the condenser to maintain efficient cooling.
- If using a chiller, connect the cold output line to the condenser and the return line to the chiller. This setup ensures proper heat exchange and prevents overheating.
-
Attaching the Evaporating Flask
- Fill the evaporating flask with your sample, ensuring it is no more than half full to prevent spillage during rotation.
- Secure the flask to the bump trap using a Keck clip or similar fastener. For liquid-liquid mixtures, connect the flask first and draw the solution through the product in/air vent.
- Attach the bump trap to the rotary evaporator’s adapter and secure it with a clip.
-
Positioning the Flask in the Water Bath
- Use the joystick knob to lower the flask into the water bath, ensuring it is partially submerged. The water level should cover the liquid in the flask but not exceed the flask's neck.
- Adjust the flask’s angle and position to ensure even heating and prevent splashing during rotation.
-
Activating the Vacuum System
- Turn on the vacuum pump and ensure the system is properly sealed. Check for leaks by observing the vacuum gauge; a stable reading indicates a good seal.
- Close the stopcock on the evaporator to create a vacuum. Monitor the solution to ensure it does not boil too vigorously. If boiling becomes excessive, slightly open the stopcock to release pressure.
-
Setting the Rotation Speed
- Turn on the rotary evaporator motor and adjust the rotation speed using the control knob. Start at a low speed and gradually increase it to the desired level.
- Use medium or low speeds for large flasks or high-viscosity solutions to prevent splashing or foaming.
-
Monitoring the Evaporation Process
- Allow the solution to evaporate under reduced pressure. Observe the formation of condensate on the flask’s exterior and the collection of distillate in the receiving flask.
- If necessary, adjust the water bath temperature, rotation speed, or vacuum pressure to optimize the evaporation rate.
-
Completing the Evaporation
- Once evaporation is complete, raise the flask out of the water bath using the joystick knob.
- Release the vacuum by opening the stopcock carefully to avoid sudden pressure changes that could damage the equipment or cause sample loss.
- Remove the evaporating flask to collect the residue and transfer the distillate from the receiving flask for further analysis or storage.
-
Shutting Down the System
- Turn off the vacuum pump, condenser, and water bath.
- Disconnect the cooling water supply and drain the water bath if necessary.
- Clean all glassware and components to prevent contamination in future experiments.
By following these steps, you can ensure a smooth and efficient setup of the rotary evaporator, minimizing risks and maximizing the quality of your results. Proper maintenance and attention to detail during each step are crucial for achieving consistent performance.
Summary Table:
| Step | Key Actions |
|---|---|
| 1. Preparation | Clean and check all components; fill water bath; verify vacuum pump and cooling. |
| 2. Condenser Setup | Connect to cooling water source; ensure gentle water flow or chiller connection. |
| 3. Flask Attachment | Fill flask ≤50%; secure with Keck clip; attach to bump trap and adapter. |
| 4. Flask Positioning | Submerge flask partially; adjust angle for even heating and prevent splashing. |
| 5. Vacuum Activation | Turn on vacuum pump; check for leaks; monitor boiling to avoid excessive pressure. |
| 6. Rotation Speed | Start low, increase gradually; adjust for flask size and solution viscosity. |
| 7. Monitoring Evaporation | Observe condensate and distillate; adjust temperature, speed, or vacuum as needed. |
| 8. Completion | Raise flask; release vacuum carefully; collect residue and distillate. |
| 9. Shutdown | Turn off equipment; disconnect cooling; clean components for future use. |
Need help setting up your rotary evaporator? Contact our experts today for personalized guidance and support!
