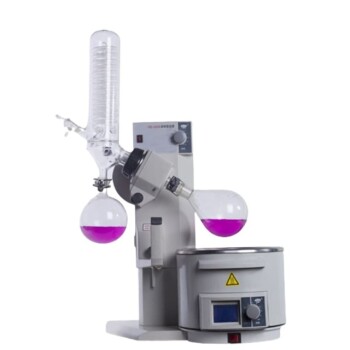
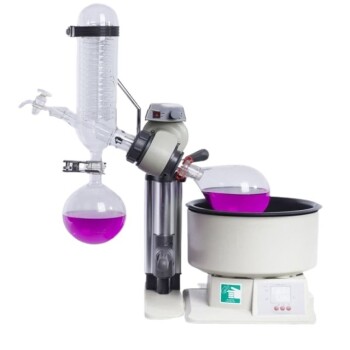
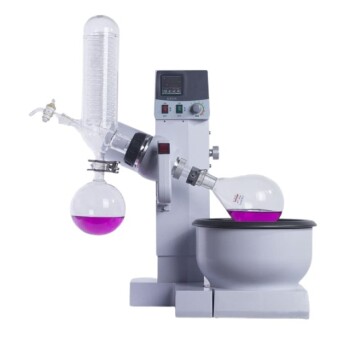
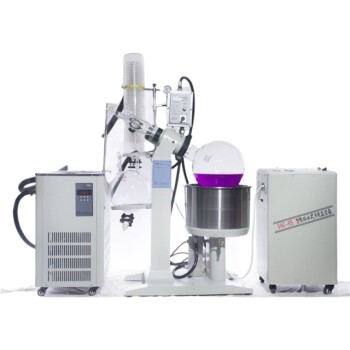
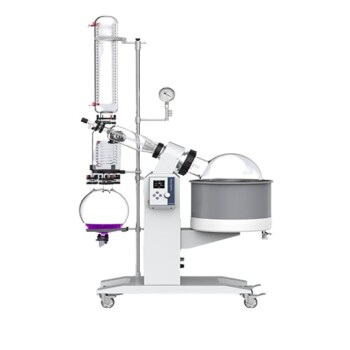
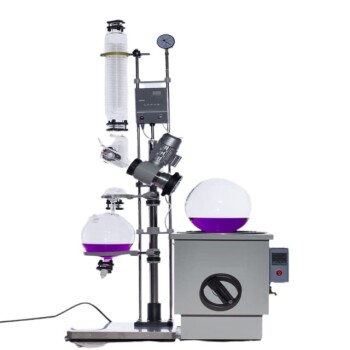
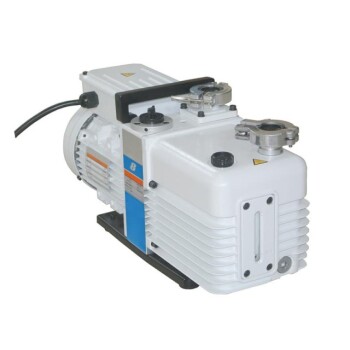
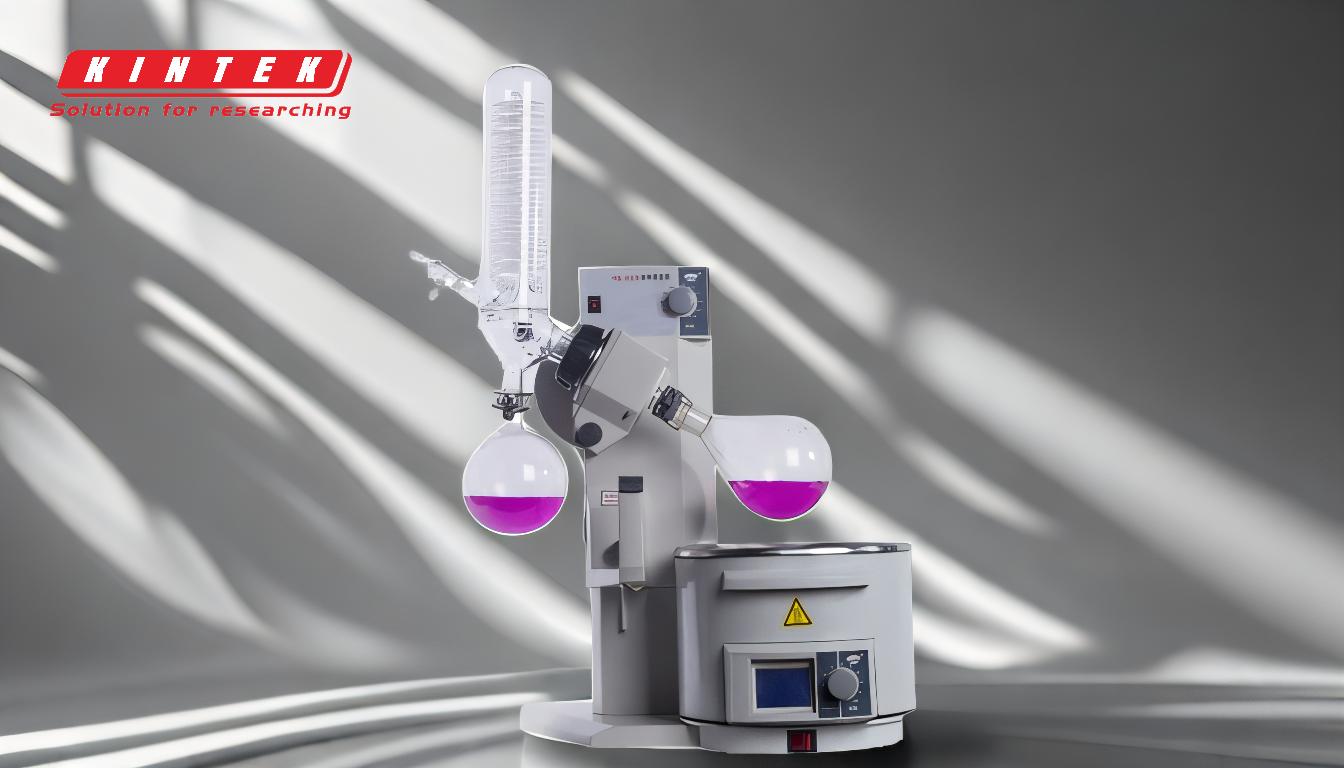
To find a leak in your rotovap, you need to systematically inspect and test its components, focusing on areas where leaks commonly occur, such as seals, joints, and connections. Start by checking for visible damage to seals and gaskets, as this is a clear indicator of potential leaks. If the rotovap struggles to achieve or maintain the desired vacuum, this is another strong sign of a leak. Use a soapy water solution or a leak detection fluid to identify the exact location of the leak by applying it to suspected areas and looking for bubbles. Additionally, inspect all connections, including the vacuum pump hose, glassware joints, and O-rings, ensuring they are properly tightened and in good condition. If no visible leaks are found, consider performing a pressure test or using a vacuum gauge to pinpoint the issue. Regular maintenance and timely replacement of worn-out seals and gaskets are essential to prevent leaks and ensure optimal performance.
Key Points Explained:
-
Inspect Seals and Gaskets for Visible Damage
- Seals and gaskets are critical components that prevent air from entering the rotovap system.
- Look for cracks, tears, or other signs of wear on the seals.
- Replace any damaged seals immediately, as they are a common source of leaks.
-
Check for Difficulty in Achieving or Maintaining Vacuum
- If the rotovap struggles to reach the desired vacuum level or cannot maintain it, this indicates a potential leak.
- Use this as a diagnostic clue to focus your inspection on areas prone to leaks.
-
Use a Soapy Water Solution or Leak Detection Fluid
- Apply a soapy water solution or a specialized leak detection fluid to suspected areas, such as seals, joints, and connections.
- Bubbles forming at any point indicate the presence of a leak.
- This method is simple, effective, and widely used for leak detection in vacuum systems.
-
Inspect All Connections and Joints
- Examine the vacuum pump hose, glassware joints, and O-rings for proper alignment and tightness.
- Loose or improperly fitted connections are a common cause of leaks.
- Ensure all components are securely fastened and in good condition.
-
Perform a Pressure Test or Use a Vacuum Gauge
- If no visible leaks are found, conduct a pressure test to identify hidden leaks.
- Use a vacuum gauge to measure the system's pressure and detect irregularities.
- This method helps pinpoint leaks that are not immediately visible.
-
Regular Maintenance and Replacement of Worn-Out Components
- Regularly inspect and maintain your rotovap to prevent leaks and ensure optimal performance.
- Replace seals, gaskets, and O-rings at recommended intervals or as soon as signs of wear appear.
- Preventive maintenance reduces the likelihood of leaks and extends the lifespan of your equipment.
By following these steps, you can effectively identify and address leaks in your rotovap, ensuring it operates efficiently and reliably.
Summary Table:
| Step | Key Action | Purpose |
|---|---|---|
| 1. Inspect Seals and Gaskets | Check for cracks, tears, or wear. Replace damaged seals immediately. | Prevent air leaks and maintain vacuum integrity. |
| 2. Check Vacuum Performance | Monitor if the rotovap struggles to achieve/maintain vacuum. | Identify potential leaks in the system. |
| 3. Use Soapy Water Solution | Apply to suspected areas and look for bubbles. | Locate leaks in seals, joints, and connections. |
| 4. Inspect Connections | Ensure vacuum pump hose, glassware joints, and O-rings are tight and aligned. | Fix loose or improperly fitted connections. |
| 5. Perform Pressure Test | Use a vacuum gauge or pressure test to detect hidden leaks. | Pinpoint leaks not visible during visual inspection. |
| 6. Regular Maintenance | Replace worn-out seals, gaskets, and O-rings at recommended intervals. | Prevent future leaks and extend equipment lifespan. |
Need help maintaining or repairing your rotovap? Contact our experts today for professional support!
