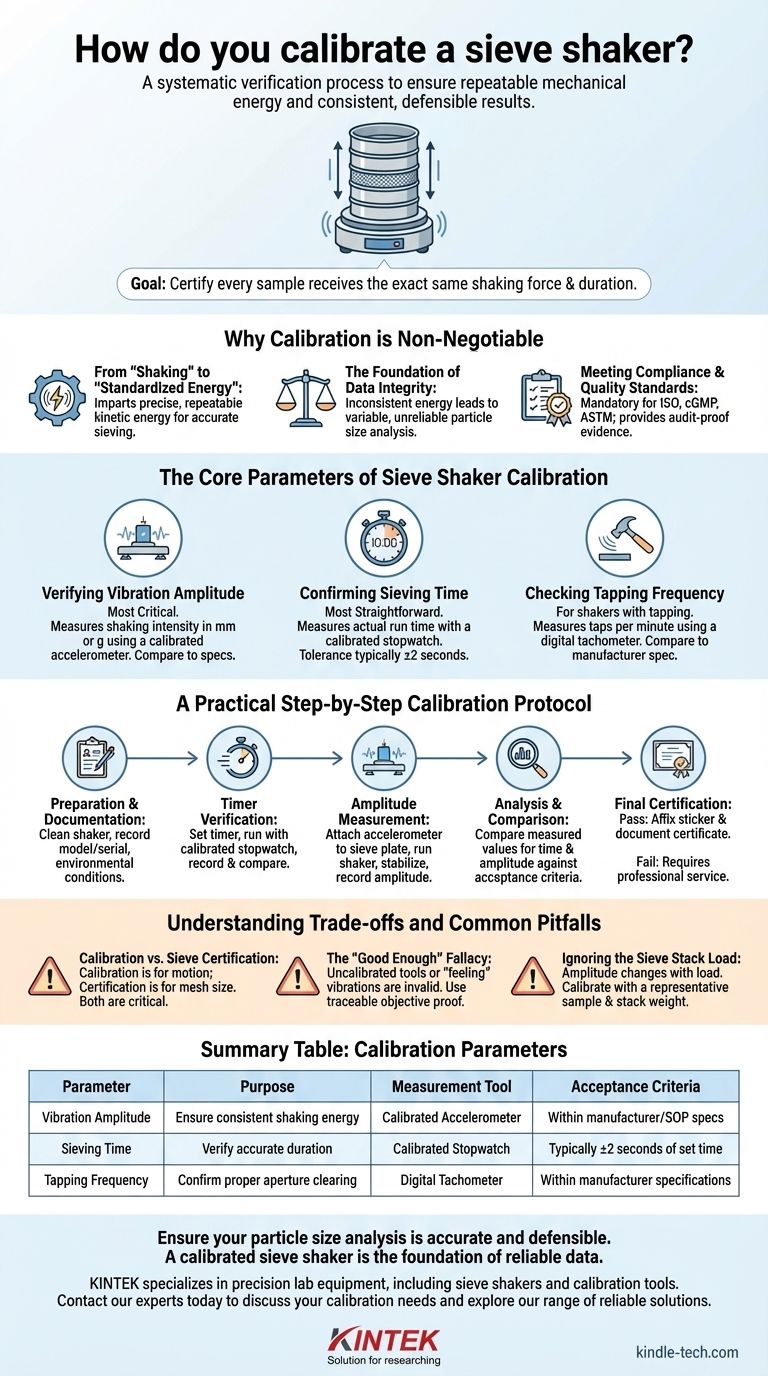
Calibrating a sieve shaker involves a systematic verification that its critical operating parameters—primarily vibration amplitude and sieving time—are performing within established specifications. This is not typically an adjustment but a measurement process to ensure consistency. The essential tools for this task are a calibrated accelerometer to measure vibration and a calibrated stopwatch to verify the timer's accuracy.
Sieve shaker calibration is less about "fixing" the machine and more about proving its repeatable mechanical energy. The ultimate goal is to certify that every sample is subjected to the exact same shaking force and duration, making your particle size analysis results consistent, comparable, and defensible over time.

Why Calibration is Non-Negotiable
A common misconception is that if the shaker turns on and vibrates, it is working correctly. However, uncalibrated performance introduces significant variability, undermining the entire purpose of sieve analysis.
From "Shaking" to "Standardized Energy"
A sieve shaker's job is not just to shake a sample, but to impart a precise, repeatable amount of kinetic energy into the sieve stack. This energy is what gives particles the opportunity to pass through the sieve apertures. Without calibration, you cannot be certain that the energy applied today is the same as the energy applied last month.
The Foundation of Data Integrity
Inconsistent shaking energy leads directly to inconsistent results. A shaker vibrating with too little amplitude may not sufficiently agitate the particles, leading to an artificially coarse result (blinding). Too much amplitude can cause particles to bounce excessively, reducing their chances of passing through the mesh and also leading to a coarse result. Calibration ensures this variable is controlled.
Meeting Compliance and Quality Standards
For any laboratory operating under quality systems like ISO or cGMP, or following ASTM methods (such as ASTM E11), equipment calibration is mandatory. A calibration certificate for your sieve shaker is the objective evidence required by auditors to prove your testing process is under control.
The Core Parameters of Sieve Shaker Calibration
Calibration focuses on measuring the machine's physical outputs against a known standard. The process primarily revolves around three key parameters.
Verifying Vibration Amplitude
This is the most critical parameter. Amplitude refers to the intensity of the shaker's vertical or horizontal movement. It is typically measured in millimeters (mm) or gravitational acceleration (g).
An external, calibrated accelerometer is placed on the shaker's vibrating surface to get a precise reading. The measurement is then compared to the manufacturer's specification or the requirement set by your standard operating procedure (SOP).
Confirming Sieving Time
This is the most straightforward parameter to verify. The shaker's built-in timer is set for a specific duration (e.g., 10 minutes), and the actual run time is measured using a calibrated, independent stopwatch. The deviation must be within an acceptable tolerance (e.g., ±2 seconds).
Checking Tapping Frequency (If Applicable)
For shakers that include a tapping motion to clear sieve apertures, the frequency of these taps (taps per minute) is another calibration parameter. This is often measured with a non-contact digital tachometer. The measured frequency is compared against the manufacturer's specification.
A Practical Step-by-Step Calibration Protocol
While specific procedures vary by model, the fundamental principles are universal.
Step 1: Preparation and Documentation
Begin with a clean, level, and properly secured sieve shaker. Before any measurements are taken, record the instrument's details (model, serial number) and the environmental conditions on your calibration record.
Step 2: Timer Verification
Set the shaker's timer to a predetermined value. Start the shaker and the external calibrated stopwatch simultaneously. When the shaker stops, record the time displayed on the stopwatch and compare it to the setpoint.
Step 3: Amplitude Measurement
Securely attach the accelerometer to the center of the sieve-holding plate. Run the shaker at the normal operating setting. Allow the vibration to stabilize for about 30 seconds before recording the amplitude reading from the accelerometer's display.
Step 4: Analysis and Comparison
Compare the measured values for time and amplitude against your pre-defined acceptance criteria (from the manufacturer or your SOP). If the values are within tolerance, the unit passes calibration.
Step 5: Final Certification
If the unit passes, a calibration sticker is affixed to the device showing the date of calibration and the due date for the next one. All results are formally documented in a calibration certificate, which serves as the official record. Most modern shakers are not user-adjustable; if they fail calibration, they require professional service or replacement.
Understanding the Trade-offs and Common Pitfalls
True technical expertise requires acknowledging potential points of failure and confusion in the process.
Calibration vs. Sieve Certification
The most common error is confusing shaker calibration with sieve certification. Calibrating the shaker ensures the motion is correct. Certifying the sieves ensures the mesh openings are the correct size. Both are absolutely critical for accurate analysis; doing one without the other is a waste of effort.
The "Good Enough" Fallacy
Using an uncalibrated smartphone app as a timer or "feeling" the vibration by hand is not calibration. This introduces massive uncertainty and defeats the purpose, which is to have objective, traceable proof of performance for auditors and for your own scientific confidence.
Ignoring the Sieve Stack Load
The amplitude of a shaker can change depending on the weight of the sieve stack and the sample material. For the most accurate results, calibration should be performed with a representative load (i.e., a typical sieve stack and sample weight) in place. Calibrating an empty shaker may not reflect its true performance under load.
How to Apply This to Your Goal
Your approach to calibration depends on the primary driver for your particle size analysis.
- If your primary focus is routine Quality Control: Establish a consistent internal SOP with set amplitude and time, and ensure your shaker is calibrated to meet that internal standard every time.
- If your primary focus is Research & Development: Calibrate to match the exact parameters published in a standard method (like ASTM) or a scientific paper to ensure your results are comparable to others' work.
- If your primary focus is Regulatory Compliance: Follow the calibration protocol dictated by the relevant standard (e.g., USP, ISO) precisely, and prioritize meticulous, audit-proof documentation above all else.
Ultimately, a calibrated sieve shaker transforms a simple mechanical process into a scientifically valid measurement tool.
Summary Table:
| Calibration Parameter | Purpose | Measurement Tool | Acceptance Criteria |
|---|---|---|---|
| Vibration Amplitude | Ensure consistent shaking energy | Calibrated Accelerometer | Within manufacturer or SOP specs |
| Sieving Time | Verify accurate duration | Calibrated Stopwatch | Typically ±2 seconds of set time |
| Tapping Frequency (if applicable) | Confirm proper aperture clearing | Digital Tachometer | Within manufacturer specifications |
Ensure your particle size analysis is accurate and defensible. A properly calibrated sieve shaker is the foundation of reliable data for quality control, R&D, and regulatory compliance. KINTEK specializes in providing precision lab equipment, including sieve shakers and calibration tools, to meet your laboratory's exacting standards. Contact our experts today to discuss your calibration needs and explore our range of reliable solutions.
Visual Guide
Related Products
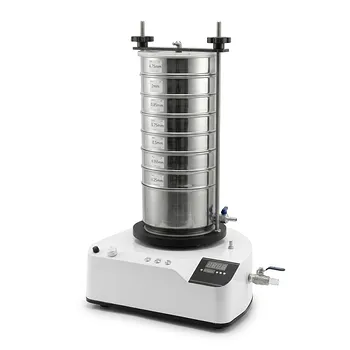
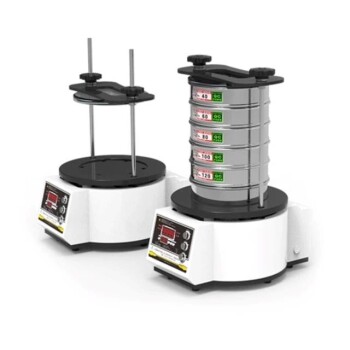
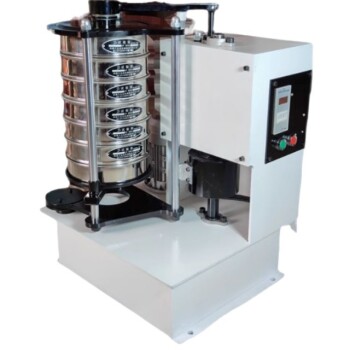
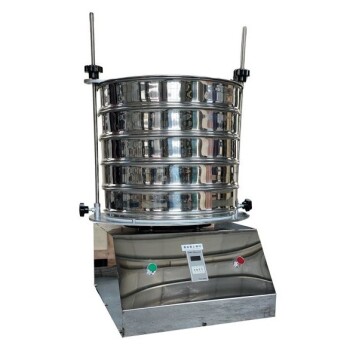
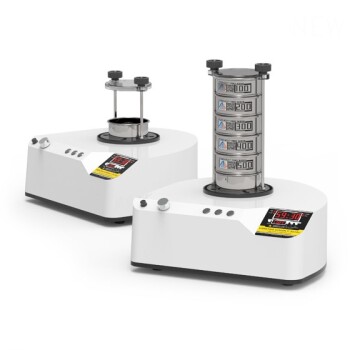
- Laboratory Vibratory Sieve Shaker Machine for Dry and Wet Three-Dimensional Sieving
- Laboratory Test Sieves and Vibratory Sieve Shaker Machine
- Laboratory Wet Three-Dimensional Vibratory Sieve Shaker Machine
- Vibratory Sieve Shaker Machine Dry Three-Dimensional Vibrating Sieve
- Laboratory Vibratory Sieve Shaker Machine Slap Vibrating Sieve
People Also Ask
- What is the principle of vibratory sieve shaker? Achieve Accurate Particle Size Analysis
- How is a vibratory sieve shaker used in the particle size analysis of mechanically alloyed powders? Expert Guide
- What is a sieving shaker? Automate Your Particle Size Analysis for Accurate Results
- What role does a laboratory vibrating sieve shaker play in the LiFePO4 powder processing workflow? Ensure Batch Quality
- What is the function of a vibratory sieve shaker? Achieve Precise Particle Size Analysis