In a microbiology lab, an autoclave is used by loading materials, sealing the chamber, and running a pre-set program that injects high-pressure steam to achieve a temperature (typically 121°C) sufficient to kill all microorganisms. This process is essential for sterilizing equipment and culture media before use, or for decontaminating biohazardous waste before disposal.
The core principle of autoclaving is not just heat, but the use of high-pressure saturated steam to denature proteins and destroy even the most resilient bacterial spores. Proper operation is non-negotiable for both scientific validity and laboratory safety.

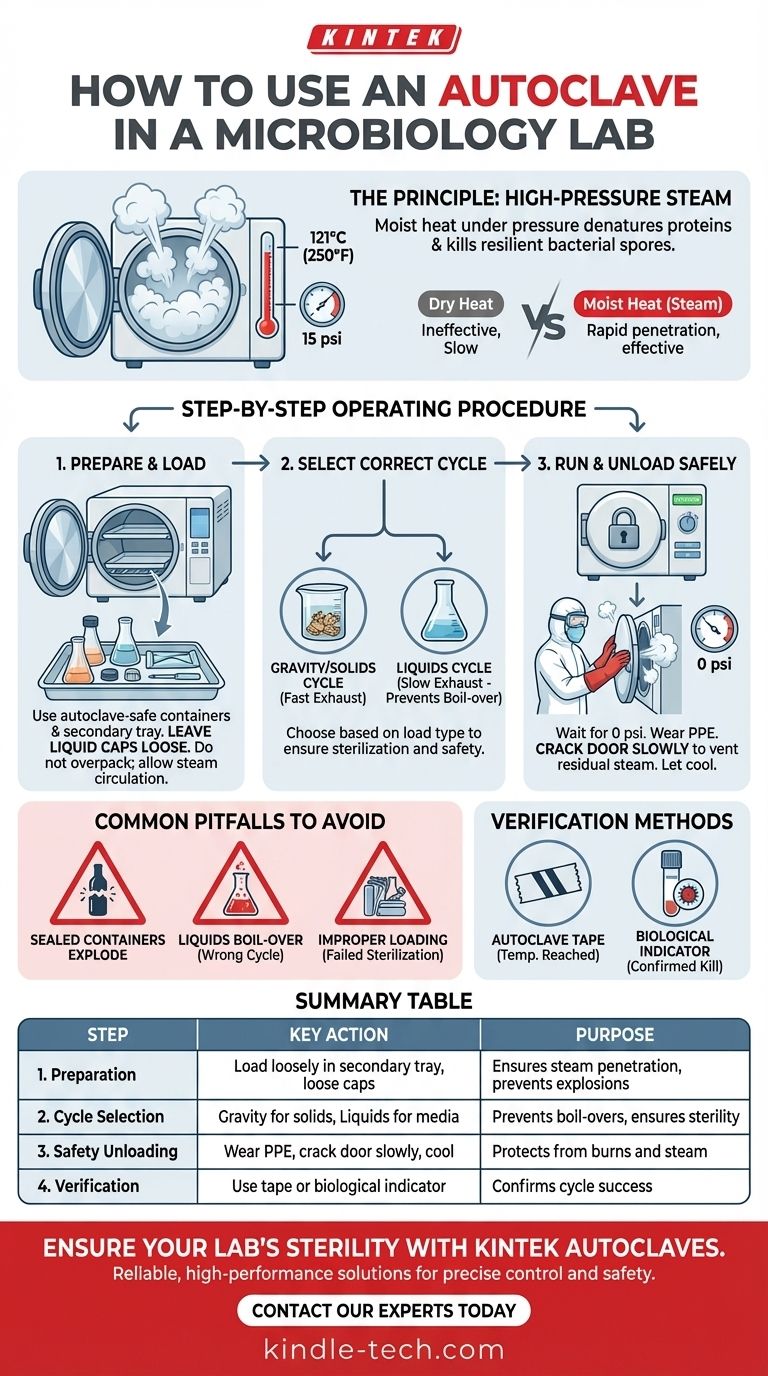
The Principle: Why Steam and Pressure?
An autoclave is fundamentally a pressure chamber that functions like a sophisticated pressure cooker. Its effectiveness relies on the unique properties of steam under pressure.
The Role of Moist Heat
Dry heat is a poor conductor and requires much higher temperatures and longer times for sterilization. Moist heat, in the form of steam, is far more effective at penetrating materials and transferring thermal energy.
This energy transfer rapidly denatures and coagulates essential proteins and enzymes within microorganisms, leading to their death.
The Impact of Pressure
By increasing the pressure inside the chamber, the autoclave can raise the boiling point of water far beyond 100°C (212°F). The standard sterilizing temperature is 121°C (250°F) at a pressure of 15 psi.
This elevated temperature is high enough to kill thermophilic bacteria and, most importantly, bacterial endospores, which are famously resistant to lesser sterilization methods.
The Step-by-Step Operating Procedure
While specific models vary, the fundamental process for using an autoclave follows a universal sequence focused on safety and effectiveness.
Step 1: Prepare and Load Your Materials
Proper loading is critical for steam penetration. All items must be placed in autoclave-safe containers or bags.
Always use a secondary container, such as a polypropylene tray, to catch any potential spills, especially with liquids or biohazardous waste.
For liquids, do not tighten the caps on bottles or flasks. Leave them loose to allow for pressure equalization and prevent the container from shattering during the cycle.
Never overpack the chamber. Leave ample space between items to allow steam to circulate freely.
Step 2: Select the Correct Cycle
Autoclaves have different cycles designed for different loads. Using the wrong one can lead to failed sterilization or dangerous accidents.
- Gravity/Solids Cycle: For dry goods, glassware, and instruments. It has a fast exhaust phase where steam is rapidly vented.
- Liquids Cycle: For culture media and other liquids. It uses a slow exhaust phase to cool the liquids gradually, preventing them from boiling over violently when the pressure drops.
Step 3: Run the Cycle and Unload Safely
Once the door is securely locked, the cycle will begin. Do not attempt to open the door while the machine is pressurized.
After the cycle completes, ensure the chamber pressure has returned to zero. Wear appropriate Personal Protective Equipment (PPE), including heat-resistant gloves, a lab coat, and eye protection.
Stand back and crack the door open slowly to allow residual steam to escape before fully opening it. Let items, especially super-heated liquids, cool for several minutes before removing them.
Common Pitfalls to Avoid
Mistakes in autoclaving can compromise your experiments and create serious safety hazards.
Failed Sterilization
The most common cause of failure is improper loading. If the chamber is packed too tightly, steam cannot reach all surfaces, leaving items unsterile.
Another cause is selecting a cycle time that is too short for the volume of the load, particularly for large liquid volumes.
Container Damage or Explosions
Sealing a container tightly is extremely dangerous. As the contents heat up, pressure builds inside the container. Without a way to vent, it can explode, shattering glass and spewing scalding liquid throughout the chamber.
Liquid Boil-Over
Using a fast-exhaust (gravity) cycle for liquids will cause them to boil over. This happens because the chamber pressure drops faster than the liquid's temperature, causing violent, instantaneous boiling. This makes a mess and results in a significant loss of your media.
Forgetting Verification
You cannot assume a cycle was successful just because it ran. Always use a method to verify sterilization. Autoclave tape has stripes that darken to show it reached temperature, but this does not confirm the required time was met.
For absolute certainty, especially for decontaminating infectious waste, a biological indicator containing heat-resistant spores (like Geobacillus stearothermophilus) is used. If the spores are killed, the cycle was successful.
Making the Right Choice for Your Goal
Your approach to autoclaving depends entirely on what you are trying to accomplish.
- If your primary focus is preparing sterile media or equipment: Your priority is preventing re-contamination. Load items to maximize steam exposure and handle them aseptically after the cycle is complete.
- If your primary focus is decontaminating biohazardous waste: Your priority is safety and a confirmed kill. Use secondary containment, verify success with biological indicators, and handle all materials with appropriate PPE.
Ultimately, mastering the autoclave is about understanding it as a precision instrument, not just a "heat machine."
Summary Table:
| Step | Key Action | Purpose |
|---|---|---|
| 1. Preparation | Load materials in autoclave-safe containers; leave bottle caps loose. | Ensures steam penetration and prevents explosions. |
| 2. Cycle Selection | Choose the correct cycle (Gravity for solids, Liquids for media). | Prevents boil-overs and ensures complete sterilization. |
| 3. Safety Unloading | Wear PPE, crack the door open slowly, allow items to cool. | Protects the user from burns and steam exposure. |
| 4. Verification | Use autoclave tape or a biological indicator. | Confirms the cycle achieved sterility. |
Ensure your lab's sterility and safety with reliable autoclaves from KINTEK.
Proper sterilization is non-negotiable for both the validity of your microbiological research and the safety of your personnel. KINTEK specializes in high-performance lab equipment, including autoclaves designed for precise temperature and pressure control. Whether you need to sterilize delicate culture media or decontaminate biohazardous waste, our solutions deliver the reliability and verification features your lab requires.
Contact our experts today to find the perfect autoclave for your microbiology lab's specific needs and ensure uncompromised sterility in every cycle.
Visual Guide
Related Products
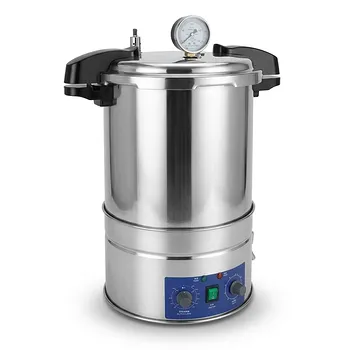
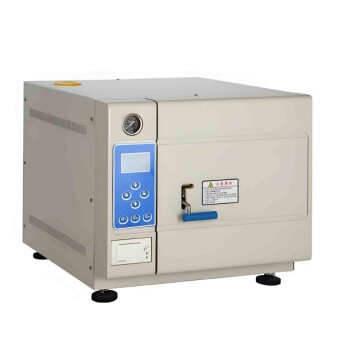
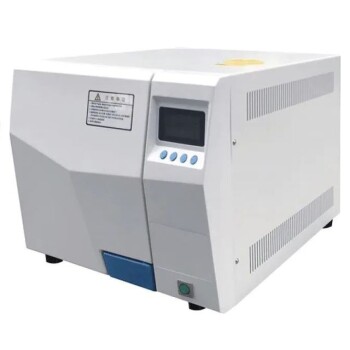
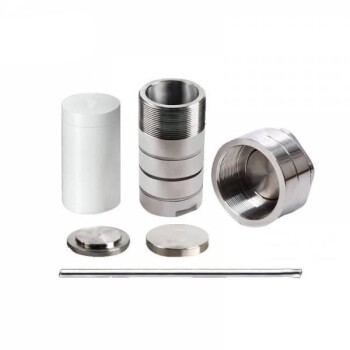
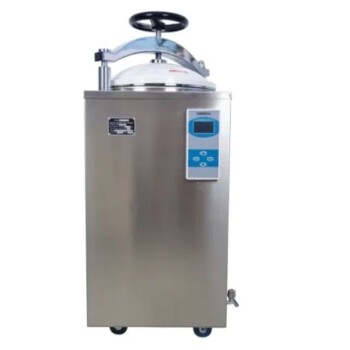
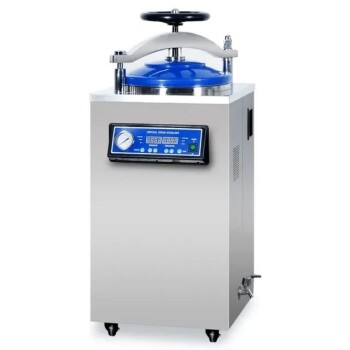
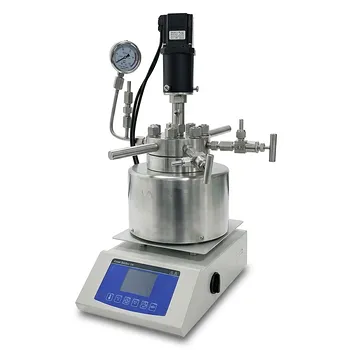
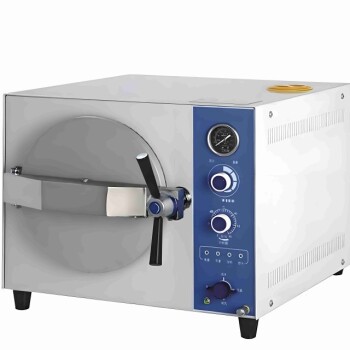
- Portable High Pressure Laboratory Autoclave Steam Sterilizer for Lab Use
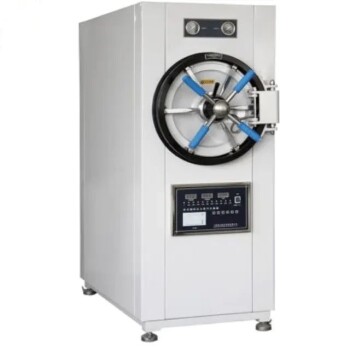
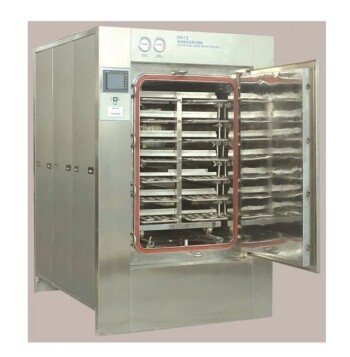
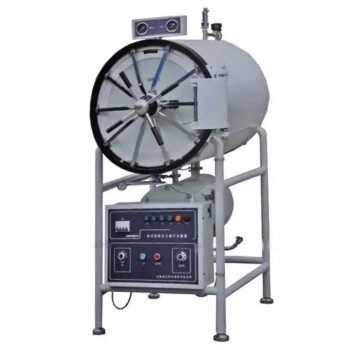
- Laboratory Horizontal Autoclave Steam Sterilizer Lab Microcomputer Sterilizer
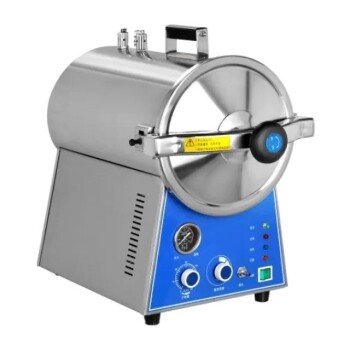
- Desktop Fast High Pressure Laboratory Autoclave Sterilizer 16L 24L for Lab Use
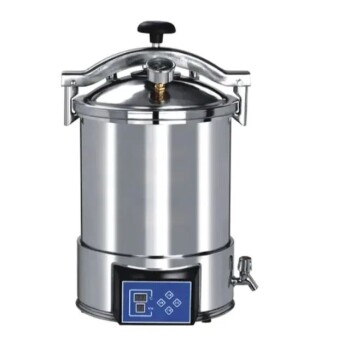
- Portable Digital Display Automatic Laboratory Sterilizer Lab Autoclave for Sterilization Pressure
- Desktop Fast Laboratory Autoclave Sterilizer 35L 50L 90L for Lab Use
People Also Ask
- What is a laboratory autoclave? A Guide to Sterilization with Pressurized Steam
- What extreme conditions does a laboratory autoclave simulate? Testing Wear Resistance of Nuclear Fuel Cladding
- What is the importance of using a laboratory autoclave in ZSM-5 synthesis? Achieve Perfect Zeolite Crystallization
- What are the two types of autoclave used in the laboratory? Gravity vs. Pre-Vacuum Explained
- What role does a laboratory autoclave play in HEA corrosion research? Key to Validating Advanced Reactor Materials