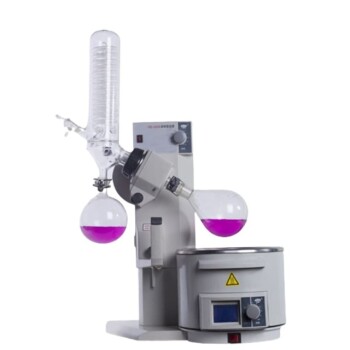
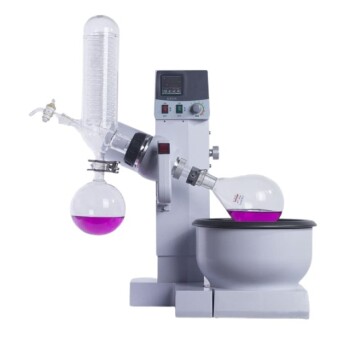
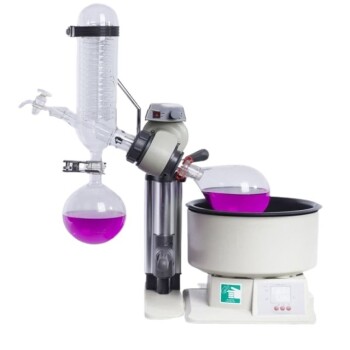
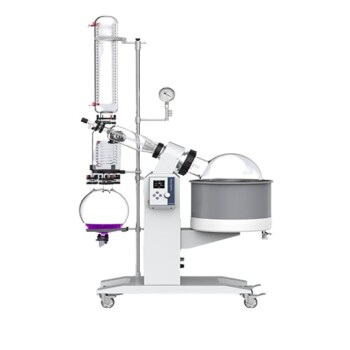
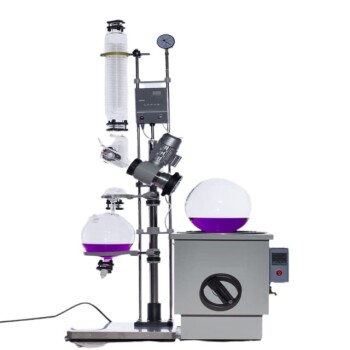
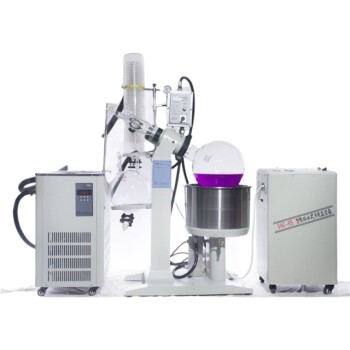
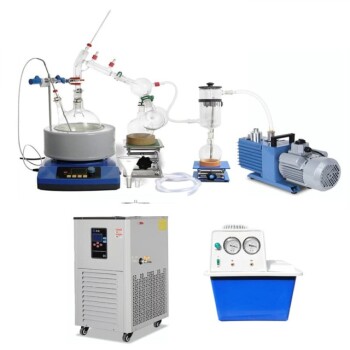
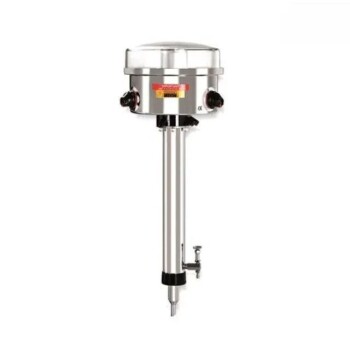
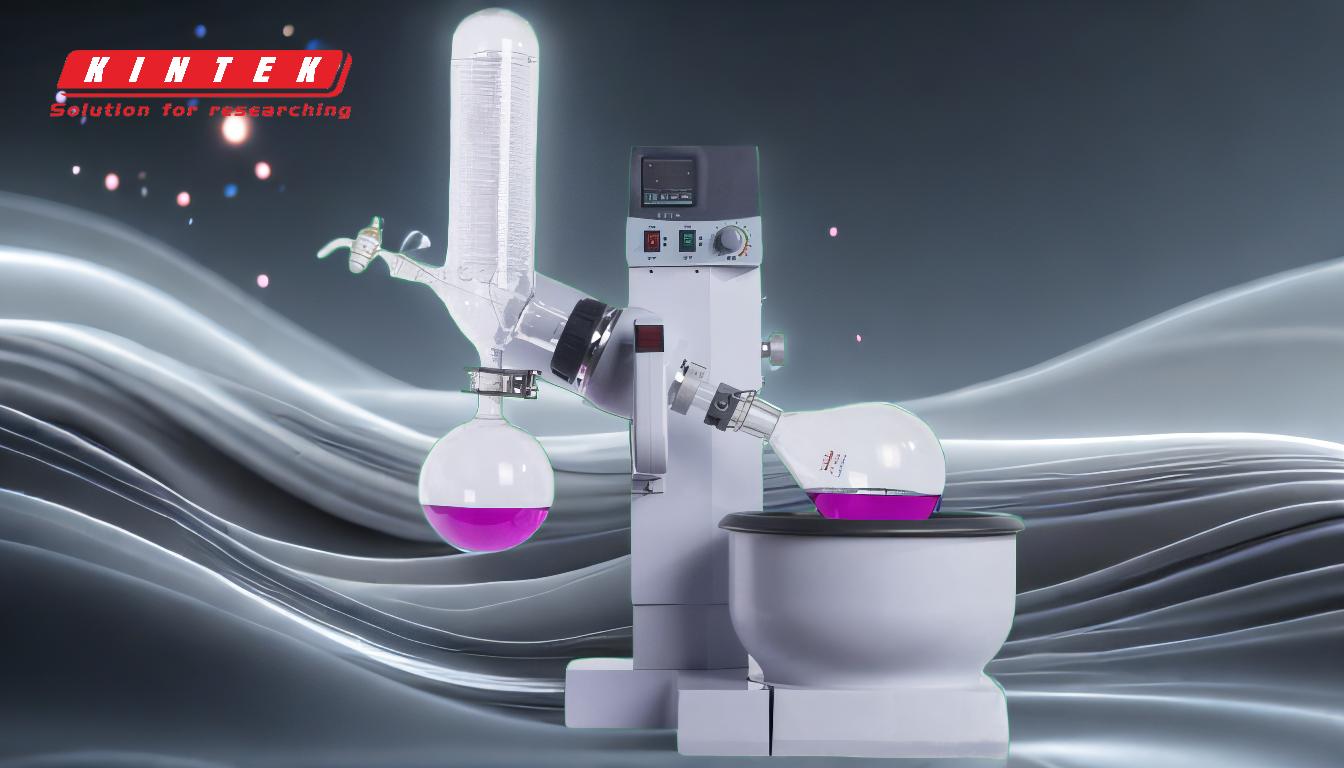
Rotary evaporation is a widely used technique in laboratories for solvent removal or concentration of samples. It operates by creating a thin film of the solvent inside a rotating flask under reduced pressure and elevated temperature, which accelerates evaporation. The evaporated solvent is then condensed and collected, leaving behind a concentrated sample. The process involves careful setup, monitoring, and adjustment of parameters such as rotation speed, vacuum strength, and temperature to ensure efficient and safe operation. Below is a detailed explanation of how to use a rotary evaporator, broken down into key steps and considerations.
Key Points Explained:
-
Preparation and Setup:
- Heat Bath and Condenser: Ensure the heat bath is preheated to the desired temperature and the condenser is properly cooled, typically using a recirculating chiller or cold water.
- Solvent Trap: Empty the solvent trap to remove any residual solvents from previous uses, ensuring it is clean and ready for the current process.
- Flask Attachment: Secure the round-bottom flask containing the sample to the rotary evaporator using a bump trap and clamps. This prevents spills or accidents during rotation.
-
Creating a Vacuum:
- Vacuum Pump Activation: Turn on the vacuum pump and gradually increase the vacuum strength. This lowers the boiling point of the solvent, enabling evaporation at lower temperatures.
- System Pressurization: Close the stopcock to maintain reduced pressure within the system. Monitor the process to ensure the vacuum is stable and no leaks occur.
-
Rotation and Evaporation:
- Rotation Speed: Activate the rotor at a speed appropriate for the sample volume. The goal is to create an even coating of the solvent on the inner surface of the flask, maximizing the surface area for evaporation.
- Lowering the Flask: Gradually lower the flask into the heated water bath. This step should be done carefully to avoid sudden boiling or bumping.
- Monitoring: Observe the evaporation process. If bubbles reach the neck of the flask, re-pressurize the system slightly to prevent bumping.
-
Condensation and Collection:
- Condenser Function: The evaporated solvent is condensed on the cooled surface of the condenser and collected in the solvent trap.
- Solvent Removal: Continue the process until the desired amount of solvent has been removed, leaving behind the concentrated sample.
-
Completion and Shutdown:
- Stopping the Process: Once all the solvent has been evaporated, raise the flask out of the water bath and stop the rotation.
- Releasing Vacuum: Turn off the vacuum pump and carefully open the stopcock to return the system to atmospheric pressure.
- Removing the Flask: Safely remove the flask from the rotary evaporator. Ensure the system is depressurized before disconnecting any components.
-
Post-Process Considerations:
- Cleaning: Clean the flask, bump trap, and solvent trap to prepare for the next use.
- Maintenance: Regularly check the vacuum pump, condenser, and other components for proper functioning to ensure consistent performance.
Detailed Explanation of Key Points:
- Importance of Rotation Speed: The rotation speed is critical for creating a thin, even film of the solvent inside the flask. Too slow, and the solvent won't evaporate efficiently; too fast, and it may cause splashing or bumping.
- Vacuum Control: The vacuum strength must be carefully adjusted to balance efficient evaporation with the prevention of bumping. A gradual increase in vacuum strength is recommended to avoid sudden boiling.
- Temperature Management: The water bath temperature should be set according to the solvent's boiling point under reduced pressure. Overheating can lead to sample degradation or excessive bumping.
- Bumping Prevention: Bumping occurs when the solvent boils too violently, causing splashing. Using a bump trap and adjusting the vacuum or rotation speed can mitigate this issue.
- Safety Precautions: Always wear appropriate personal protective equipment (PPE) and ensure the system is properly sealed to prevent exposure to solvents or vacuum-related hazards.
By following these steps and considerations, rotary evaporation can be performed efficiently and safely, making it an invaluable tool for solvent removal and sample concentration in laboratory settings.
Summary Table:
| Step | Key Considerations |
|---|---|
| Preparation and Setup | Pre-heat the heat bath, cool the condenser, and securely attach the flask. |
| Creating a Vacuum | Gradually increase vacuum strength to lower the solvent's boiling point. |
| Rotation and Evaporation | Adjust rotation speed to create an even solvent film; monitor for bumping. |
| Condensation and Collection | Condense and collect evaporated solvent in the trap. |
| Completion and Shutdown | Raise the flask, stop rotation, and release vacuum safely. |
| Post-Process | Clean components and perform regular maintenance for optimal performance. |
Need help setting up or optimizing your rotary evaporation process? Contact our experts today!
