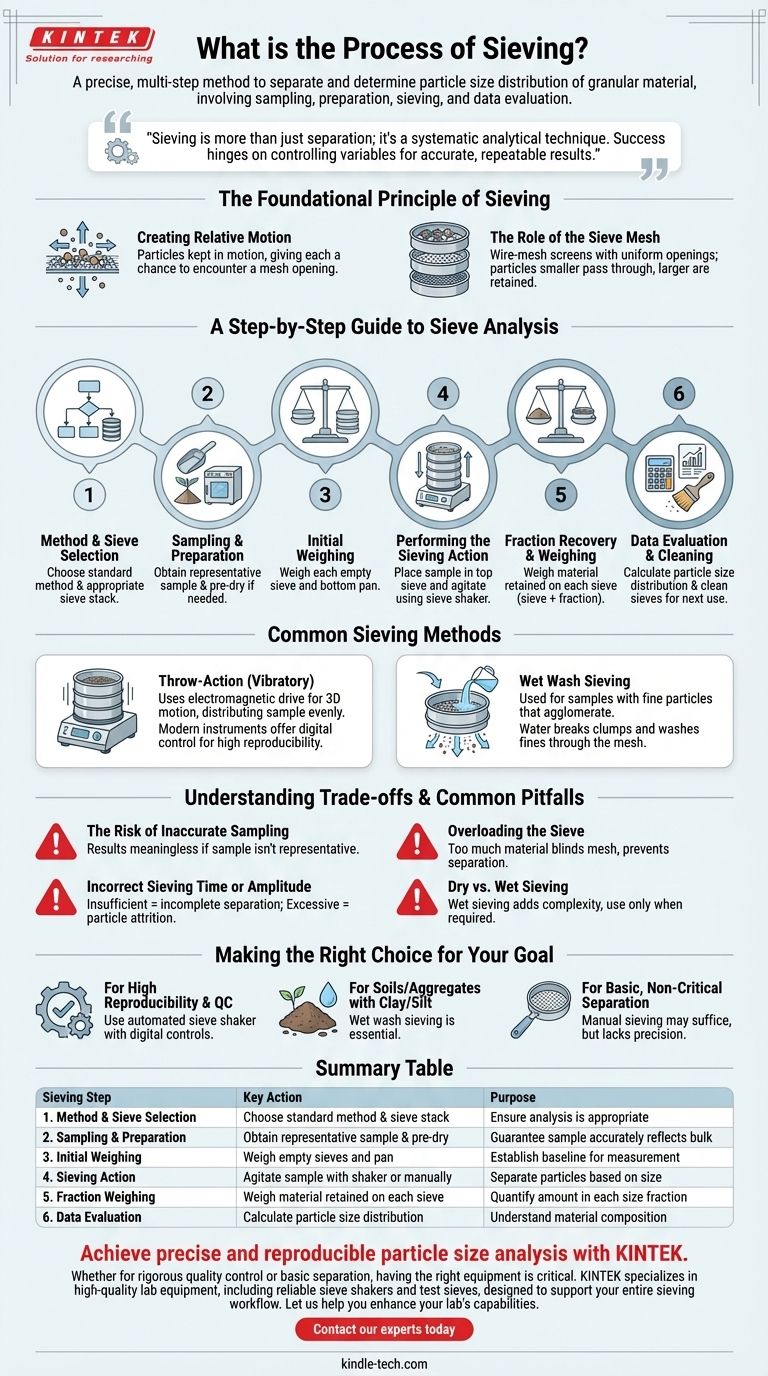
The process of sieving is a precise, multi-step method used to separate and determine the particle size distribution of a granular material. It begins with careful sampling, followed by sample preparation, the selection of appropriate test sieves, and the mechanical act of sieving itself. The process concludes with weighing the separated particle fractions and evaluating the data to understand the material's composition.
Sieving is more than just separation; it's a systematic analytical technique. Its success hinges on controlling variables at every stage—from sampling to data evaluation—to ensure the final particle size distribution is both accurate and repeatable.
The Foundational Principle of Sieving
Creating Relative Motion
The core principle of sieving is creating relative movement between the particles of a sample and a sieve mesh. The sample is kept in continuous vertical or horizontal motion, giving each particle the opportunity to encounter a sieve opening.
The Role of the Sieve Mesh
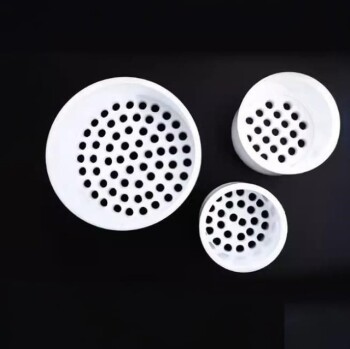
A sieve is a device, typically a pan with a wire-mesh screen at the bottom, with openings of a uniform size. Particles smaller than the mesh openings pass through, while larger particles are retained on the surface. Using a stack of sieves with progressively smaller mesh sizes allows for the separation of a material into multiple size fractions.
A Step-by-Step Guide to Sieve Analysis
A proper sieve analysis is a careful, systematic workflow. Each step is critical for achieving a trustworthy result.
Step 1: Method and Sieve Selection
First, you must develop or choose a standard method for your material. This involves selecting a stack of test sieves with mesh sizes appropriate for the expected particle size range.
Step 2: Sampling and Sample Preparation
Obtain a sample that is truly representative of the bulk material. If the sample is too large, it must be divided using a proper splitting technique. The sample may also require preparation, such as pre-drying, to ensure particles flow freely.
Step 3: Initial Weighing
Before beginning, each individual sieve and the bottom pan in the stack must be weighed and their empty weights recorded. This is a crucial baseline for the final measurement.
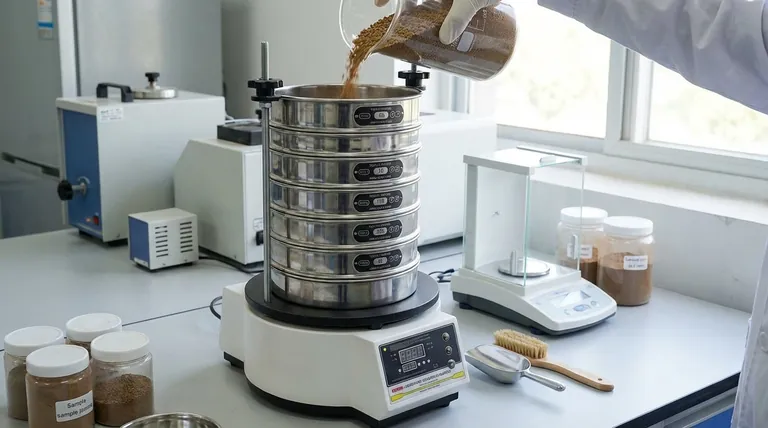
Step 4: Performing the Sieving Action
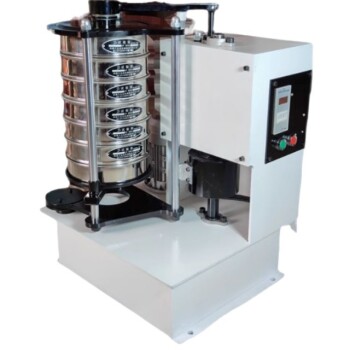
The prepared sample is placed in the top sieve of the stack. The stack is then agitated, either manually or, more commonly, using a mechanical sieve shaker. This agitation ensures the material is distributed across the mesh and separation can occur.
Step 5: Fraction Recovery and Weighing
After the sieving action is complete, the material retained on each sieve is weighed. This is done by weighing each sieve (now containing its particle fraction) and subtracting the pre-recorded empty weight.
Step 6: Data Evaluation and Cleaning
The weights of the fractions are used to calculate the particle size distribution, often expressed as a percentage of the total sample weight. Finally, all sieves must be thoroughly cleaned and dried to be ready for the next analysis.
Common Sieving Methods
The method of agitation has a significant impact on the quality and reproducibility of the results.
Throw-Action (Vibratory) Sieving
This is the most common modern technique. A sieve shaker uses an electromagnetic drive to create a three-dimensional throwing motion. This distributes the sample evenly across the entire sieve surface, optimizing separation.
Modern instruments allow for digital input of sieving amplitude and time. An internal control system continuously monitors and adjusts the motion, ensuring that sieving parameters are constant and highly reproducible between tests.
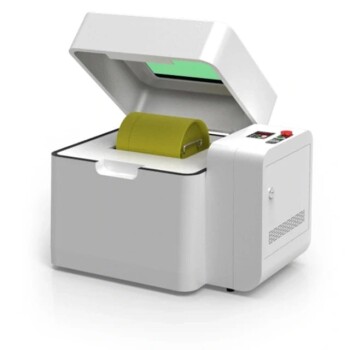
Wet Wash Sieving
This method is used when a sample contains fine particles, like clay or silt, that tend to agglomerate or stick to larger particles. Water is added to the sample during sieving to break up these clumps and wash the fine particles through the mesh. This is essential in industries like aggregate analysis to get an accurate measurement.
Understanding the Trade-offs and Common Pitfalls
Achieving accurate results requires avoiding common mistakes that can invalidate an analysis.
The Risk of Inaccurate Sampling
The entire analysis is meaningless if the initial sample is not representative of the bulk material. Any bias in sampling will be directly reflected in the final results.
Overloading the Sieve
Placing too much material on a sieve can "blind" the mesh, preventing particles from ever reaching the openings. This results in poor separation and an incorrect measurement, as smaller particles are retained with larger ones.
Incorrect Sieving Time or Amplitude
Insufficient sieving time or a low amplitude will result in incomplete separation. Conversely, excessive time or amplitude can cause particle attrition—where particles break down—skewing the results toward a finer distribution.
Dry vs. Wet Sieving
Choosing between dry and wet sieving is a key decision. While wet sieving is necessary for certain materials, it adds complexity, such as the need to dry fractions before weighing. It should only be used when required.
Making the Right Choice for Your Goal
Your analytical objective determines the necessary level of procedural rigor.
- If your primary focus is high reproducibility for quality control: You must use an automated sieve shaker with digital amplitude and time control to ensure consistent and comparable results.
- If you are working with soils or aggregates containing fine clay or silt: Wet wash sieving is essential to ensure that fine particles are not agglomerated with larger ones, which would distort your results.
- If your goal is a basic, qualitative separation for non-critical applications: Manual sieving may be sufficient, but you must accept that the results will lack the precision and reproducibility of automated methods.
By understanding each step and its purpose, you can transform sieving from a simple sorting task into a powerful analytical tool.
Summary Table:
| Sieving Step | Key Action | Purpose |
|---|---|---|
| 1. Method & Sieve Selection | Choose standard method & sieve stack | Ensure analysis is appropriate for material |
| 2. Sampling & Preparation | Obtain representative sample & pre-dry | Guarantee sample accurately reflects bulk material |
| 3. Initial Weighing | Weigh empty sieves and pan | Establish baseline for accurate fraction measurement |
| 4. Sieving Action | Agitate sample with shaker or manually | Separate particles based on size |
| 5. Fraction Weighing | Weigh material retained on each sieve | Quantify the amount in each size fraction |
| 6. Data Evaluation | Calculate particle size distribution | Understand material composition and properties |
Achieve precise and reproducible particle size analysis with KINTEK.
Whether your goal is rigorous quality control requiring automated sieve shakers or basic material separation, having the right equipment is critical for accurate results. KINTEK specializes in high-quality lab equipment, including reliable sieve shakers and test sieves, designed to support your entire sieving workflow—from representative sampling to final data evaluation.
Let us help you enhance your lab's capabilities. Contact our experts today to find the perfect sieving solution for your specific application and material.
Visual Guide
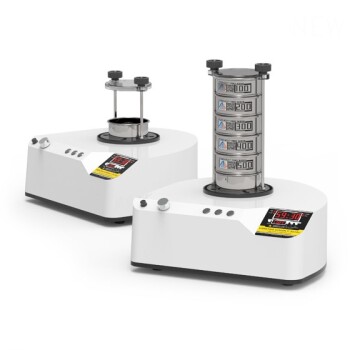
Related Products
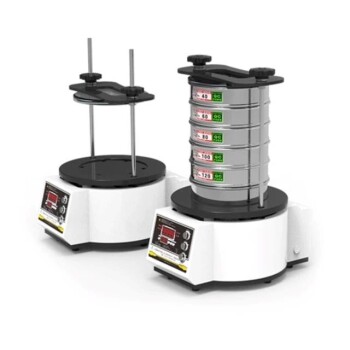
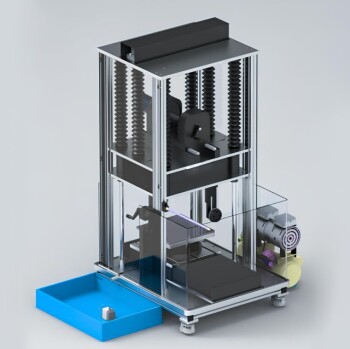
- Three-dimensional electromagnetic sieving instrument
- Laboratory Vibratory Sieve Shaker Machine for Dry and Wet Three-Dimensional Sieving
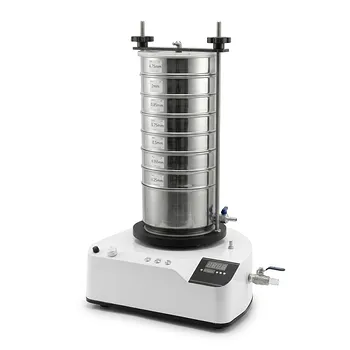
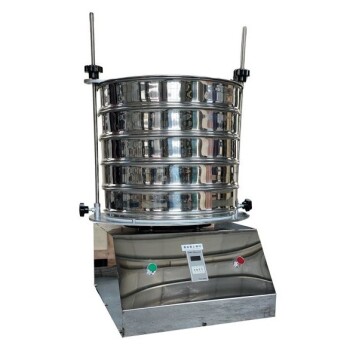
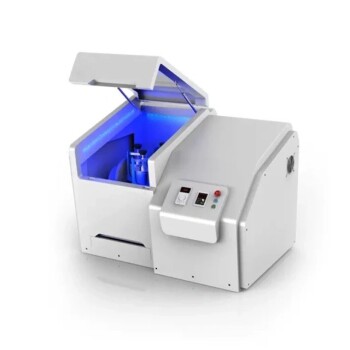
- Laboratory Test Sieves and Sieving Machines
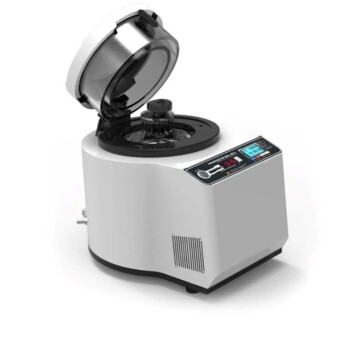
- Laboratory Wet Three-Dimensional Vibratory Sieve Shaker Machine
- Laboratory Test Sieves and Vibratory Sieve Shaker Machine
People Also Ask
- What mixtures can be separated by sieving? A Guide to Efficient Solid-Solid Separation
- What is sieving and how does it work? A Guide to Accurate Particle Size Analysis
- How is sieving important? The Critical Role of Particle Size Analysis in Quality Control
- Why is sieving equipment necessary for processing powder prior to hot extrusion of PEO? Ensure Cathode Film Uniformity
- Why is sieving equipment essential for the classification of processed bio-activated carbon? Optimize Performance