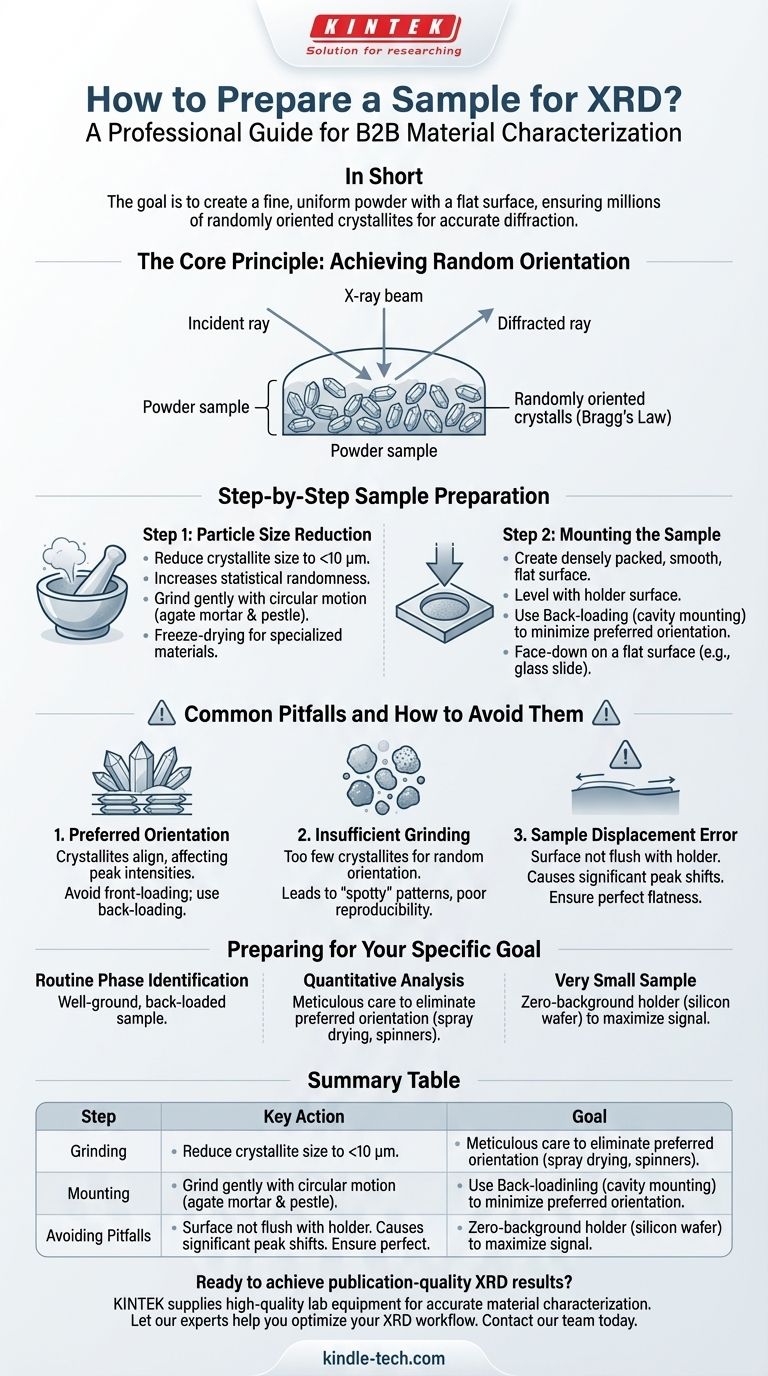
In short, preparing a sample for X-ray Diffraction (XRD) involves grinding the material into a fine, uniform powder and carefully mounting it into a holder to create a flat surface. The primary goal is to ensure that a large number of small crystal grains are oriented randomly to the X-ray beam, which is the foundation of a high-quality diffraction pattern.
The quality of your XRD data is a direct reflection of your sample preparation. The fundamental goal is not just to create a powder, but to present a sample with a sufficient number of randomly oriented crystallites to produce a statistically accurate diffraction pattern.
The Core Principle: Achieving Random Orientation
X-ray Diffraction operates on the principle of constructive interference from X-rays scattering off crystal lattice planes, governed by Bragg's Law. This law is only satisfied when the crystal planes are at a specific angle relative to the incident X-ray beam.
An ideal powder sample contains millions of tiny crystals (crystallites) in every possible orientation. This randomness ensures that for every set of lattice planes, a statistically significant number of crystallites will be perfectly aligned to diffract X-rays, producing accurate peak intensities.
Step-by-Step Sample Preparation
A methodical approach to preparation is essential for reproducibility and accuracy. The process can be broken down into two main stages: particle size reduction and sample mounting.
Step 1: Particle Size Reduction
The goal is to reduce the material's crystallite size to below 10 micrometers (µm). This creates more crystallites per unit volume, improving the statistical randomness of their orientation.
Grinding is the most common method. The reference to freeze-drying is critical for materials like clays or certain organic compounds, as it removes water without altering the crystal structure before grinding.
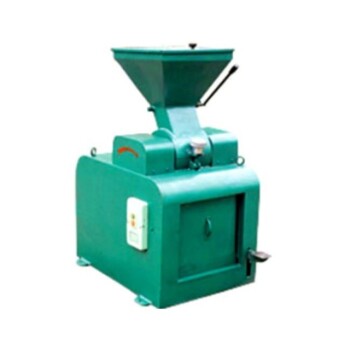
For most inorganic crystalline solids, a simple agate mortar and pestle is sufficient. Grinding should be done with a gentle circular motion, not forceful crushing, to minimize structural damage to the crystals.
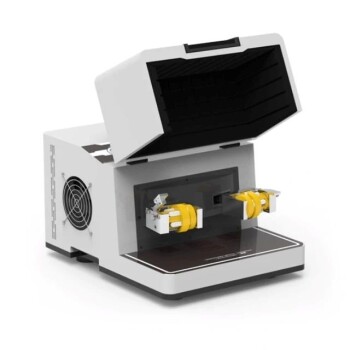
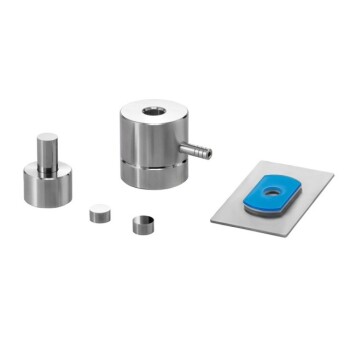
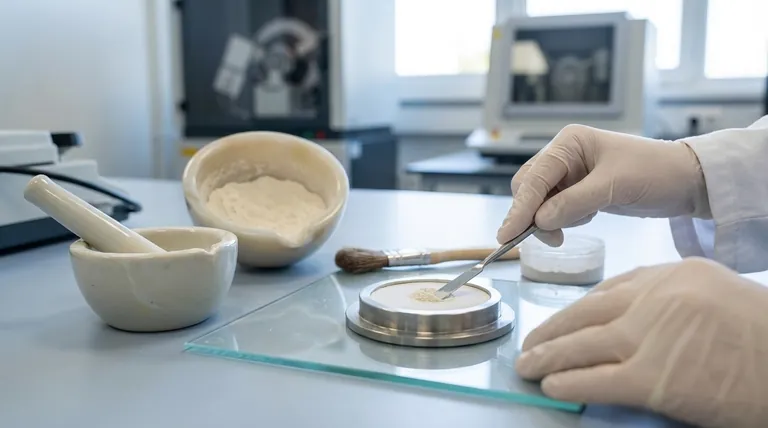
Step 2: Mounting the Sample
Once you have a fine, talc-like powder, it must be loaded into a sample holder. The objective is to create a densely packed powder with a perfectly smooth, flat surface that is exactly level with the surface of the holder.
The most common method is back-loading (or cavity mounting). The empty sample holder is placed face-down on a flat surface (like a glass slide), and the powder is packed into the cavity from the back. This minimizes preferred orientation, a common issue discussed below.
Common Pitfalls and How to Avoid Them
Poor sample preparation is the single largest source of error in powder XRD analysis. Understanding these pitfalls is crucial for interpreting your data correctly.
Pitfall 1: Preferred Orientation
This is the most significant problem. It occurs when crystallites are not randomly oriented but are aligned in a preferred direction. This is common for materials with needle-like or plate-like shapes.
Pressing the powder too firmly from the top (front-loading) can cause these shapes to align, drastically changing the relative intensities of the diffraction peaks and potentially leading to misidentification of the material.
Pitfall 2: Insufficient Grinding (Poor Particle Statistics)
If the crystallites are too large, there will not be enough of them in the irradiated sample volume to create a truly random orientation.
This results in a "spotty" or "grainy" diffraction pattern with incorrect peak intensities and poor signal-to-noise. The pattern will not be reproducible if you re-run the same sample.
Pitfall 3: Sample Displacement Error
This error occurs if the surface of your powder is not perfectly flush with the surface of the sample holder.
If the sample surface is too high or too low, the diffraction peaks will be systematically shifted from their true positions. This will lead to significant errors if you are trying to determine precise lattice parameters.
Preparing for Your Specific Goal
Your preparation technique should be guided by your analytical objective.
- If your primary focus is routine phase identification: A well-ground, back-loaded sample is typically sufficient to get correct peak positions and relative intensities for a database match.
- If your primary focus is quantitative analysis or crystal structure refinement: Meticulous care to eliminate preferred orientation is paramount. Techniques like spray drying or using specialized sample spinners may be necessary for the highest accuracy.
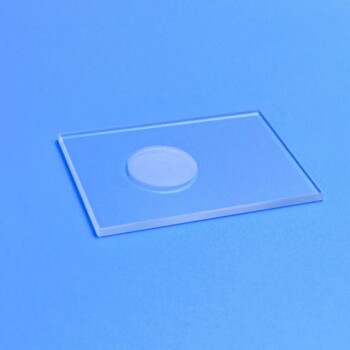
- If you are working with a very small amount of sample: Use a zero-background sample holder, such as a single crystal silicon wafer, to minimize background signal and ensure the weak peaks from your sample are detectable.
Ultimately, proper sample preparation is the foundation upon which all reliable XRD analysis is built.
Summary Table:
| Step | Key Action | Goal |
|---|---|---|
| 1. Grinding | Reduce to <10 µm powder | Maximize random crystallite orientation |
| 2. Mounting | Use back-loading technique | Minimize preferred orientation |
| 3. Avoid Pitfalls | Ensure flat, flush surface | Prevent peak shifting and intensity errors |
Ready to achieve publication-quality XRD results? The precision of your analysis starts with proper sample preparation. KINTEK specializes in supplying the high-quality lab equipment and consumables—like agate mortars and pestles, sample holders, and zero-background plates—that your laboratory relies on for accurate material characterization.
Let our experts help you optimize your XRD workflow. Contact our team today to discuss your specific application and ensure you have the right tools for success.
Visual Guide
Related Products
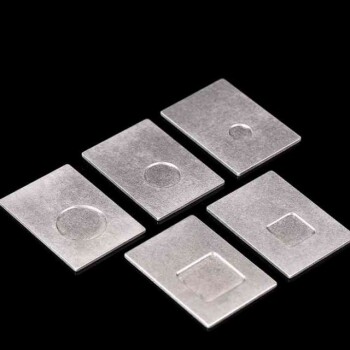
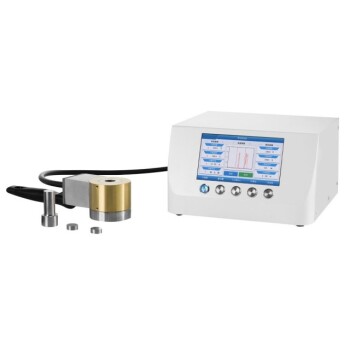
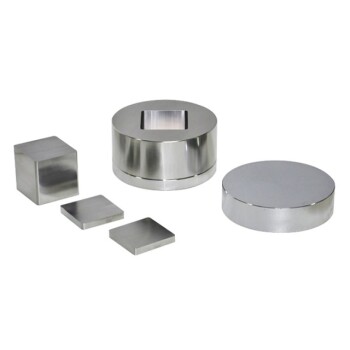
- Customizable XRD Sample Holders for Diverse Research Applications
- XRD Sample Holder X-ray Diffractometer Powder Slide
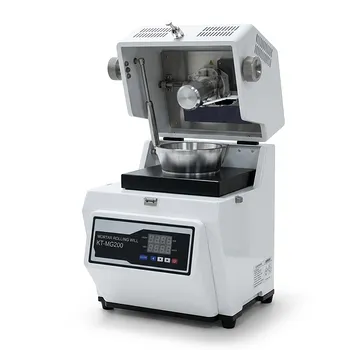
- Laboratory Micro Horizontal Jar Mill for Precision Sample Preparation in Research and Analysis
- Laboratory Grinding Mill Mortar Grinder for Sample Preparation
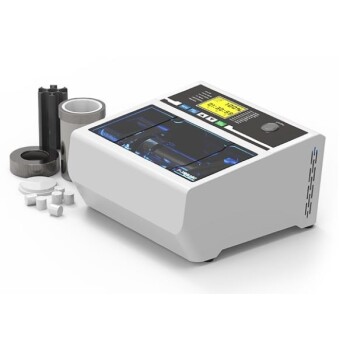
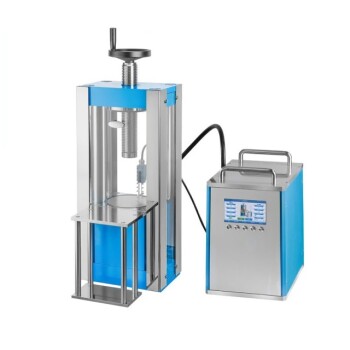
- Vacuum Cold Mounting Machine for Sample Preparation
People Also Ask
- What are the applicable sample dimensions for the sample holder? Ensure a Perfect Fit for Your Lab Samples
- What is the typical function of the sample holder in an electrochemical experiment? It's the Active Working Electrode
- What are the general operating procedures for using a sample holder during experiments? Ensure Sample Integrity and Accurate Results
- How can corrosion of the sample holder be prevented when using corrosive chemicals? Protect Your Lab's Integrity
- What does regular inspection of a sample holder involve for maintenance? A Guide to Protecting Your Data and Equipment