Testing metal alloys is a critical process in ensuring the quality, performance, and suitability of materials for specific applications. One of the most widely used techniques for this purpose is Positive Metal Identification (PMI), which leverages advanced analytical methods such as X-ray Fluorescence (XRF) and Optical Emission Spectrometry (OES). These techniques allow for the precise determination of the elemental composition and alloy grade of metallic materials, ensuring compliance with industry standards and specifications.
Key Points Explained:

-
Positive Metal Identification (PMI):
- Definition: PMI is a non-destructive testing method used to analyze the composition of metallic alloys. It helps identify the alloy grade by measuring the percentage of its constituent elements.
- Purpose: The primary goal of PMI is to verify that the material meets the required specifications, ensuring safety, reliability, and performance in its intended application.
- Applications: PMI is widely used in industries such as aerospace, oil and gas, power generation, and manufacturing, where material integrity is critical.
-
X-ray Fluorescence (XRF):
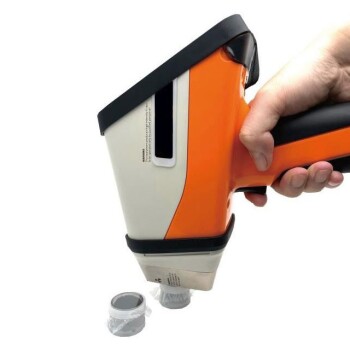
- Principle: XRF works by irradiating the metal sample with X-rays, causing the atoms in the sample to emit secondary (or fluorescent) X-rays. Each element emits X-rays at unique energy levels, which are detected and analyzed to determine the elemental composition.
-
Advantages:
- Non-destructive: The sample remains intact after testing.
- Fast and accurate: Provides quick results with high precision.
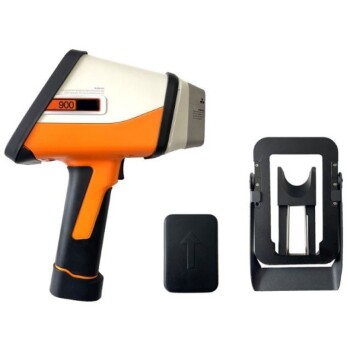
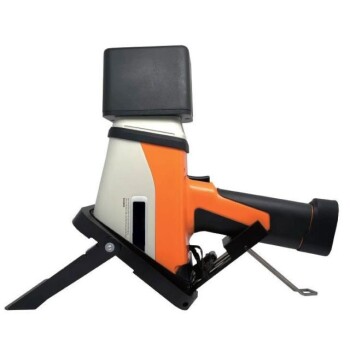
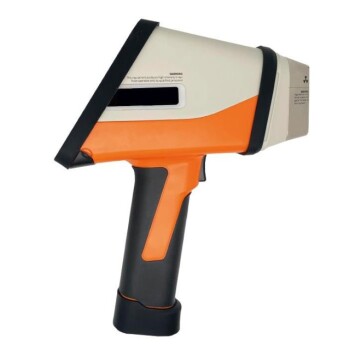
- Portable: Handheld XRF devices allow for on-site testing.
-
Limitations:
- Surface sensitivity: XRF primarily analyzes the surface layer, which may not represent the bulk material if the surface is contaminated or coated.
- Limited depth penetration: X-rays penetrate only a few micrometers into the material.
-
Optical Emission Spectrometry (OES):
- Principle: OES involves creating a spark or arc on the metal surface, which excites the atoms in the sample. As the excited atoms return to their ground state, they emit light at specific wavelengths. The emitted light is then analyzed to determine the elemental composition.
-
Advantages:
- High accuracy: OES provides precise measurements of elemental concentrations.
- Bulk analysis: Unlike XRF, OES can analyze the bulk material, making it suitable for detecting internal inconsistencies.
-
Limitations:
- Destructive: The spark or arc creates a small burn mark on the sample, which may not be acceptable for certain applications.
- Less portable: OES equipment is typically larger and less portable than XRF devices.
-
Comparison of XRF and OES:
- Non-destructive vs. Destructive: XRF is non-destructive, making it ideal for applications where the sample must remain intact. OES, while more accurate for bulk analysis, is destructive and may not be suitable for all situations.
- Portability: XRF devices are generally more portable and easier to use in the field, whereas OES equipment is often confined to laboratory settings.
- Depth of Analysis: XRF is limited to surface analysis, while OES can provide information about the bulk material.
-
Other Testing Methods:
- Spark Testing: A quick and simple method where the metal is ground against a grinding wheel, and the sparks produced are observed to identify the alloy type based on spark color, length, and shape.
- Chemical Analysis: Involves dissolving a sample in acid and using various chemical reagents to determine the presence and concentration of specific elements.
- Mechanical Testing: Includes methods like tensile testing, hardness testing, and impact testing to evaluate the mechanical properties of the alloy, such as strength, ductility, and toughness.
-
Importance of Testing Metal Alloys:
- Quality Control: Ensures that the material meets the required specifications and standards, preventing failures and ensuring safety.
- Material Verification: Confirms that the correct alloy is being used, which is crucial in industries where material properties are critical to performance.
- Failure Analysis: Helps identify the cause of material failure by analyzing the composition and structure of the alloy.
In conclusion, testing metal alloys is a multifaceted process that involves various techniques, each with its own advantages and limitations. Positive Metal Identification (PMI) using XRF and OES is a cornerstone of this process, providing accurate and reliable data on the composition and grade of metallic materials. By understanding the strengths and weaknesses of each method, professionals can choose the most appropriate testing approach for their specific needs, ensuring the integrity and performance of the materials they work with.
Summary Table:
| Aspect | XRF | OES |
|---|---|---|
| Principle | Uses X-rays to analyze surface composition | Uses sparks/arcs to excite atoms and analyze emitted light wavelengths |
| Advantages | Non-destructive, fast, accurate, portable | High accuracy, bulk material analysis |
| Limitations | Surface-sensitive, limited depth penetration | Destructive, less portable |
| Applications | Ideal for on-site testing and surface analysis | Suitable for lab-based bulk material analysis |
Ensure your metal alloys meet industry standards—contact our experts today for tailored testing solutions!
