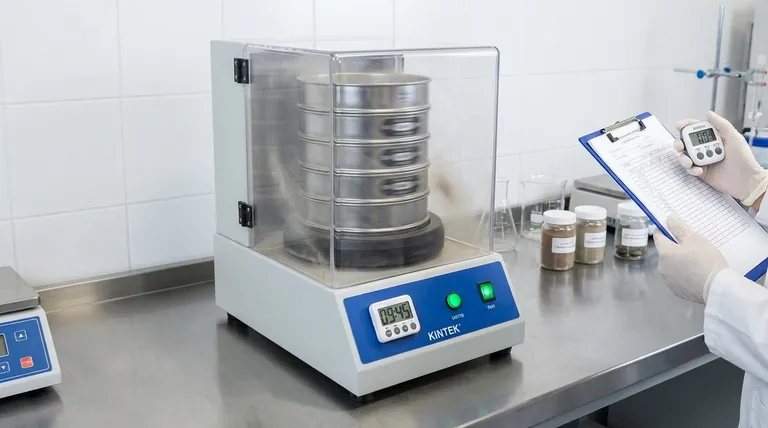
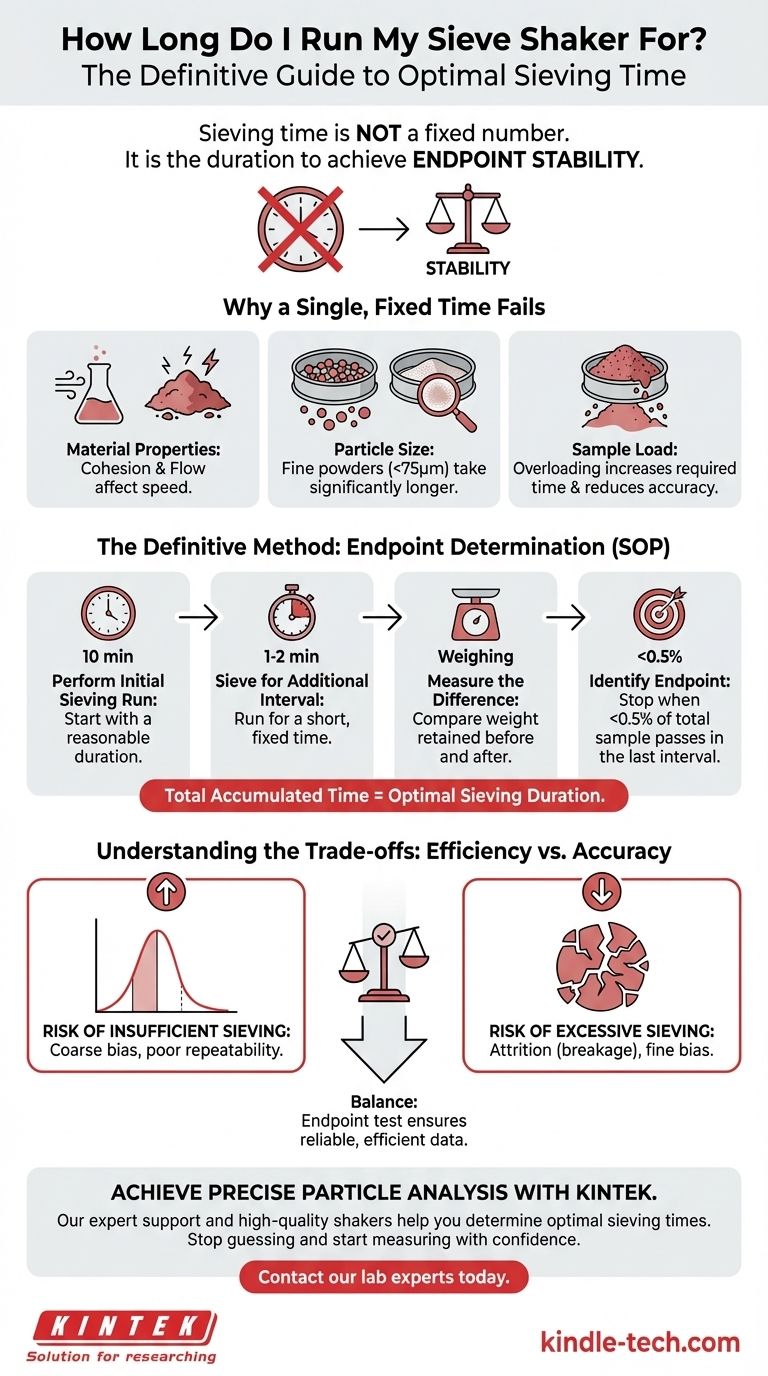
The correct sieving time is not a fixed number. It is the specific duration required to achieve a stable and repeatable result for your unique material. While a common starting point is 10-15 minutes, the optimal time must be found through a simple endpoint determination test, where you continue sieving until the amount of material passing through each sieve becomes negligible.
The goal of sieve analysis is not to meet a specific runtime, but to achieve endpoint stability—the point where further shaking no longer significantly changes the particle size distribution. Your focus should be on finding this endpoint for your material, not on adhering to a generic time.
Why a Single, Fixed Time Fails
Relying on a generic time like "15 minutes" for all materials is a common source of error. The ideal duration is a function of the material's physical characteristics and the test parameters.
The Role of Material Properties
A material's unique properties heavily influence the time it takes for particles to find openings in the sieve mesh. Dense, spherical, free-flowing particles will separate much faster than low-density, angular, or cohesive powders that are prone to static cling.
The Impact of Particle Size
Fine powders (typically below 75 microns) require significantly more time to separate. Forces like cohesion and adhesion become much stronger than gravity, causing particles to clump together and blind the sieve mesh. These materials often require a shaker that combines horizontal and vertical (tapping) motion to break up agglomerates.
The Influence of Sample Load
Overloading a sieve is a critical error. When the sieve is too full, the layer of material is too deep for every particle to get a fair chance to meet an opening. This drastically increases the required sieving time and produces inaccurate, unreliable results.
The Definitive Method: Endpoint Determination
To establish a scientifically valid and repeatable sieving time, you must perform an endpoint determination test. This is the industry-standard method for creating a Standard Operating Procedure (SOP).
Step 1: Perform an Initial Sieving Run
Start with a properly sized sample of your material. Run the sieve shaker for a reasonable starting duration, such as 10 minutes, and then carefully weigh the material retained on each sieve.
Step 2: Sieve for an Additional Interval
Without removing the material, place the sieve stack back on the shaker and run it for a shorter, fixed interval, typically 1 to 2 minutes.
Step 3: Measure the Difference
Re-weigh the material on each sieve. Compare this new weight to the measurement from the previous step. Calculate the percentage of material that passed through each sieve during that last interval.
Step 4: Identify the Endpoint
The endpoint is reached when the amount of material passing any given sieve during the last interval is less than a pre-determined limit. A common industry standard is when this amount is less than 0.5% of the total initial sample weight. The total accumulated time is now your optimal sieving duration for this material.
Understanding the Trade-offs
Choosing a sieving time is a balance between efficiency and accuracy. Understanding the consequences of getting it wrong is crucial for data integrity.
The Risk of Insufficient Sieving
This is the most common failure. Incomplete sieving means coarser particles have not had enough time to pass through the proper sieves. This skews your results, showing a coarser distribution than reality, and leads to poor repeatability.
The Risk of Excessive Sieving
For friable or brittle materials, shaking for too long can cause attrition, where the particles themselves break down. This artificially creates more fine particles, skewing the distribution toward the finer end and misrepresenting the original sample.
The Balance of Speed and Accuracy
While faster analysis is always desirable for operational efficiency, it cannot come at the cost of accuracy. The endpoint test is the definitive method for finding the ideal balance, ensuring your data is both reliable and efficiently produced.
Setting Your Standard Operating Procedure
Once you have used the endpoint determination method to find the optimal time for a specific material, you must use it consistently. This is the foundation of reliable quality control.
- If your primary focus is establishing a new quality control protocol: Perform a full endpoint determination test to find the scientifically-backed sieving time for your specific material.
- If your primary focus is routine production testing: Use the predetermined time from your established protocol consistently for every test to ensure comparability between batches.
- If you are working with an unfamiliar or friable material: Perform an endpoint test starting with shorter intervals (e.g., 5 minutes followed by 1-minute checks) to avoid particle attrition.
By focusing on endpoint stability rather than a generic timer, you ensure your particle size analysis is both accurate and defensible.
Summary Table:
| Factor | Impact on Sieving Time |
|---|---|
| Material Properties | Cohesive powders take longer than free-flowing ones. |
| Particle Size | Fine particles (<75 microns) require significantly more time. |
| Sample Load | Overloading drastically increases the required time. |
| Endpoint Criterion | Sieving stops when <0.5% of material passes per interval. |
Achieve precise and repeatable particle size analysis with KINTEK.
Our range of high-quality sieve shakers and expert support ensures you can efficiently determine the optimal sieving time for your unique materials, from fine powders to coarse aggregates. Stop guessing and start measuring with confidence.
Contact our lab equipment experts today to discuss your specific application and find the perfect sieving solution for your laboratory's needs.
Visual Guide
Related Products
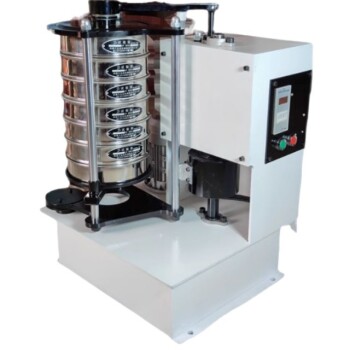
- Laboratory Test Sieves and Sieving Machines
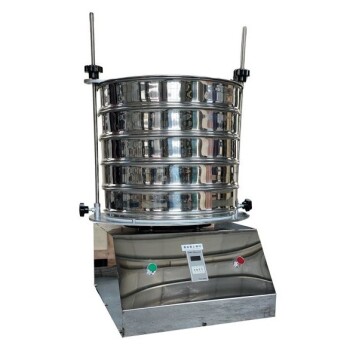
- Laboratory Vibratory Sieve Shaker Machine Slap Vibrating Sieve
- Laboratory Sterilizer Lab Autoclave Vertical Pressure Steam Sterilizer for Liquid Crystal Display Automatic Type
- Laboratory Sterilizer Lab Autoclave Pulse Vacuum Lifting Sterilizer
- HFCVD Machine System Equipment for Drawing Die Nano-Diamond Coating
People Also Ask
- What is a sieving shaker? Automate Your Particle Size Analysis for Accurate Results
- What is the device used for sieving? Your Guide to Precision Particle Separation
- What is the function of a laboratory shaker during the wet chemical synthesis of Pd/Fe3O4 nanocatalysts?
- What is the importance of powder sieving and mixing systems in additive manufacturing for HEA? Unlock Advanced Alloys
- How do laboratory shakers ensure accuracy in adsorption studies? Optimize Your Kinetics and Isotherm Data Today
- Which types of diameter or size can be determined using sieve shaker method for the given granular sample? A Guide to the 38 µm to 4 mm Range
- How does a constant temperature shaker improve adsorption kinetics? Enhance Tetracycline Removal Accuracy
- What is a vibrating sieve shaker? Achieve Accurate and Repeatable Particle Size Analysis
