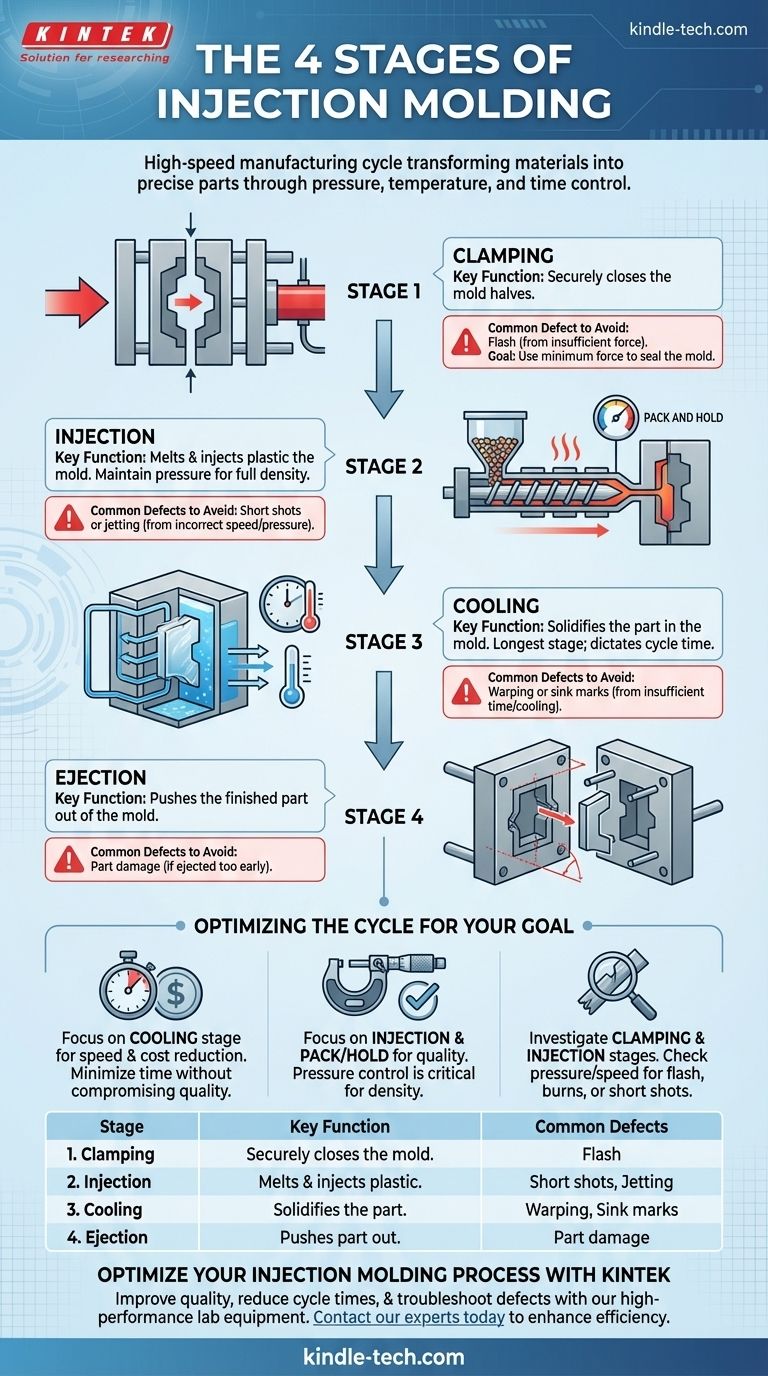
The injection molding process is a high-speed manufacturing cycle composed of four essential stages: clamping, injection, cooling, and ejection. In unison, these stages efficiently transform raw thermoplastic or thermosetting materials into a precise, solid part, enabling the mass production of complex components.
While the four stages are simple to name, they represent a complex interplay of pressure, temperature, and time. Mastering this cycle is the key to producing high-quality, cost-effective parts at scale, as the success of the final component depends entirely on the precise control of each phase.
The Foundation: Stage 1 - Clamping
What is Clamping?
Before any plastic is injected, the two halves of the mold must be securely closed. A clamping unit, either hydraulic or electric, pushes the mold halves together with immense force.
The Role of Clamping Force
This force, often measured in tons, is not arbitrary. It must be strong enough to resist the massive pressure of the molten plastic that will be injected, keeping the mold tightly sealed.
Why It's Critical
Insufficient clamping force allows plastic to seep out of the mold cavity, creating a defect known as flash. This excess material must be manually trimmed, increasing labor costs and creating waste.
The Transformation: Stage 2 - Injection
Melting and Injecting
Plastic pellets are fed from a hopper into a heated barrel. A large reciprocating screw inside the barrel both melts the plastic and conveys it forward.
Once enough molten plastic (the "shot") has accumulated, the screw acts like a plunger, rapidly pushing the material into the empty mold cavity.
The "Pack and Hold" Phase
After the cavity is mostly filled, the machine enters a "packing" or "holding" phase. Pressure is maintained for a set time to pack additional material into the cavity.
This is critical for compensating for material shrinkage as it cools, ensuring the part is fully dense and free from voids or sink marks.
The Solidification: Stage 3 - Cooling
How Cooling Works
As soon as the molten plastic makes contact with the interior surfaces of the mold, it begins to cool and solidify into its final shape. The mold itself is temperature-controlled, typically with channels for circulating water or oil.
The Most Time-Consuming Stage
The cooling stage is the longest part of the injection molding cycle. It dictates the overall cycle time and, by extension, the final cost per part.
Impact on Final Properties
The duration of the cooling phase must be long enough for the part to become solid enough to be ejected without warping or damage. This stage sets the final dimensions, strength, and surface finish of the component.
Understanding the Trade-offs & Common Defects
Clamping Pressure vs. Flash
Using excessive clamping force wastes energy and can cause premature wear on the mold. However, too little force results in flash, as explained earlier. The goal is to use the minimum force necessary to keep the mold sealed.
Injection Speed vs. Defects
Injecting too slowly can cause the plastic to cool before the mold is completely full, resulting in a short shot. Injecting too quickly can create high shear stress, leading to material degradation or cosmetic flaws like "jetting."
Cooling Time vs. Cycle Cost
This is the central economic trade-off. A shorter cooling time means a lower part cost but increases the risk of defects like warping or sink marks. The process must be optimized for the shortest possible cooling time that still meets all quality specifications.
The Release: Stage 4 - Ejection
Releasing the Part
Once the part has cooled sufficiently, the clamping unit opens the mold. An ejection mechanism, typically a series of pins or a plate, pushes the solidified part out of the cavity.
Ensuring a Clean Release
The part must be rigid enough to withstand the force of the ejector pins without being damaged. Features like draft angles (slight tapers on the part walls) are designed into the part to facilitate a smooth and easy release from the mold. After ejection, the mold closes, and the cycle begins again.
Optimizing the Cycle for Your Goal
Understanding these four stages empowers you to have more productive conversations with your manufacturing partner and to better diagnose production issues.
- If your primary focus is speed and cost reduction: Pay closest attention to the cooling stage, as it typically accounts for the majority of the cycle time.
- If your primary focus is part quality and dimensional accuracy: The injection and pack/hold phase is most critical, as pressure control dictates part density and prevents defects.
- If you are experiencing cosmetic defects: Investigate the clamping and injection stages, as issues like flash, burn marks, or short shots are often traced back to incorrect pressure or speed.
By viewing injection molding as an integrated system rather than four separate steps, you can better diagnose issues and achieve your desired manufacturing outcomes.
Summary Table:
| Stage | Key Function | Common Defects to Avoid |
|---|---|---|
| 1. Clamping | Securely closes the mold halves. | Flash (from insufficient force). |
| 2. Injection | Melts and injects plastic into the mold. | Short shots or jetting (from incorrect speed). |
| 3. Cooling | Solidifies the part in the mold. | Warping or sink marks (from insufficient time). |
| 4. Ejection | Pushes the finished part out of the mold. | Part damage (if ejected too early). |
Optimize Your Injection Molding Process with KINTEK
Are you looking to improve part quality, reduce cycle times, or troubleshoot defects in your injection molding operations? KINTEK specializes in high-performance lab equipment and consumables that support material testing and process optimization for manufacturers like you.
Our solutions can help you:
- Precisely analyze material properties to perfect injection parameters.
- Simulate and test cooling rates to minimize cycle times.
- Ensure consistent quality control from raw material to finished part.
Contact our experts today to discuss how KINTEK's laboratory equipment can enhance your injection molding efficiency and yield.
Visual Guide
Related Products
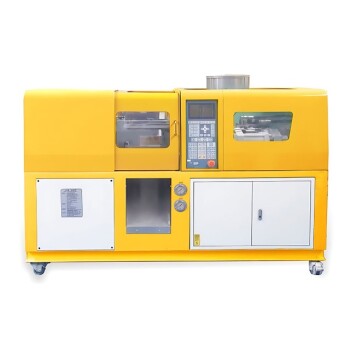
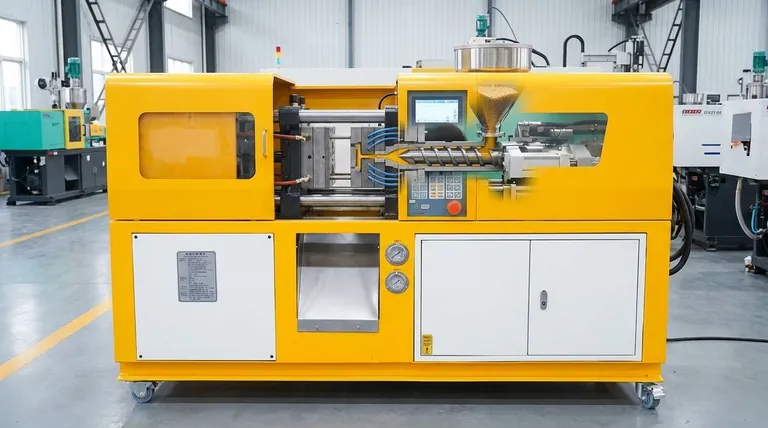
- Small Injection Molding Machine for Lab Use
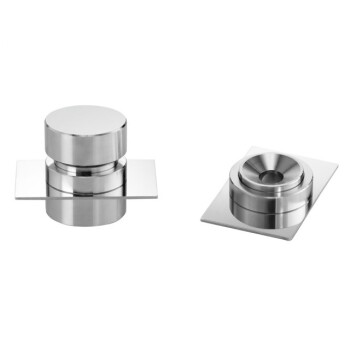
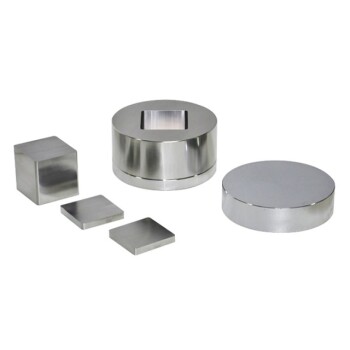
- No Demolding Lab Infrared Press Mold for Laboratory Applications
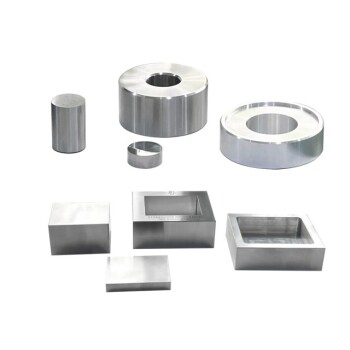
- Lab Infrared Press Mold
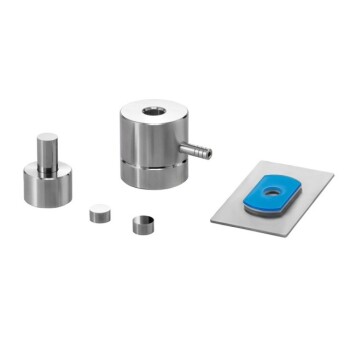
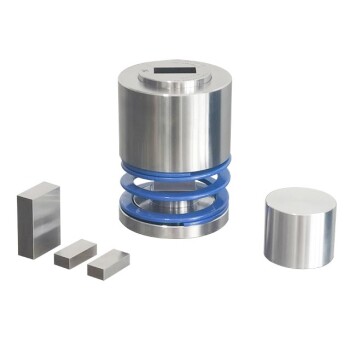
- Round Bidirectional Press Mold for Lab
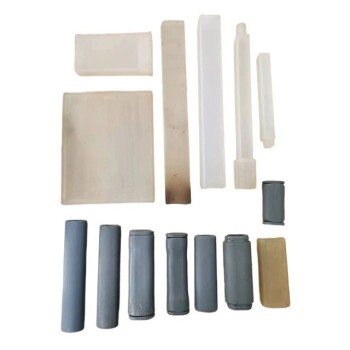
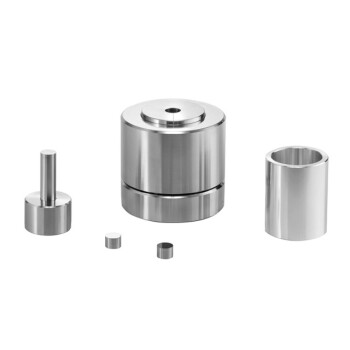
- Isostatic Molding Pressing Molds for Lab
People Also Ask
- What are the 5 steps of injection molding? A Guide to Efficient, High-Quality Production
- What are the stages of the molding process? A Guide to Plastic, Metal, and Ceramic Molding
- What machine makes molding? Injection Molding Machines for Mass Production
- What is the application of injection moulding machine? Powering Mass Production for Complex Parts
- What industry uses injection molding? From Medical to Automotive, It's Everywhere