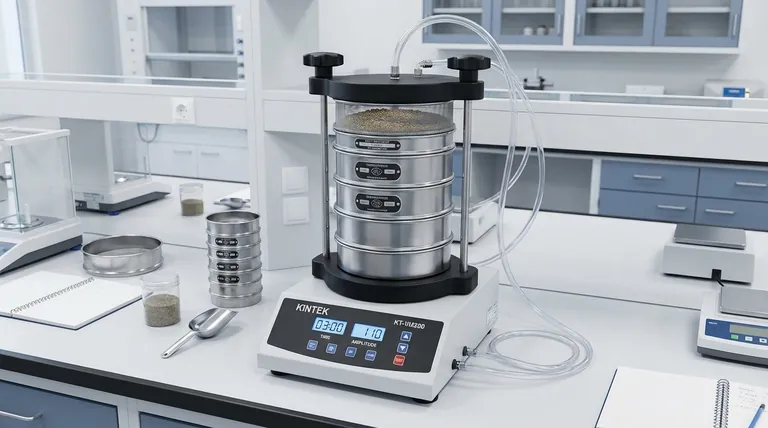
At its core, the procedure for using a sieve shaker involves placing a prepared sample onto a stack of sieves with progressively smaller mesh openings and subjecting them to mechanical vibration. This vibration causes the particles to move and separate, with finer particles passing through to lower sieves. After a set time, the material retained on each sieve is weighed to determine the sample's particle size distribution.
A sieve shaker's function is to replace subjective, inconsistent manual sieving with a highly repeatable and efficient automated process. The key to accurate results lies not just in the steps themselves, but in controlling the variables of time, vibration intensity, and sample load.
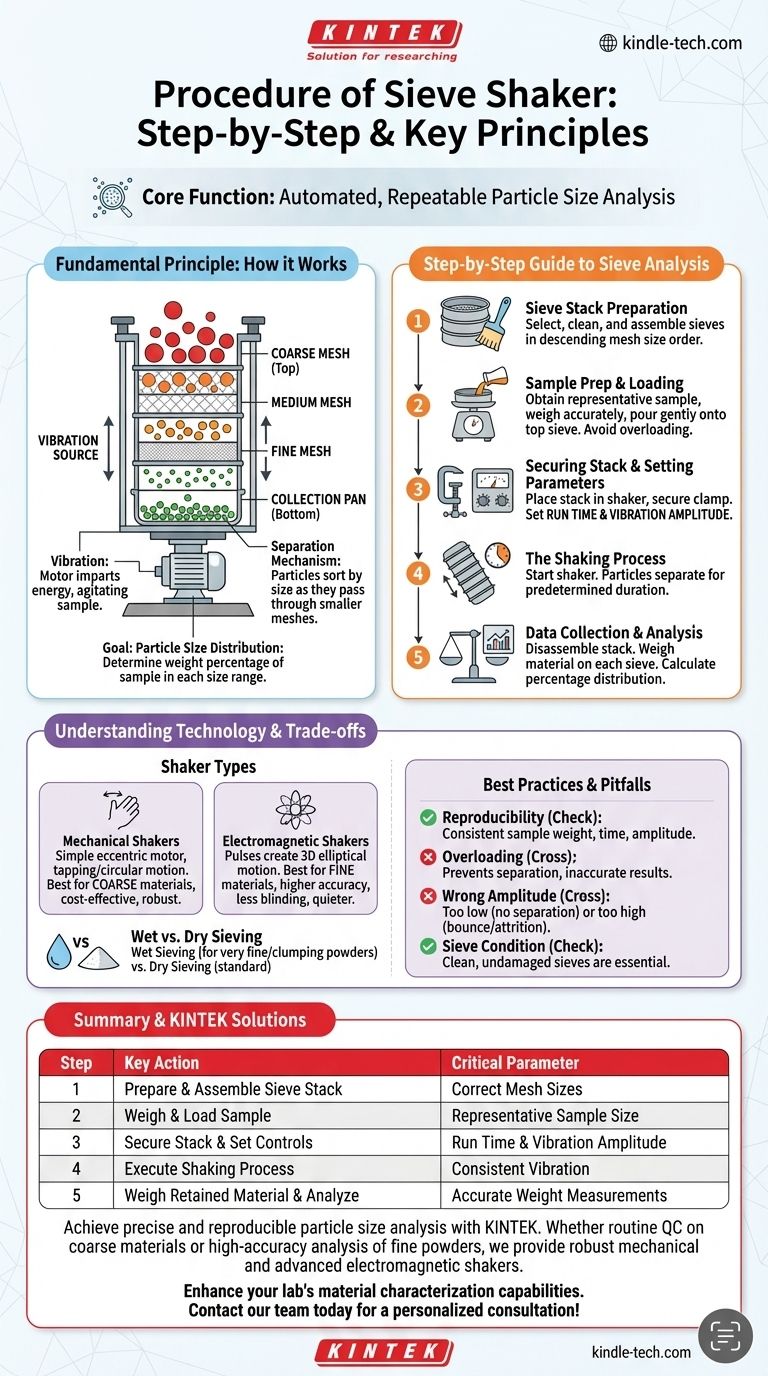
The Fundamental Principle: How a Sieve Shaker Works
A sieve shaker automates the process of particle size analysis, turning a raw material sample into quantifiable data. Understanding its mechanism is the first step toward mastering its use.
The Role of Vibration
A sieve shaker is driven by a vibration source, typically a powerful motor. This motor imparts energy to the sieve stack, causing a consistent, repetitive motion that agitates the material sample inside.
The Separation Mechanism
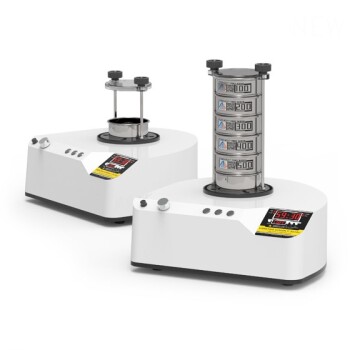
The sample is placed on a stack of test sieves, which are arranged vertically from the coarsest mesh at the top to the finest mesh at the bottom. A solid collection pan sits at the very base. The vibration causes particles smaller than a sieve's openings to pass through to the next level, effectively sorting the material by size.
The Goal: Particle Size Distribution
The ultimate objective is not just to separate particles, but to determine the particle size distribution. This is the weight percentage of the sample that falls within different size ranges, providing a critical fingerprint of the material's physical character.
A Step-by-Step Guide to Sieve Analysis
Following a standardized procedure is essential for achieving the accurate and reproducible results that define professional analysis.
Step 1: Sieve Stack Preparation
Select the test sieves with the mesh sizes appropriate for your material. Clean them thoroughly and inspect for any damage. Assemble them in descending order of mesh opening size, placing the coarsest sieve on top and ending with the finest sieve above the solid collection pan.
Step 2: Sample Preparation and Loading
Obtain a representative sample of your material and accurately weigh it. A sample size that is too large can blind the sieve mesh and lead to inaccurate results. Carefully pour the weighed sample onto the top sieve.
Step 3: Securing the Stack and Setting Parameters
Place the entire sieve stack, including the lid and collection pan, into the sieve shaker. Secure the clamping mechanism to hold the stack firmly in place. Set the two critical parameters on the shaker's controls: run time and vibration amplitude (intensity).
Step 4: The Shaking Process
Start the sieve shaker. The machine will vibrate for the predetermined duration, allowing the particles to work their way down through the sieve stack until they are retained on a sieve they cannot pass through or fall into the collection pan.
Step 5: Data Collection and Analysis
Once the cycle is complete, carefully disassemble the stack. Weigh the material retained on each individual sieve and in the collection pan. By comparing these weights to the initial total sample weight, you can calculate the percentage of material for each size fraction.
Understanding Sieve Shaker Technology
Not all shakers are the same. The type of motion they impart has a significant impact on the results, especially for fine materials.
Mechanical Shakers
These shakers typically use a simple eccentric motor to create a tapping or circular vibrating motion. They are robust, effective for coarse materials, and cost-effective, forming the backbone of many quality control labs.
Electromagnetic Shakers
Recommended for analyses requiring greater accuracy, electromagnetic shakers use pulses to create a three-dimensional elliptical motion. This 3D action lifts the material up and across the sieve mesh, which is more efficient at separating fine particles and reduces the risk of blinding the mesh. They are also significantly quieter as they have no moving mechanical parts.
Wet vs. Dry Sieving
While most analysis is done dry, some materials—especially very fine powders (< 50 µm) or those that tend to clump due to static electricity—benefit from wet sieving. This involves adding a liquid (typically water) to help disperse the particles and wash them through the sieves. This is only an option if the material is not soluble or otherwise affected by the liquid.
Understanding the Trade-offs and Best Practices
Executing the procedure correctly involves avoiding common pitfalls that can compromise the accuracy of your results.
Reproducibility is Paramount
The primary advantage of a sieve shaker over manual methods is its reproducibility. Using the exact same sample weight, run time, and amplitude for every test of a given material is essential for comparing results over time.
The Risk of Overloading
Placing too much material on the sieves is a common mistake. An overloaded sieve prevents particles from reaching the mesh surface to be tested, leading to artificially coarse results.
Choosing the Right Amplitude
The intensity of vibration is a critical factor. Too little amplitude and the particles won't be sufficiently agitated to separate. Too much amplitude can cause particles to bounce excessively without passing through the mesh or, in the case of friable materials, cause particle degradation (attrition).
Sieve Condition Matters
Always use clean, dry, and undamaged sieves. A dented frame or torn mesh will render any results from that sieve invalid. Regular inspection is a non-negotiable part of a good lab process.
Making the Right Choice for Your Goal
Select your equipment and method based on the specific requirements of your analysis.
- If your primary focus is routine quality control of coarse materials: A standard mechanical shaker with consistent time and amplitude settings will provide reliable and cost-effective results.
- If your primary focus is high-accuracy analysis of fine or powdered materials: An electromagnetic shaker is superior due to its 3D motion and precise control, which minimizes particle blinding and improves separation efficiency.
- If your primary focus is separating materials that tend to clump or agglomerate: Consider a wet sieving procedure, ensuring your material is not soluble or reactive with the chosen liquid.
By mastering this procedure, you transform the sieve shaker from a simple machine into a precision instrument for material characterization.
Summary Table:
| Step | Key Action | Critical Parameter |
|---|---|---|
| 1 | Prepare & Assemble Sieve Stack | Correct Mesh Sizes |
| 2 | Weigh & Load Sample | Representative Sample Size |
| 3 | Secure Stack & Set Controls | Run Time & Vibration Amplitude |
| 4 | Execute Shaking Process | Consistent Vibration |
| 5 | Weigh Retained Material & Analyze | Accurate Weight Measurements |
Achieve precise and reproducible particle size analysis with KINTEK.
Whether you are performing routine quality control on coarse materials or require high-accuracy analysis of fine powders, the right sieve shaker is critical. KINTEK specializes in supplying robust mechanical shakers for cost-effective QC and advanced electromagnetic shakers for superior separation of fine materials.
Our experts can help you select the ideal equipment for your specific application, ensuring you get accurate particle size distribution data every time.
Enhance your lab's material characterization capabilities. Contact our team today for a personalized consultation!
Visual Guide
Related Products
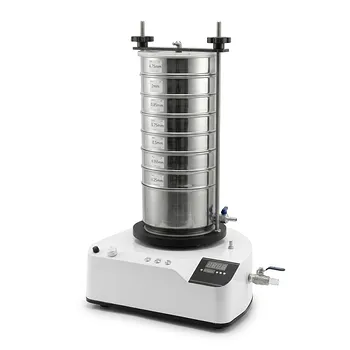
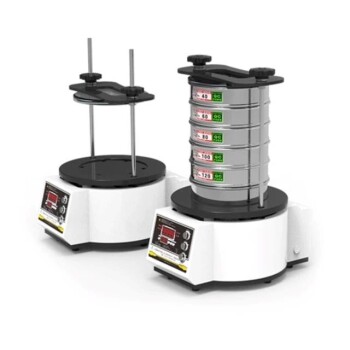
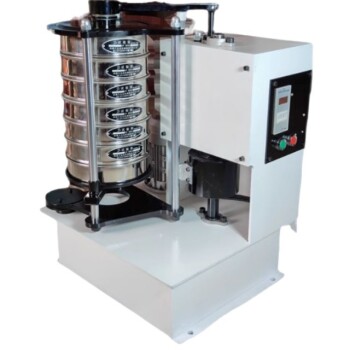
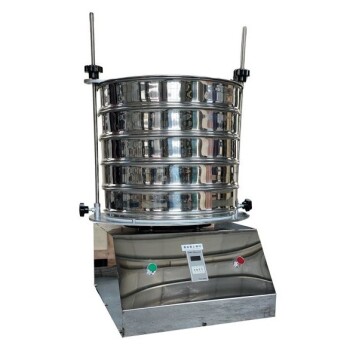
- Laboratory Vibratory Sieve Shaker Machine for Dry and Wet Three-Dimensional Sieving
- Laboratory Test Sieves and Vibratory Sieve Shaker Machine
- Laboratory Wet Three-Dimensional Vibratory Sieve Shaker Machine
- Vibratory Sieve Shaker Machine Dry Three-Dimensional Vibrating Sieve
- Laboratory Vibratory Sieve Shaker Machine Slap Vibrating Sieve
People Also Ask
- Why use a vibratory sieve shaker for PET powder? Achieve Precise Particle Size Control for Chemical Research
- What is a sieving shaker? Automate Your Particle Size Analysis for Accurate Results
- How are vibratory sieve shakers and standard sieves utilized to analyze the effects of biomass torrefaction? Optimize Grindability
- What is the function of a vibratory sieve shaker? Achieve Precise Particle Size Analysis
- What is the use of vibratory sieve shaker? Achieve Precise Particle Size Analysis for Your Lab