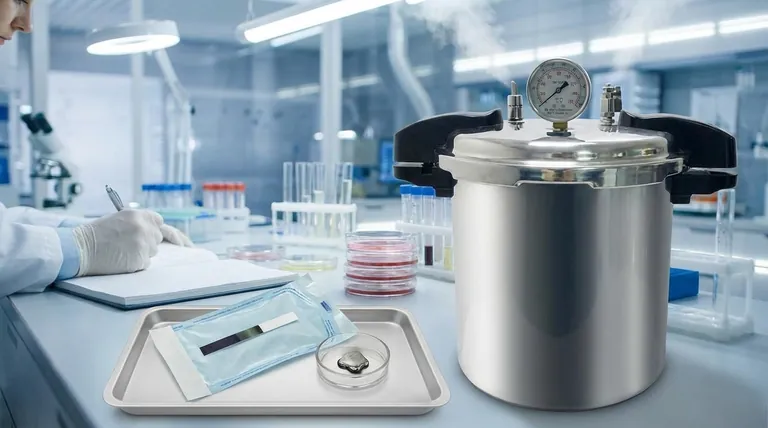
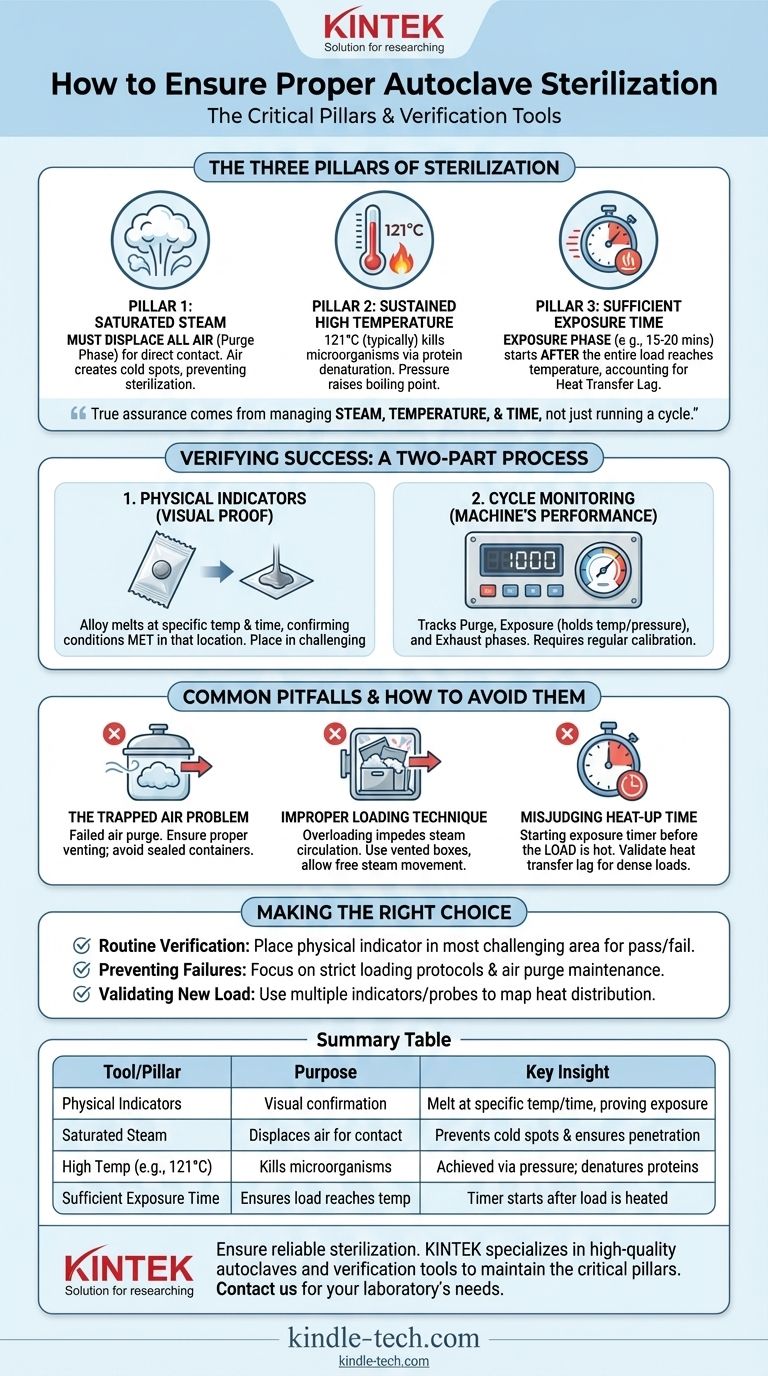
To ensure an autoclave is properly sterilizing, you must use a combination of process monitoring and specific verification tools. While the autoclave's gauges track the chamber's environment, physical indicators—such as a specialized alloy designed to melt at a specific temperature and time—provide direct visual proof that the items within the load were exposed to the necessary conditions for sterilization.
True sterilization assurance does not come from a single tool, but from rigorously managing the three critical pillars of the process: steam, temperature, and time. Verification tools only confirm if your process was successful; they cannot compensate for a flawed procedure.
The Three Pillars of Autoclave Sterilization
An autoclave works by applying moist heat under pressure. Understanding the role of each component is essential to achieving sterilization, not just running a cycle.
Pillar 1: Saturated Steam, Not Just Hot Air
The process begins with a purge phase, where steam is injected into the chamber to displace all the air. This step is non-negotiable.
Air acts as an insulator, creating cold spots and preventing the saturated steam from making direct contact with the surfaces of the items being sterilized. Without complete air removal, sterilization will fail, even if the chamber's temperature gauge reads correctly.
Pillar 2: Sustained High Temperature
It is the high temperature of the steam, not the pressure itself, that kills microorganisms. Pressure is simply the mechanism used to raise the boiling point of water above 100°C, creating a far more effective sterilizing agent.
The moisture in the steam transfers heat efficiently and causes the irreversible coagulation and denaturation of essential microbial proteins. A typical sterilization cycle raises the temperature to 121°C to ensure even the most heat-resistant organisms are destroyed.
Pillar 3: Sufficient Exposure Time
The exposure phase begins only after the entire load has reached the target sterilization temperature. The standard is often a minimum of 15-20 minutes at 121°C.
It's critical to account for "heat transfer lag." A dense or large load will take longer to heat up than the chamber itself. The timer for the exposure phase must start only when the items themselves have reached temperature, not just the surrounding air.
How to Verify Sterilization Was Successful
Verification is a two-part process: monitoring the machine's performance and confirming the conditions within the load itself.
Using Physical Indicators
Physical indicators are simple, effective tools that provide a visual confirmation of conditions. They often consist of a small alloy pellet designed to melt only after being exposed to a specific temperature for a required duration.
If the alloy melts, it provides a clear signal that sterilization conditions were met in that specific location. Placing indicators in the most challenging areas of the load (e.g., the center of a dense pack) is a best practice.
Monitoring the Autoclave Cycle
The autoclave's own gauges and digital readouts are your first line of defense. These physical monitors track the three phases of the cycle:
- Purge Phase: Pressure and temperature rise as air is removed.
- Exposure (Sterilization) Phase: The chamber holds at the setpoint temperature and pressure for the specified time.
- Exhaust Phase: Pressure is released, and the chamber returns to ambient conditions.
Regularly calibrating these instruments ensures their accuracy.
Common Pitfalls and How to Avoid Them
Most sterilization failures are not due to machine malfunction but to errors in process and preparation.
The Trapped Air Problem
Trapped air is the most common cause of failed sterilization cycles. If air is not fully purged, the steam cannot penetrate, creating pockets where microorganisms can survive.
Ensure the autoclave's air removal or purge functions are working correctly, and do not use sealed containers that can trap air.
Improper Loading Technique
Overloading the autoclave or placing items too close together will impede steam circulation. Steam must be able to move freely around every single item to ensure all surfaces are sterilized.
Use vented sterilization boxes and arrange packs so that steam can easily penetrate them from all sides. Think of it like washing dishes; you cannot clean what the water cannot reach.
Misjudging Heat-Up Time
A common mistake is assuming the load is sterile as soon as the chamber's timer finishes. The sterilization clock should only start once the contents of the load—not just the chamber—have reached the target temperature.
For dense or new types of loads, you may need to run validation cycles to determine the true heat transfer lag time and adjust your total cycle duration accordingly.
Making the Right Choice for Your Goal
Your sterilization protocol should be designed to match your operational needs and risk tolerance.
- If your primary focus is routine verification: Place a physical indicator in the most challenging part of every load to get a pass/fail confirmation for each cycle.
- If your primary focus is preventing failures: Concentrate on developing and enforcing strict loading protocols and ensuring your autoclave's air purge system is properly maintained.
- If your primary focus is validating a new item or pack: Run cycles with multiple indicators or temperature probes to map heat distribution and accurately determine the required exposure time for that specific load.
Ultimately, consistent sterilization is achieved through a disciplined process, where verification tools serve as the final check on a fundamentally sound procedure.
Summary Table:
| Tool/Pillar | Purpose | Key Insight |
|---|---|---|
| Physical Indicators | Visual confirmation of sterilization conditions | Melt at specific temperature/time, proving exposure |
| Saturated Steam | Displaces air for direct contact | Prevents cold spots and ensures surface penetration |
| High Temperature (e.g., 121°C) | Kills microorganisms | Achieved via pressure; causes protein denaturation |
| Sufficient Exposure Time | Ensures entire load reaches temperature | Timer starts after load (not chamber) is heated |
Ensure your lab's sterilization is reliable and effective. KINTEK specializes in providing high-quality lab equipment and consumables, including autoclaves and verification tools. Our expertise helps you maintain the critical pillars of sterilization—steam, temperature, and time—for consistent, safe results. Contact us today to discuss your laboratory's specific needs and discover how our solutions can enhance your processes and protect your work.
Visual Guide
Related Products
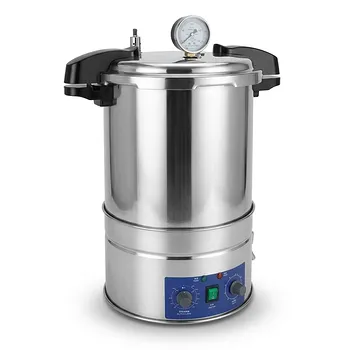
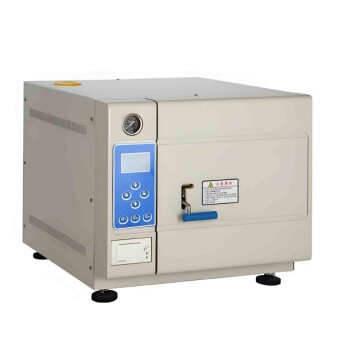
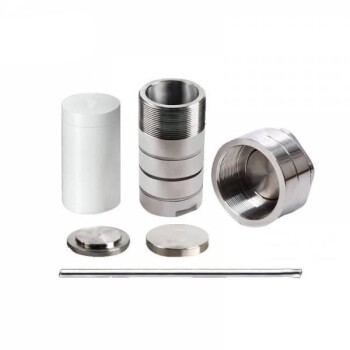
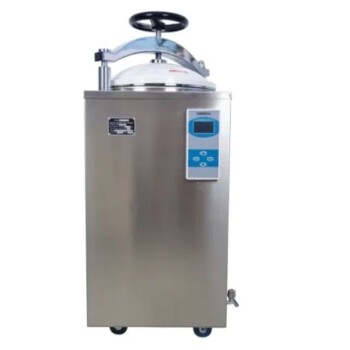
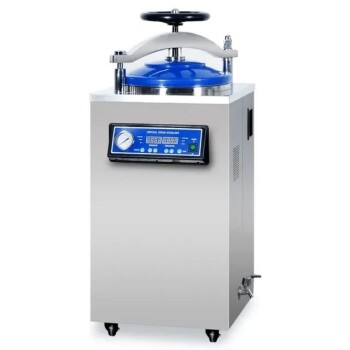
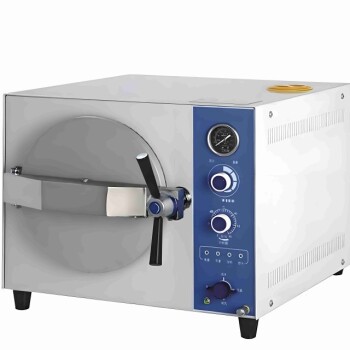
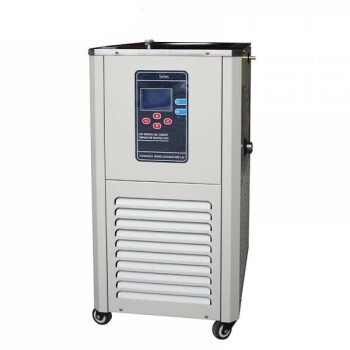
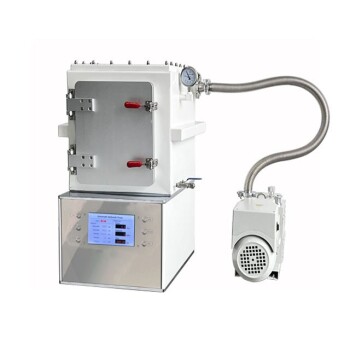
- Portable High Pressure Laboratory Autoclave Steam Sterilizer for Lab Use
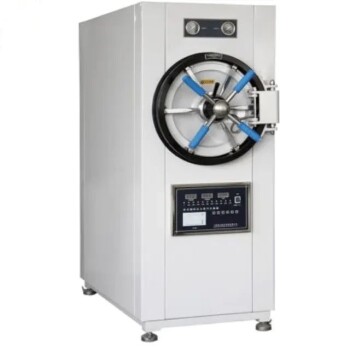
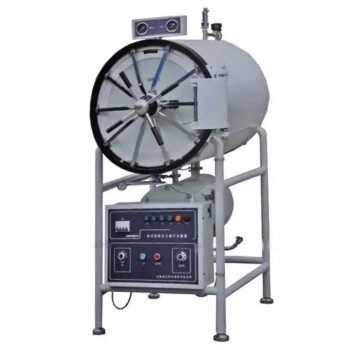
- Laboratory Horizontal Autoclave Steam Sterilizer Lab Microcomputer Sterilizer
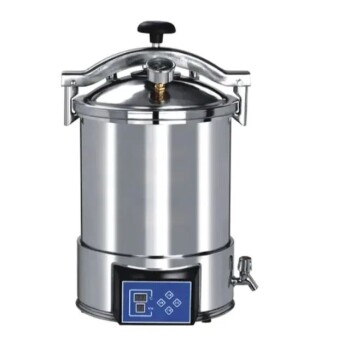
- Desktop Fast High Pressure Laboratory Autoclave Sterilizer 16L 24L for Lab Use
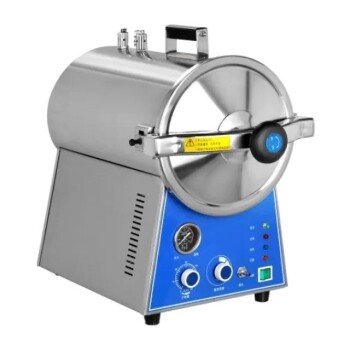
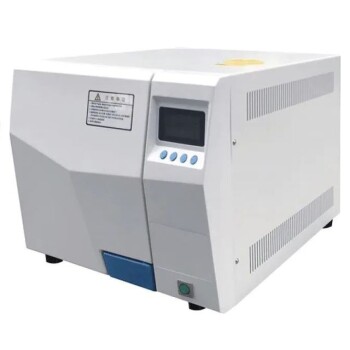
- Portable Digital Display Automatic Laboratory Sterilizer Lab Autoclave for Sterilization Pressure
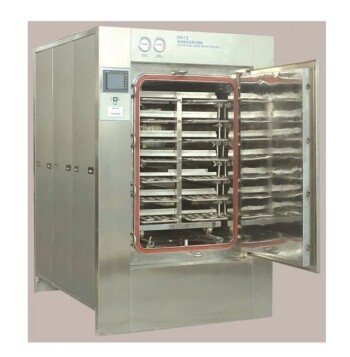
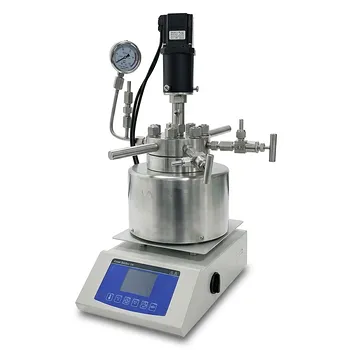
- Desktop Fast Laboratory Autoclave Sterilizer 35L 50L 90L for Lab Use
People Also Ask
- Why is a laboratory autoclave necessary for Postgate Medium B (PMB)? Ensure Pure SRB Cultures & Accurate MIC Research
- What are the two types of autoclave used in the laboratory? Gravity vs. Pre-Vacuum Explained
- What role does a laboratory autoclave play in HEA corrosion research? Key to Validating Advanced Reactor Materials
- What is an autoclave laboratory equipment? The Ultimate Guide to Steam Sterilization
- What is the importance of using a laboratory autoclave in ZSM-5 synthesis? Achieve Perfect Zeolite Crystallization