The standard procedure for a sample holder after use involves careful sample removal, a multi-stage cleaning process tailored to the holder's material, and storage in a controlled, protected environment. This protocol is essential for preventing cross-contamination between experiments and preserving the integrity and lifespan of the equipment.
The core principle is not just cleanliness, but the preservation of data integrity. A contaminated or damaged sample holder can compromise your results and lead to costly equipment replacement, making proper handling a critical component of reliable scientific or technical work.
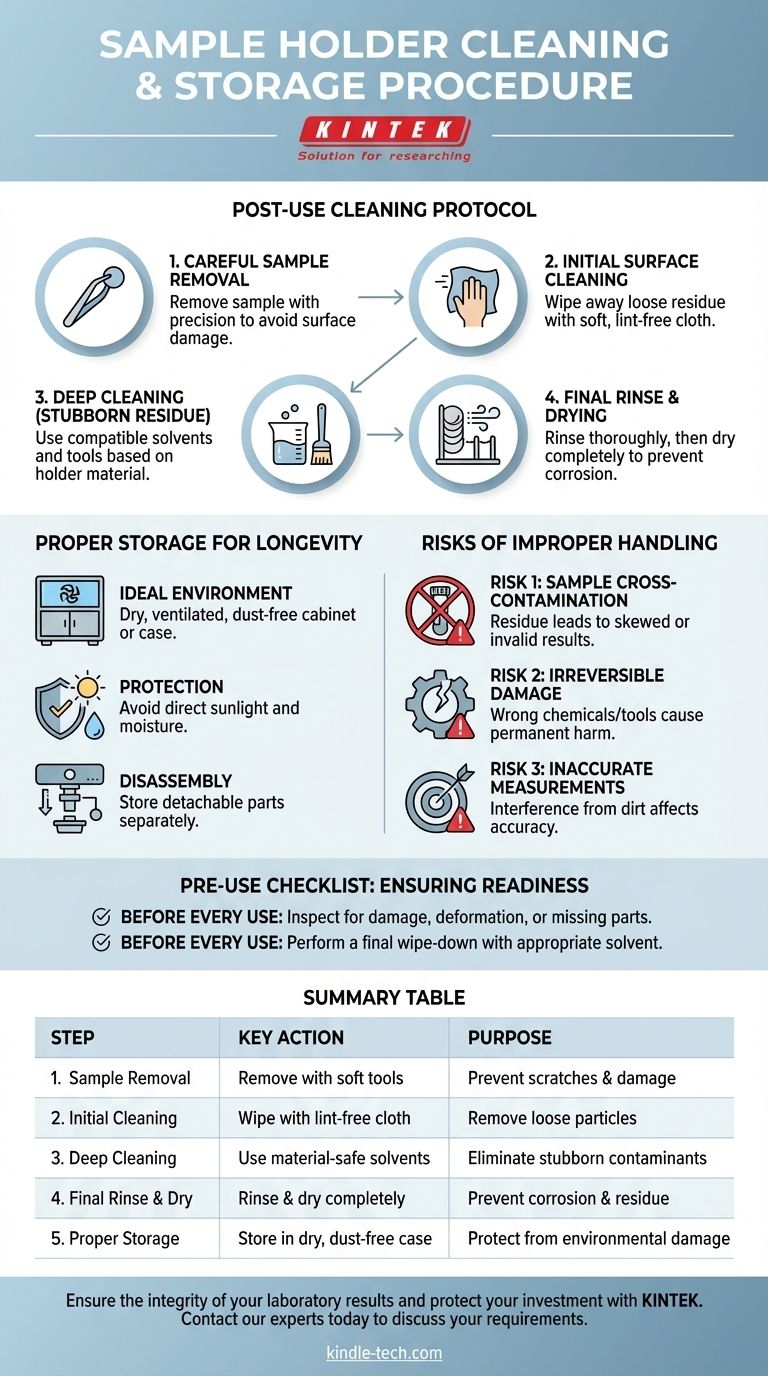
The Post-Use Cleaning Protocol
A systematic cleaning process ensures that no residual material from a previous analysis can interfere with the next. This must be done immediately after use.
Step 1: Careful Sample Removal
The first step is to remove the sample from the holder. This must be done with precision and care to avoid scratching or otherwise damaging the surfaces of either the sample or the holder itself.
Even minor scratches on the holder can create sites where contaminants can lodge, making future cleaning more difficult and potentially affecting measurement accuracy.
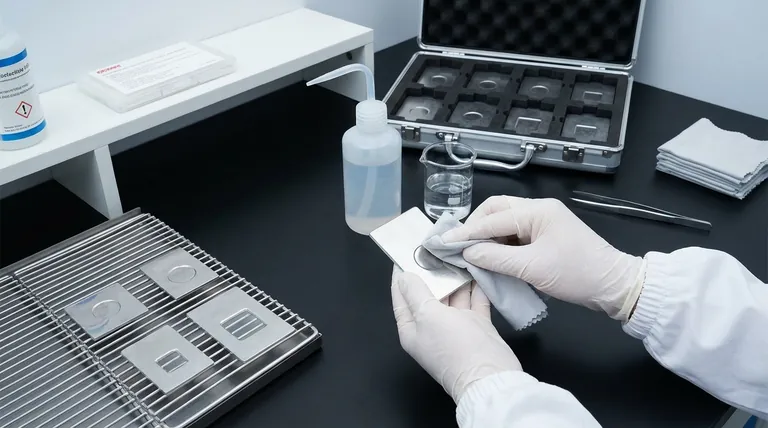
Step 2: Initial Surface Cleaning
Once the sample is removed, perform an initial cleaning to remove any loose fragments or visible residue. Use a clean, soft, lint-free cloth or dust-free paper for this task.
This initial wipe-down prevents larger particles from being ground into the surface during a more intensive deep clean.
Step 3: Deep Cleaning for Stubborn Residue
For any stubborn stains or adhered chemical reagents, a deep clean is necessary. The choice of cleaning agent and tools is critical and depends entirely on the holder's material.
Using an incompatible chemical can permanently damage the holder. Always verify which solvents (such as alcohol or specialized detergents) are safe for your specific holder before proceeding.
Step 4: Final Rinse and Drying
After any chemical cleaning, ensure the holder is thoroughly rinsed with an appropriate solvent (like deionized water, if applicable) to remove all traces of the cleaning agent.
Finally, dry the holder completely before storage. Any remaining moisture can lead to corrosion or create an environment for microbial growth.
Proper Storage for Longevity and Readiness
How a holder is stored is just as important as how it is cleaned. Proper storage protects the device from environmental damage and ensures it is ready for immediate use.
The Ideal Storage Environment
The cleaned holder should be stored in a dry, ventilated, and dust-free environment. A dedicated storage case or a clean cabinet is ideal.
This prevents the accumulation of airborne dust and protects against humidity, which can degrade sensitive surface coatings or materials.
Protection from Environmental Factors
Store the holder away from direct sunlight and sources of moisture. UV radiation from sunlight can degrade certain materials over time, while moisture is a primary driver of corrosion.
Disassembly for Safety and Organization
If the sample holder has detachable parts, it is best practice to disassemble them before storage.
Storing components separately prevents accidental loss and reduces stress on connection points, making future assembly easier and more reliable.
Understanding the Risks of Improper Handling
Failing to follow these procedures introduces significant risks that can undermine the quality of your work and lead to unnecessary costs.
Risk 1: Sample Cross-Contamination
The most immediate risk of poor cleaning is cross-contamination. Residue from a previous sample can easily transfer to the next, leading to skewed data, false positives, or entirely invalid results.
Risk 2: Irreversible Equipment Damage
Using the wrong cleaning chemicals or abrasive tools can cause permanent damage to the holder's surface or structure. This not only results in the cost of replacement but can also lead to downtime while waiting for new equipment.
Risk 3: Inaccurate Measurements
Even if it doesn't cause visible contamination, a dirty or damaged holder can interfere with the analysis. Residue can absorb or reflect energy, alter electrical contacts, or change the physical positioning of the sample, all of which compromise measurement accuracy.
Pre-Use Checklist: Ensuring Readiness
Proper post-use care sets the stage for success, but a final check before the next use is the last line of defense for ensuring data quality.
- Before every use, perform a quick inspection: Systematically check for any signs of damage, deformation, or missing parts that may have occurred during storage.
- Before every use, perform a final wipe-down: Use a clean, lint-free cloth dampened with a suitable solvent (like high-purity alcohol) to remove any dust or oils that may have settled on the surface.
Adhering to this complete cycle of care transforms your equipment from a simple tool into a reliable instrument for precise and repeatable results.
Summary Table:
| Step | Key Action | Purpose |
|---|---|---|
| 1. Sample Removal | Remove sample carefully with soft tools. | Prevent surface scratches and damage. |
| 2. Initial Cleaning | Wipe with a lint-free cloth. | Remove loose particles and residue. |
| 3. Deep Cleaning | Use material-safe solvents (e.g., alcohol). | Eliminate stubborn stains and contaminants. |
| 4. Final Rinse & Dry | Rinse thoroughly and dry completely. | Prevent corrosion and chemical residue. |
| 5. Proper Storage | Store in a dry, dust-free case or cabinet. | Protect from environmental damage and dust. |
Ensure the integrity of your laboratory results and protect your investment in precision equipment. Proper sample holder maintenance is fundamental to reliable data. KINTEK specializes in high-quality lab equipment and consumables, providing the reliable tools and expert support your laboratory needs for consistent, contamination-free analysis.
Contact our experts today to discuss your specific sample holder requirements and discover how our solutions can enhance your lab's efficiency and data quality.
Visual Guide
Related Products
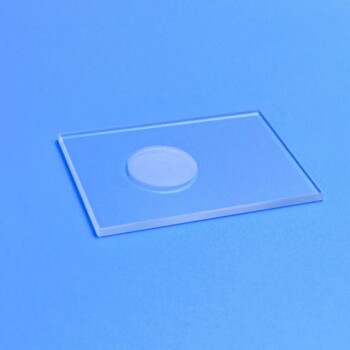
- XRD Sample Holder X-ray Diffractometer Powder Slide
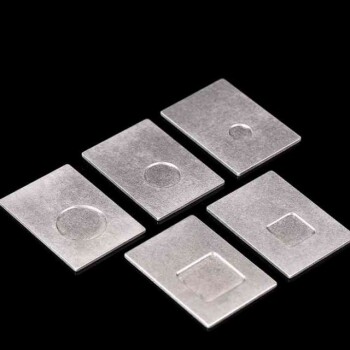
- Customizable XRD Sample Holders for Diverse Research Applications
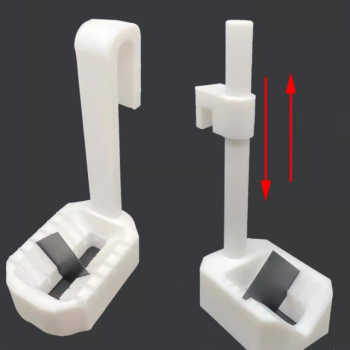
- Sample Support Body for Electrochemical Tests
- Custom PTFE Wafer Holders for Lab and Semiconductor Processing
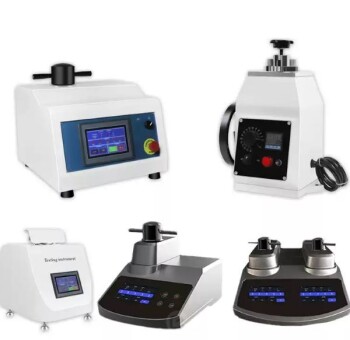
- Metallographic Specimen Mounting Machine for Laboratory Materials and Analysis
People Also Ask
- What is the typical function of the sample holder in an electrochemical experiment? It's the Active Working Electrode
- How should a sample holder be cleaned and inspected before use? Ensure Reliable Lab Results
- What are the general operating procedures for using a sample holder during experiments? Ensure Sample Integrity and Accurate Results
- How should a sample be installed onto the sample holder? Ensure Mechanical Stability & Electrical Integrity
- What are the specific cleaning procedures for maintaining a sample holder? Ensure Data Integrity with a Proven Protocol