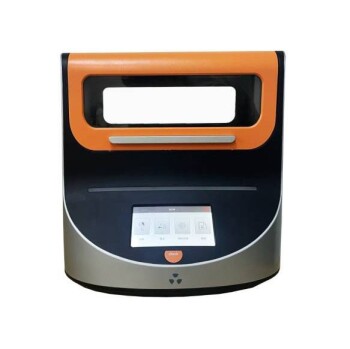
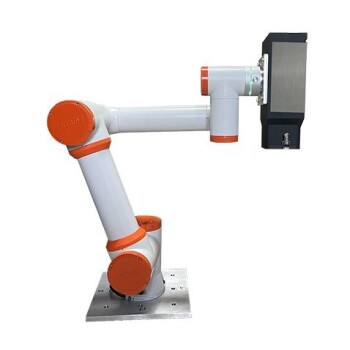
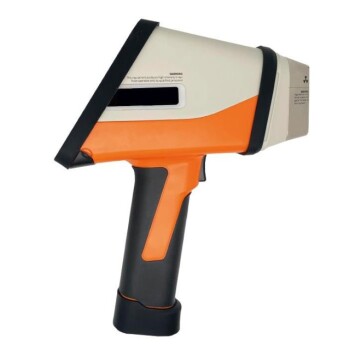
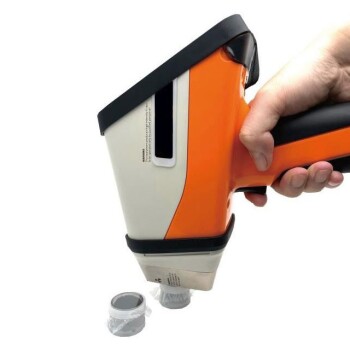
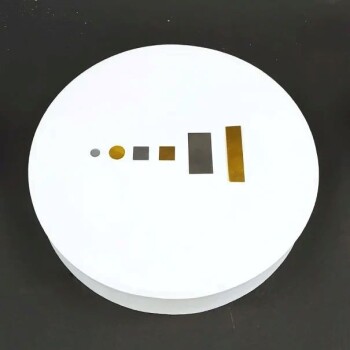
X-ray fluorescence (XRF) is a highly effective and non-destructive method for measuring the thickness of gold plating, particularly in industries like jewelry and electronics. Using ASTM B568 standards, XRF analysis can accurately measure gold plating thickness down to one micro-inch (0.03 micrometers). This technique relies on exciting atoms in the sample with X-ray photons, causing them to emit secondary X-rays (fluorescence) that are analyzed to determine the material's composition and thickness. XRF is widely used for quality control, offering fast, reliable, and precise measurements without damaging the sample. Portable XRF analyzers further enhance its utility by enabling on-site testing for large or difficult-to-transport samples.
Key Points Explained:

-
XRF as a Non-Destructive Technique:
- XRF is a non-invasive method that does not damage the sample being tested. This makes it ideal for analyzing precious materials like gold plating, where preserving the integrity of the sample is critical.
- It is widely used in industries such as jewelry, electronics (e.g., circuit boards), and metallurgy for quality control and material verification.
-
Principle of XRF Measurement:
- XRF works by directing primary X-ray photons at the sample, which excites the atoms in the material. These atoms then emit secondary X-rays (fluorescence) that are unique to each element.
- The emitted X-rays are detected and analyzed to determine the elemental composition and thickness of the coating or plating.
-
ASTM B568 Standard for Gold Plating Thickness:
- ASTM B568 is a widely recognized standard for measuring plating thickness using XRF. It specifies the procedures and accuracy required for reliable measurements.
- This standard allows for precise measurements of gold plating thickness down to one micro-inch (0.03 micrometers), making it suitable for high-precision applications.
-
Applications in Gold Plating Measurement:
- XRF is commonly used to measure gold plating thickness in jewelry to ensure quality and compliance with industry standards.
- In electronics, it is used to verify the thickness of gold plating on circuit boards, which is critical for ensuring proper conductivity and durability.
-
Types of XRF Analyzers:
- Wavelength-Dispersive XRF (WDXRF): Separates X-rays based on their wavelengths, offering high resolution and accuracy.
- Energy-Dispersive XRF (EDXRF): Separates X-rays based on their energy levels, providing faster analysis and portability.
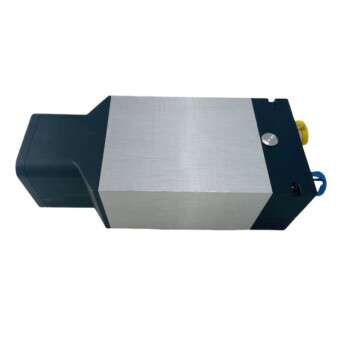
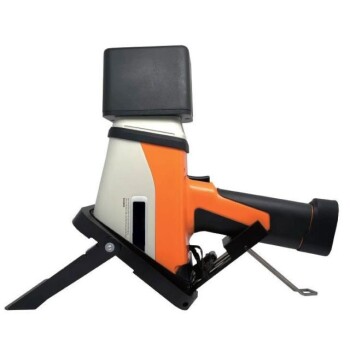
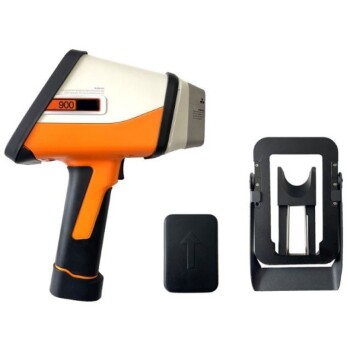
- Portable XRF analyzers are particularly useful for field applications, allowing for on-site testing of large or immobile samples.
-
Advantages of XRF for Gold Plating Measurement:
- Speed: XRF provides real-time results, enabling quick decision-making in quality control processes.
- Accuracy: It offers high precision, especially when adhering to standards like ASTM B568.
- Versatility: XRF can analyze a wide range of materials, including metals, alloys, and coatings, making it a versatile tool for various industries.
-
Limitations and Considerations:
- While XRF is highly accurate, the measurement can be affected by factors such as the substrate material, surface roughness, and the presence of multiple layers.
- Proper calibration and adherence to standards are essential to ensure reliable results.
-
Practical Use Cases:
- Jewelry Industry: XRF is used to verify the gold content and plating thickness in jewelry, ensuring compliance with quality standards and preventing fraud.
- Electronics Industry: It is employed to measure gold plating on connectors and circuit boards, ensuring optimal performance and durability.
- Recycling and Scrap Analysis: XRF helps identify and quantify precious metals in scrap materials, aiding in recycling and resource recovery.
By leveraging XRF technology and adhering to standards like ASTM B568, industries can achieve precise and reliable measurements of gold plating thickness, ensuring quality and compliance in their products.
Summary Table:
| Aspect | Details |
|---|---|
| Technique | X-ray Fluorescence (XRF) |
| Measurement Accuracy | Down to one micro-inch (0.03 micrometers) |
| Standard | ASTM B568 |
| Applications | Jewelry, electronics, recycling, and scrap analysis |
| Advantages | Non-destructive, fast, accurate, and versatile |
| Limitations | Affected by substrate material, surface roughness, and multiple layers |
| Analyzer Types | Wavelength-Dispersive (WDXRF) and Energy-Dispersive (EDXRF) |
Need precise gold plating thickness measurements? Contact our experts today to learn more about XRF solutions!
