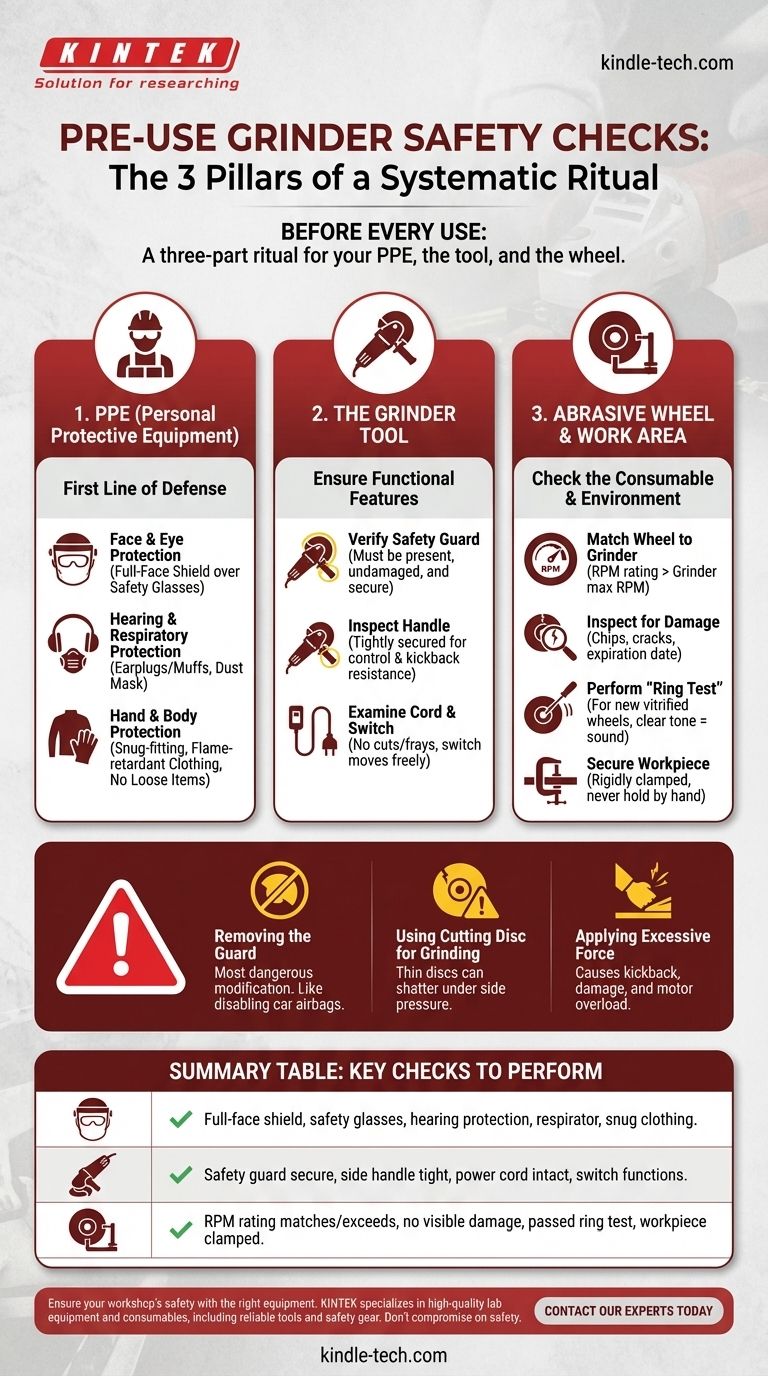
Before every use, a proper grinder safety check involves three distinct areas: your Personal Protective Equipment (PPE), the tool itself, and the abrasive wheel. You must verify that your face, eyes, and hands are protected, that the grinder’s safety guard and handle are secure, and that the wheel is free from damage and rated correctly for the tool’s speed.
The most critical insight is that grinder safety is not a single action but a systematic, three-part ritual performed before you ever touch the power switch. A failure in your protective gear, the tool's condition, or the wheel's integrity creates a direct path to serious injury.
The Three Pillars of a Pre-Use Grinder Inspection
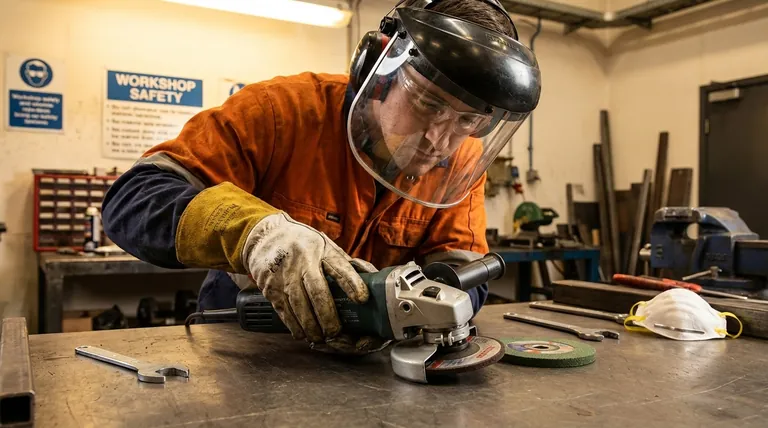
An angle grinder is one of the most useful and dangerous portable tools in any workshop. Its power and high rotational speed demand a consistent and disciplined approach to safety. We can break this essential pre-use check into three logical pillars.
Pillar 1: Your Personal Protective Equipment (PPE)
Before you even pick up the tool, ensure your personal defenses are in place. The debris, sparks, and noise generated by a grinder are significant hazards.
Eye and Face Protection is Non-Negotiable Safety glasses alone are not sufficient. A grinder wheel can shatter, sending shrapnel outward at extreme velocity. Always wear a full-face shield over your safety glasses for complete protection.
Hearing and Respiratory Protection Grinders easily exceed noise levels that cause permanent hearing damage. Always wear earplugs or earmuffs. Equally important is a dust mask or respirator, as cutting metal, concrete, or stone releases harmful particles into the air.
Hand and Body Protection Wear snug-fitting, flame-retardant clothing. Loose clothing, jewelry, or long hair can be instantly snagged by the spinning wheel. While leather gloves protect against sparks and sharp edges, be aware that they can reduce dexterity.
Pillar 2: The Grinder Itself
A compromised tool is an unpredictable one. This inspection ensures the grinder’s built-in safety features are functional.
Verify the Safety Guard The guard is the most critical safety feature on the tool. It must be present, undamaged, and securely positioned between you and the wheel. Its primary job is to contain the fragments of a wheel that shatters during use. Never operate a grinder without a guard.
Inspect the Handle The side handle provides the leverage needed to control the tool and resist kickback—the violent, sudden thrust of the tool away from the workpiece. Ensure the handle is tightly secured before every use. Using a grinder with two hands is essential for control.
Examine the Power Cord and Switch Check the entire length of the power cord for any cuts, frays, or exposed wiring. Ensure the power switch, particularly a "dead-man" or paddle switch, moves freely and does not stick in the "on" position.
Pillar 3: The Abrasive Wheel and Work Area
The abrasive wheel is the consumable part doing the work, and it is also the most common point of failure.
Match the Wheel to the Grinder and the Job Check the wheel’s maximum RPM (Revolutions Per Minute) rating. This number must be higher than the max RPM of your grinder, which is listed on the tool's nameplate. Using an underrated wheel can cause it to explode from centrifugal force.
Inspect the Wheel for Damage Before mounting any wheel, inspect it for chips, cracks, or other signs of damage. Many wheels also have an expiration date printed on the metal center ring, as the bonding resins can degrade over time. Discard any expired or damaged wheels immediately.
Perform the "Ring Test" For new vitrified-bond wheels, you can perform a ring test to check for unseen cracks. Tap the wheel gently with a light, non-metallic object (like a screwdriver handle). A sound wheel will give off a clear ringing tone; a dull "thud" often indicates a hidden crack.
Secure Your Workpiece The workpiece must be rigidly clamped down. Attempting to hold a small piece in one hand while grinding with the other is a primary cause of serious injury. Ensure the piece cannot move, shift, or vibrate once you begin working.
Common Pitfalls to Avoid
Understanding common mistakes is just as important as knowing the correct procedure. These shortcuts dramatically increase the risk of an accident.
The Temptation to Remove the Guard
Users often remove the guard to improve visibility or to fit the grinder into a tight space. This is the single most dangerous modification you can make. It is equivalent to permanently disabling the airbags and seatbelts in your car.
Using a Cutting Disc for Grinding
Thin cut-off wheels are designed for slicing and are not built to withstand side pressure. Attempting to grind with the face of a cutting wheel can cause it to flex and shatter violently. Always use the correct type of wheel for the task.
Applying Excessive Force
A grinder works by high-speed abrasion, not brute force. Let the speed of the tool do the work. Pressing too hard can cause the tool to kick back, damage the workpiece, and overload the motor.
Your Pre-Use Safety Ritual
Integrate these checks until they become an automatic habit. Your approach can be scaled based on the task.
- If your primary focus is a single, quick cut: At a minimum, confirm your PPE is on, the guard is secure, and the wheel has no visible cracks.
- If you are starting a new project or a long session: Perform the full three-pillar inspection systematically—evaluate your PPE, the grinder, and the wheel/work area.
- If you are installing any new wheel: Always perform the "Ring Test" and, after mounting, let the grinder run for 30-60 seconds in a safe direction before making contact with the material.
A disciplined, consistent safety check transforms a potentially hazardous tool into a predictable and efficient part of your workflow.
Summary Table:
| Inspection Area | Key Checks to Perform |
|---|---|
| Personal Protective Equipment (PPE) | Full-face shield, safety glasses, hearing protection, respirator, snug clothing, no loose items. |
| The Grinder Tool | Safety guard secure and positioned, side handle tight, power cord intact, switch functions correctly. |
| Abrasive Wheel & Work Area | RPM rating matches/exceeds grinder speed, no visible damage, passed ring test, workpiece securely clamped. |
Ensure your workshop's safety and efficiency with the right equipment. KINTEK specializes in high-quality lab equipment and consumables, including reliable tools and safety gear for demanding environments. Don't compromise on safety—contact our experts today to find the perfect solutions for your laboratory's grinding and material preparation needs.
Visual Guide
Related Products
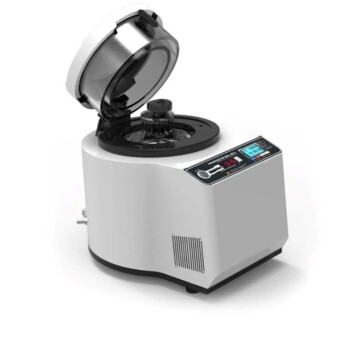
- Laboratory High Throughput Tissue Grinding Mill Grinder
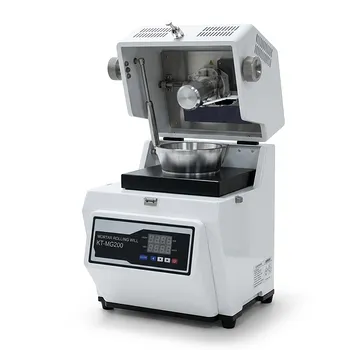
- Laboratory Grinding Mill Mortar Grinder for Sample Preparation
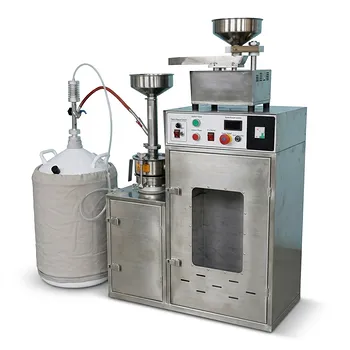
- Liquid Nitrogen Cryogenic Grinder Mill Cryomill with Screw Feeder
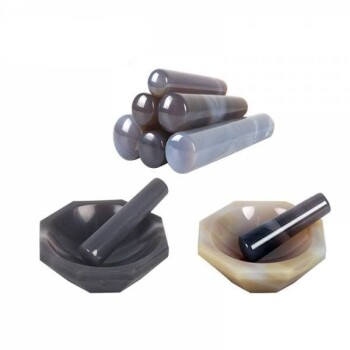
- Nature Agate Mortar and Pestle for Grinding and Mixing
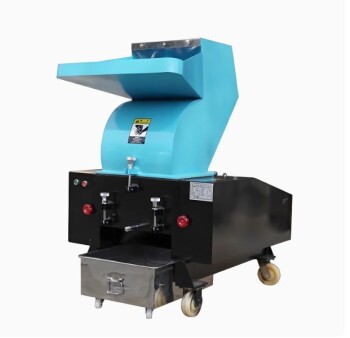
- Powerful Plastic Crusher Machine
People Also Ask
- Which mill is used for grinding? Match the Mill to Your Material for Optimal Results
- What is the role of laboratory-grade grinders and sieves in sample prep? Ensure High-Precision Corrosion Analysis
- What are the components of a grinding mill? Understand the Core Systems for Efficient Comminution
- What is a grinder used for in a laboratory? Achieve Accurate & Homogeneous Sample Prep
- What does a grinder do in a laboratory? Achieve Homogeneous Sample Preparation for Accurate Analysis