The proper technique for cleaning a laboratory water bath is a multi-stage process that ensures both microbial and chemical purity. It involves completely draining the unit, physically scrubbing it with a non-abrasive cleaner to remove scale and biofilm, disinfecting with a suitable agent like a 10% bleach solution, and then rinsing thoroughly with high-purity water before refilling.
The goal is not just to clean the water bath, but to establish a routine maintenance protocol. This protocol prevents the buildup of contaminants that can compromise experimental results, damage the equipment, and pose a safety risk.

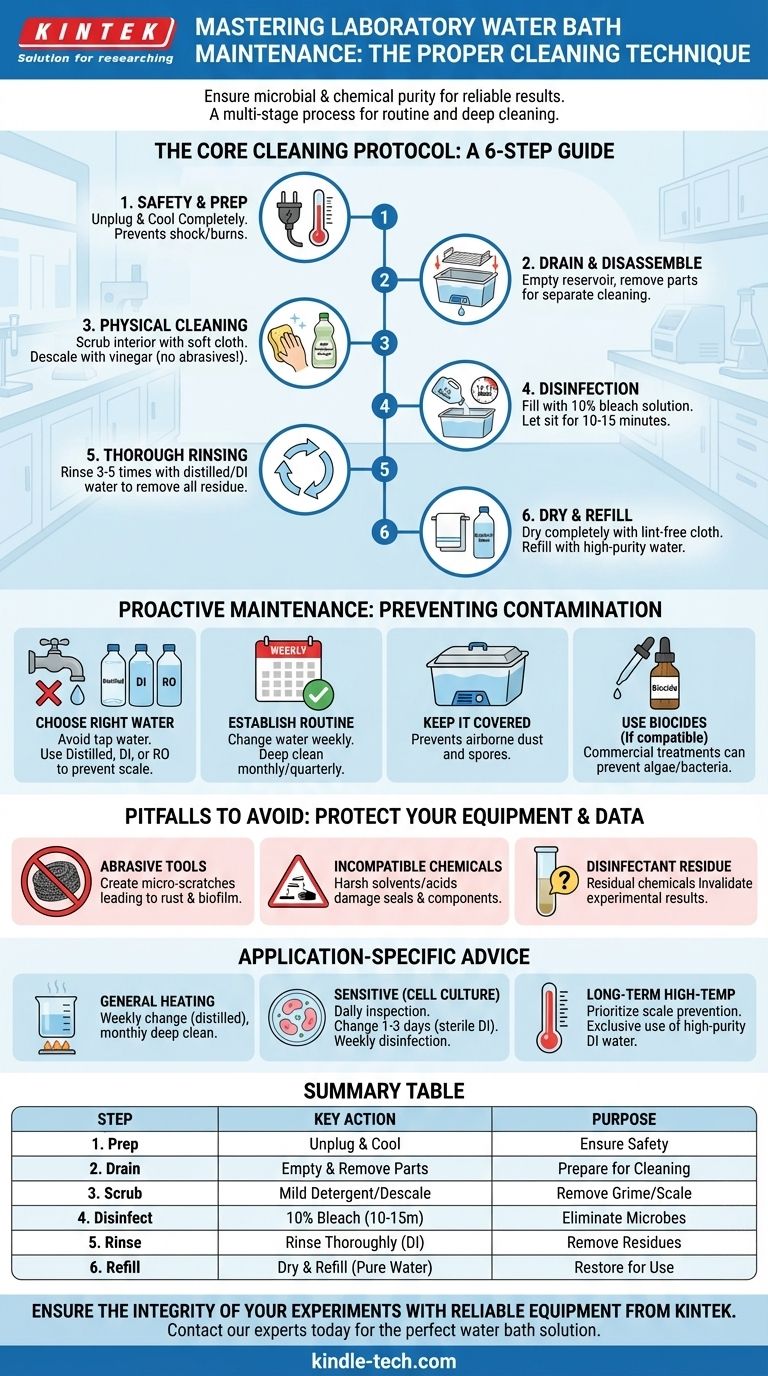
The Core Cleaning Protocol: A Step-by-Step Guide
Following a consistent, methodical process is the key to an effective water bath cleaning routine. Each step removes a different type of potential contaminant.
Step 1: Safety and Preparation
Before beginning, ensure the water bath is unplugged from the power source and has cooled completely to room temperature. This prevents any risk of electrical shock or burns.
Step 2: Drain and Disassemble
Completely drain all the water from the reservoir. If your model has removable parts, such as racks or trays, take them out to be cleaned separately.
Step 3: Physical Cleaning and Descaling
Use a soft cloth or sponge and a mild detergent or a laboratory-grade cleaning solution to scrub the interior surfaces of the tank. This removes visible grime and loosely attached biofilm.
For stubborn mineral deposits (scale), use a weak acid solution like vinegar or a commercial descaling agent recommended by the manufacturer. Never use abrasive pads or steel wool, as they can scratch the stainless steel surface, promoting corrosion.
Step 4: Disinfection
To eliminate microbial contamination, fill the bath with a disinfectant. A 10% household bleach solution (1 part bleach to 9 parts water) is effective and widely used.
Allow the disinfectant solution to sit in the bath for a contact time of at least 10-15 minutes to ensure it effectively neutralizes bacteria, fungi, and other microorganisms.
Step 5: Thorough Rinsing
This step is critical for data integrity. Drain the disinfectant and rinse the tank thoroughly, at least three to five times, with clean water.
For most applications, rinsing with distilled or deionized (DI) water is recommended to prevent the immediate reintroduction of minerals and to wash away any final traces of chlorine from the bleach.
Step 6: Dry and Refill
Dry the interior of the bath completely with a clean, lint-free cloth. Finally, refill the bath with the appropriate grade of water for your application, which is almost always distilled or DI water.
Preventing Contamination: Proactive Maintenance
Reactive cleaning is good, but proactive maintenance is better. A few simple habits will dramatically reduce the frequency and difficulty of deep cleaning.
Choose the Right Water
Tap water should be avoided. It contains minerals that lead to the formation of scale, which reduces heating efficiency and provides a surface for microbes to grow. Always use distilled, deionized, or reverse osmosis (RO) water.
Use Biocides and Algicides
For applications that are not sensitive to these additives, commercial water bath treatments can be used to prevent the growth of algae and bacteria. Always verify that the treatment will not interfere with your specific experiments.
Establish a Routine Schedule
Implement a clear schedule. Water should be changed weekly at a minimum, or more frequently for sensitive applications like cell culture. A full deep clean, as detailed above, should be performed monthly or quarterly, depending on usage.
Keep It Covered
Use a lid whenever possible. This simple step prevents dust, spores, and other airborne contaminants from settling in the water, significantly slowing the growth of microorganisms.
Understanding the Pitfalls to Avoid
Common mistakes can damage your equipment or compromise your results. Being aware of them is essential for long-term reliability.
Abrasive Tools and Cleaners
Scouring pads and harsh abrasive powders will create micro-scratches on the tank's surface. These scratches disrupt the passive layer of stainless steel, making it susceptible to rust and creating footholds for biofilm.
Incompatible Chemicals
Always consult the manufacturer's guidelines before using any chemical. Harsh solvents or strong acids and bases can damage seals, gaskets, and plastic components, leading to leaks or equipment failure.
Disinfectant Residue
Failing to rinse away all disinfectant is a common source of experimental error. Residual chlorine, for example, can be toxic to cell cultures or inhibit enzymatic reactions, silently invalidating your results.
Making the Right Choice for Your Application
Your cleaning frequency and water choice should be dictated by the sensitivity of your work.
- If your primary focus is general heating or thawing: A standard weekly water change with distilled water and a monthly deep clean is typically sufficient.
- If your primary focus is sensitive cell culture or molecular biology: Daily inspection is key. Use sterile, distilled/DI water, change it every 1-3 days, and perform a full disinfection protocol weekly.
- If your primary focus is long-term, high-temperature incubation: Preventing scale is the top priority. Exclusively use high-purity deionized water to protect the heating elements and ensure thermal accuracy.
Ultimately, a well-maintained water bath is a foundational tool for producing reliable and reproducible scientific data.
Summary Table:
| Step | Key Action | Purpose |
|---|---|---|
| 1. Preparation | Unplug and cool the unit. | Ensure user safety. |
| 2. Draining | Drain all water and remove parts. | Prepare for deep cleaning. |
| 3. Scrubbing | Scrub with mild detergent; descale if needed. | Remove grime, biofilm, and mineral scale. |
| 4. Disinfection | Fill with 10% bleach solution for 10-15 mins. | Eliminate bacteria and fungi. |
| 5. Rinsing | Rinse thoroughly with distilled/DI water. | Remove all chemical residues. |
| 6. Refilling | Dry and refill with pure water. | Restore the bath for use. |
Ensure the integrity of your experiments with reliable equipment from KINTEK.
Proper maintenance is key, but it starts with a high-quality water bath designed for easy cleaning and long-term performance. KINTEK specializes in durable, precision lab equipment and consumables that meet the rigorous demands of modern laboratories.
Let us help you enhance your lab's efficiency and data reliability. Contact our experts today to find the perfect water bath and maintenance solutions for your specific application, from cell culture to general heating.
Visual Guide
Related Products
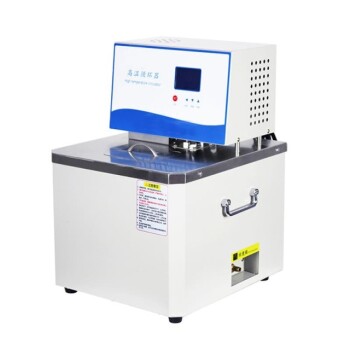
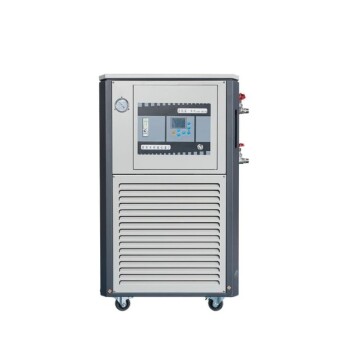
- High Temperature Constant Temperature Heating Circulator Water Bath Chiller Circulator for Reaction Bath
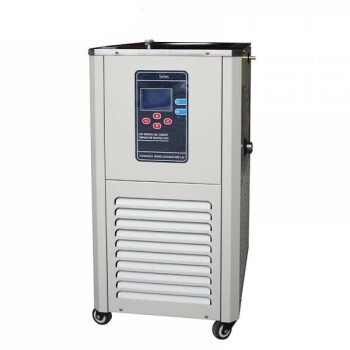
- 5L Chilling Circulator Cooling Water Bath Circulator for Low Temperature Constant Temperature Reaction Bath
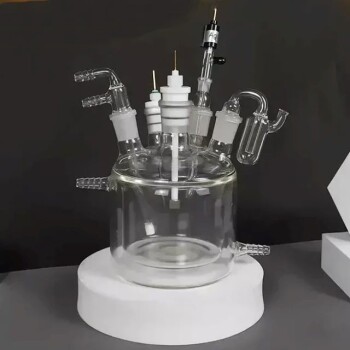
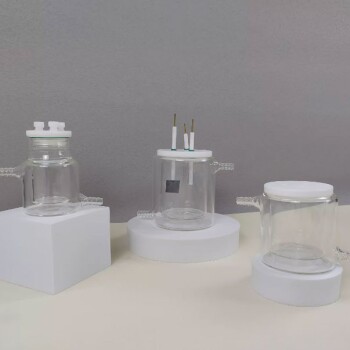
- Double Layer Five-Port Water Bath Electrolytic Electrochemical Cell
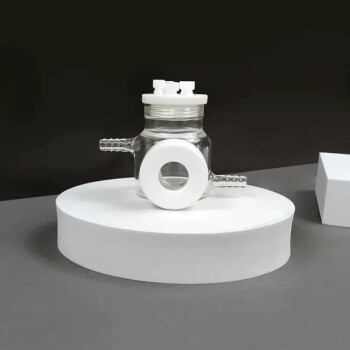
- Optical Water Bath Electrolytic Electrochemical Cell
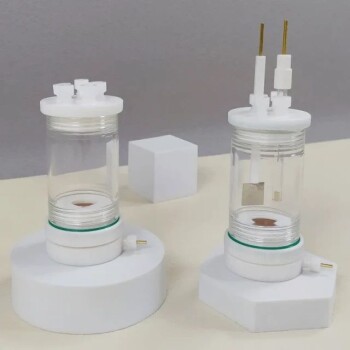
- Multifunctional Electrolytic Electrochemical Cell Water Bath Single Layer Double Layer
People Also Ask
- Why is a constant temperature water bath system essential? Ensure Accurate Electrochemical Data in Material Testing
- What is the role of a constant temperature water bath and a magnetic stirrer in SiO2 nanosphere synthesis?
- Why are constant temperature water baths critical in thiourea leaching? Master Gold Recovery with Precision Heat
- What role does a high-precision constant temperature circulating water bath play in AEM research? Stability & Control
- What is the function of a constant temperature water bath in CO2 absorption kinetics? Achieve High-Precision Research