A truly effective mould maintenance list is not a single document, but a tiered system based on usage and time. It begins with creating distinct checklists for different maintenance levels: daily in-press checks, intermediate general maintenance, and comprehensive major overhauls. This structured approach ensures you apply the right level of service at the right time, preventing both under-maintenance and over-maintenance.
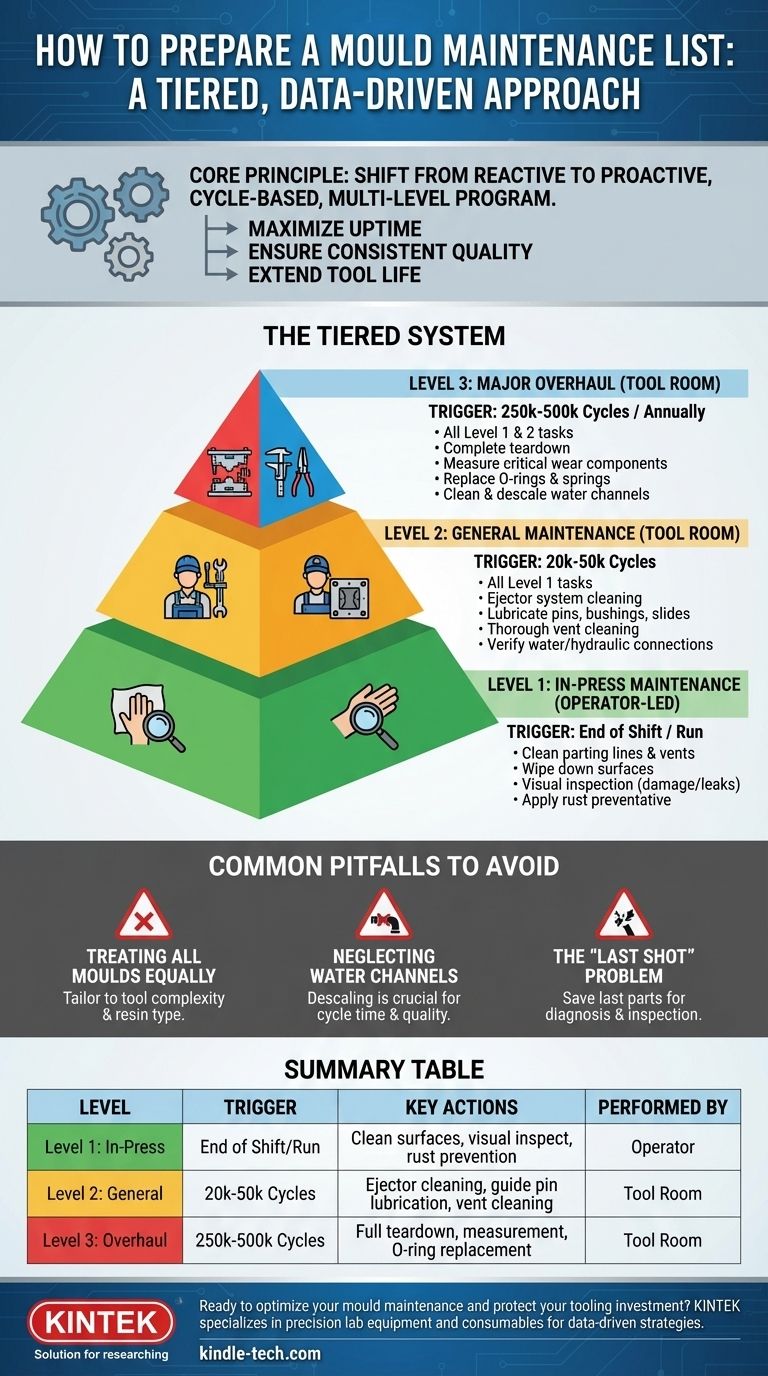
The core principle of modern mould maintenance is shifting from reactive repair to a proactive, multi-level program triggered primarily by cycle counts. This strategy maximizes uptime, ensures consistent part quality, and dramatically extends the life of your tooling investment.
The Foundation: Why a Tiered Approach is Essential
A one-size-fits-all checklist is a common but critical mistake. It leads to wasted effort on simple tools and catastrophic failures on complex ones. A tiered, data-driven system is the only way to manage tooling assets professionally.
Preventive vs. Corrective Maintenance
Corrective maintenance is fixing a mould after it has failed. This is the most expensive and disruptive form of maintenance, resulting in unplanned downtime, scrapped parts, and potential damage to the press.
Preventive maintenance (PM) involves scheduled activities designed to prevent failures before they happen. A well-structured PM program is the goal, reducing costs and improving operational predictability.
The Role of Cycle Counts
Time-based maintenance (e.g., "every month") is a poor metric for tooling. A mould that runs 100,000 cycles in a month experiences far more wear than one that runs 1,000.
Cycle count is the single most accurate indicator of a mould's condition. Your maintenance tiers must be triggered by the number of cycles the tool has completed.
The Importance of Documentation
If it isn’t documented, it didn’t happen. Every maintenance activity, from a simple wipe-down to a full teardown, must be logged.
This history creates an invaluable database for each specific tool. It allows you to identify recurring problems, predict future failures, and optimize your maintenance intervals based on real-world data, not guesswork.
Building Your Tiered Maintenance Program
Your maintenance program should be broken into at least three distinct levels, each with its own specific checklist and trigger.
Level 1: In-Press Maintenance (Operator-Led)
This is the front line of defence, performed while the mould is still in the machine, often by the press operator at the end of a shift or production run. The goal is cleaning and visual inspection.
Your Level 1 Checklist Should Include:
- Clean parting line surfaces and vents.
- Wipe down cavity and core surfaces with approved cleaners.
- Visually inspect for signs of damage, flashing, or residue buildup.
- Check for any water or hydraulic fluid leaks.
- Apply a rust preventative if the mould will be idle.
Level 2: General Maintenance (Tool Room)
This is performed when the mould is pulled from the press for a tool change or after hitting a set cycle count (e.g., 20,000-50,000 cycles). It is more in-depth than Level 1.
Your Level 2 Checklist Should Include:
- All Level 1 tasks.
- Complete disassembly of the ejector system for cleaning and lubrication.
- Inspection and lubrication of all guide pins, bushings, and slides.
- Thorough cleaning of all vents to prevent gas traps.
- Verification of all water and hydraulic connections.
- Inspection of the parting line for any signs of wear or damage.
Level 3: Major Overhaul (Tool Room)
This is a complete teardown of the entire mould, triggered by a high cycle count (e.g., 250,000-500,000 cycles) or annually. The goal is to return the mould to its original design specifications.
Your Level 3 Checklist Should Include:
- All Level 1 & 2 tasks.
- Complete disassembly of every component of the mould.
- Measure critical wear components (pins, bushings, interlocks) and compare them to the original drawings.
- Replace all O-rings, seals, and springs as a rule.
- Clean all water channels to remove scale and ensure proper cooling.
- Polish cavity and core surfaces as needed to maintain part finish.
Common Pitfalls to Avoid
Implementing a program is one thing; making it effective requires avoiding common traps that undermine the entire effort.
Pitfall: Treating All Moulds Equally
A simple, open-and-shut prototype mould does not require the same maintenance frequency as a high-volume, multi-cavity mould with complex actions.
Your maintenance intervals and checklist details must be tailored to the specific mould. Factors to consider include the complexity of the tool, the type of resin being run (abrasive or corrosive resins require more frequent checks), and the required part quality.
Pitfall: Neglecting Water Channels
Cooling is responsible for the majority of the injection moulding cycle time and has a massive impact on part quality.
Over time, water channels clog with scale and rust, leading to inefficient cooling, longer cycle times, and part defects. Level 3 maintenance must include a thorough descaling of all cooling circuits.
Pitfall: The "Last Shot" Problem
Often, the last part produced before a mould is pulled is not saved for inspection. This is a missed opportunity.
Always save the "last shot" parts and runners. They provide the tool room with a perfect snapshot of the mould's performance and can help technicians diagnose issues like blocked vents or worn parting lines before they even open the tool.
Implementing Your Maintenance Program
Use these guidelines to create a system that fits your operation's specific needs and goals.
- If your primary focus is reducing immediate downtime: Start by formalizing your Level 1 in-press checks and implementing a robust documentation system for every tool.
- If your primary focus is improving part quality: Concentrate on the details of your Level 2 maintenance, especially the thorough cleaning of vents, parting lines, and cavity surfaces.
- If your primary focus is extending the life of your tooling: Commit fully to a data-driven Level 3 overhaul program, meticulously measuring components and replacing wear items before they fail.
Ultimately, a world-class mould maintenance program transforms tooling from a liability into a reliable, predictable, and highly profitable asset.
Summary Table:
| Maintenance Level | Trigger | Key Actions | Performed By |
|---|---|---|---|
| Level 1: In-Press | End of Shift/Run | Clean parting lines, visual inspection, rust prevention | Operator |
| Level 2: General | 20k-50k Cycles | Ejector system cleaning, guide pin lubrication, vent cleaning | Tool Room |
| Level 3: Major Overhaul | 250k-500k Cycles | Full teardown, component measurement, O-ring/seal replacement | Tool Room |
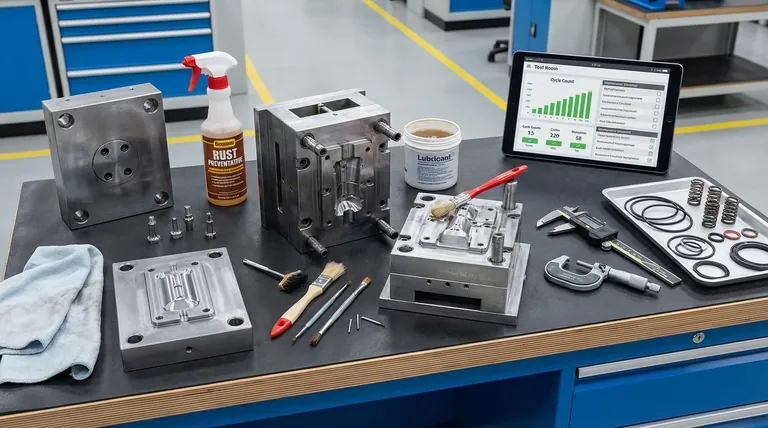
Ready to optimize your mould maintenance and protect your tooling investment? KINTEK specializes in providing the lab equipment and consumables that support a proactive maintenance strategy. From precision cleaning tools to measurement instruments, our solutions help you implement a data-driven program that reduces downtime and ensures consistent part quality. Contact our experts today to discuss how we can equip your lab for success!
Visual Guide
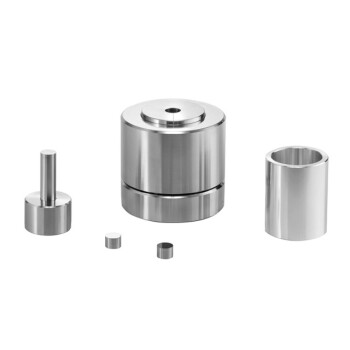
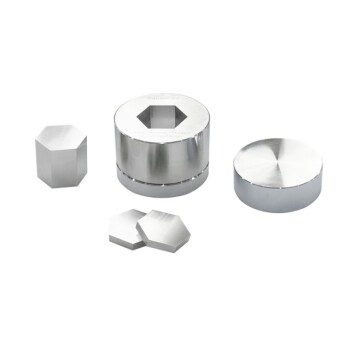
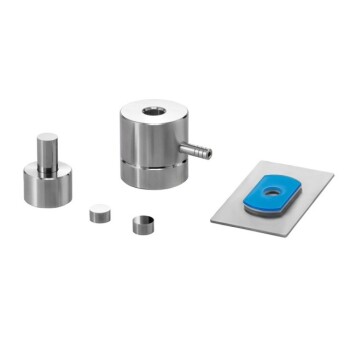
Related Products
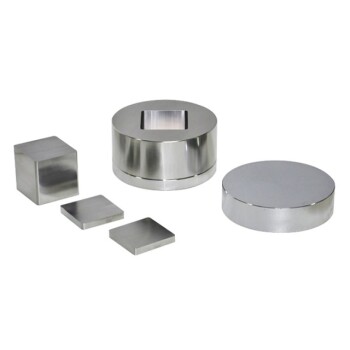
- XRF Boric Acid Lab Powder Pellet Pressing Mold for Laboratory Use
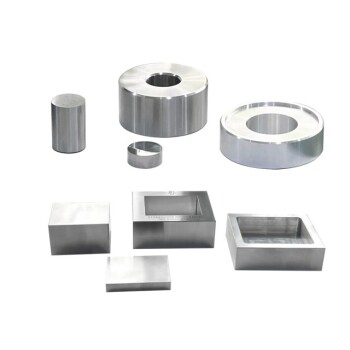
- Anti-Cracking Press Mold for Lab Use
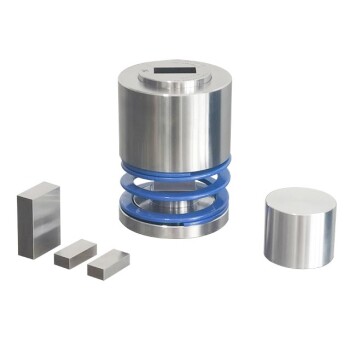
- Cylindrical Press Mold with Scale for Lab
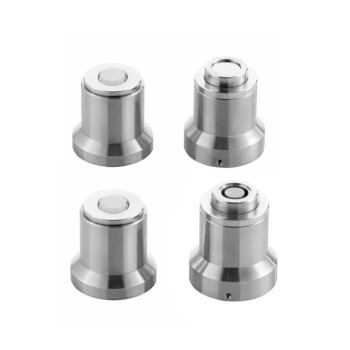
- Double Plate Heating Press Mold for Lab
- Square Lab Press Mold for Laboratory Applications
People Also Ask
- How does a laboratory powder pellet press facilitate the preparation of multi-layered gradient Al2O3/ZrO2 ceramic green bodies? Precision Bonding Techniques
- What size sample for XRF? The Key to Accurate Elemental Analysis
- What is the XRF pressed pellet method? A Fast, Cost-Effective Sample Prep Guide
- How are samples prepared for XRF analysis? Achieve Accurate and Reliable Results
- How do you prepare a pellet press sample for XRF? A Step-by-Step Guide to Accurate Analysis