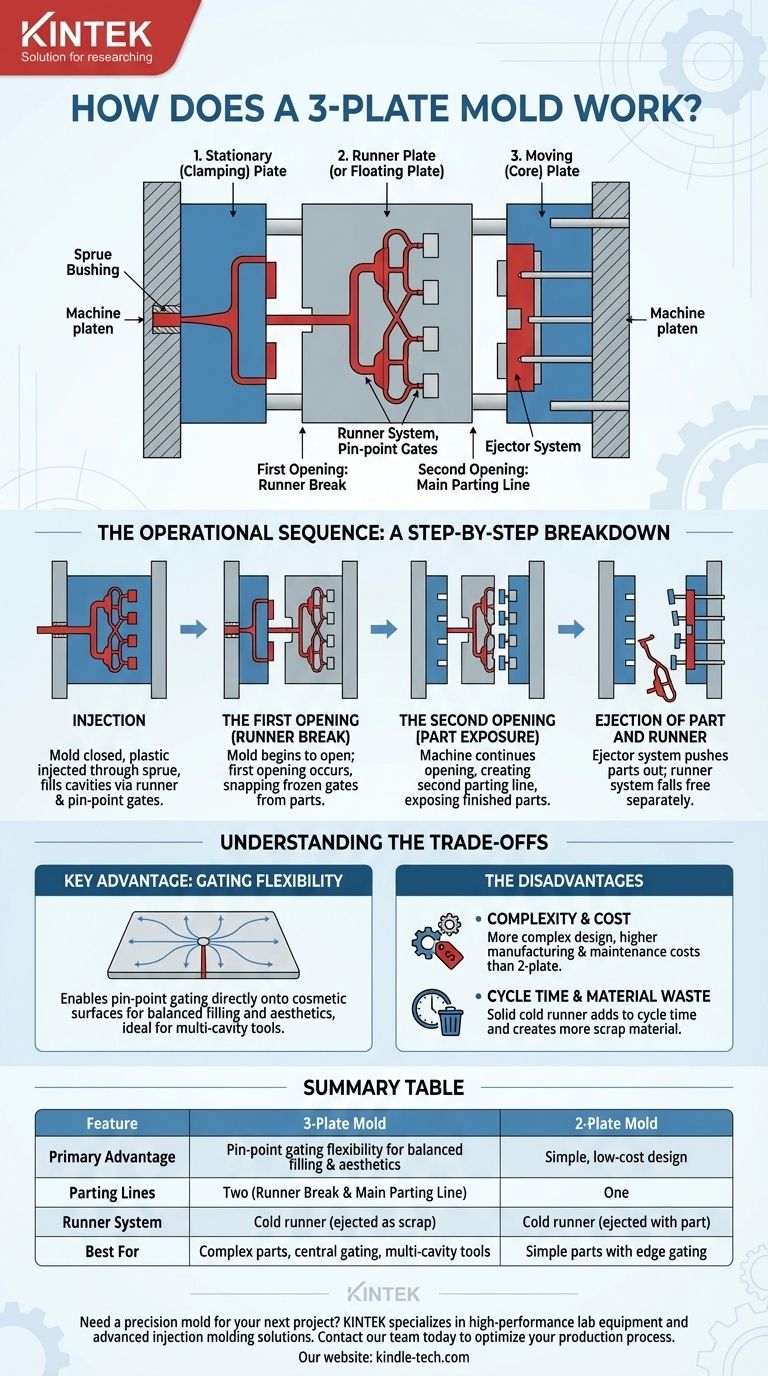
In simple terms, a 3-plate mold is an injection mold design that uses three main plate sections to create two separate openings, or parting lines. This dual-opening action allows the mold to automatically separate the plastic part from its runner system during the ejection cycle, a feature not possible in a standard 2-plate mold.
The core purpose of a 3-plate mold is to gain gating flexibility. Its added complexity is a deliberate trade-off to enable pin-point gating directly onto the cosmetic surface of a part, which is often necessary for achieving balanced filling or aesthetic requirements.
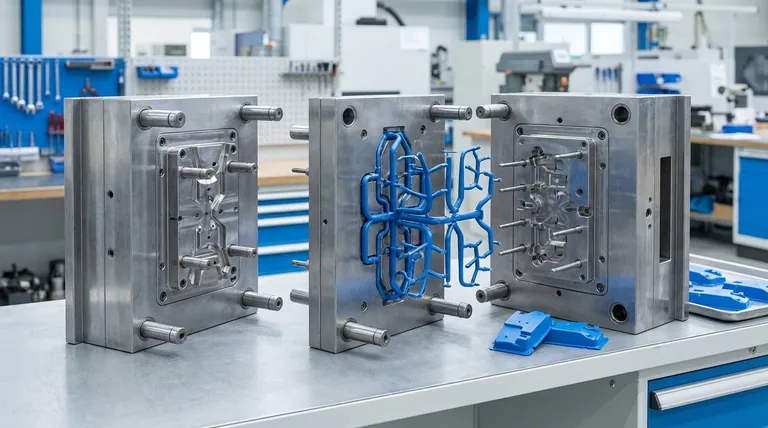
The Anatomy of a 3-Plate Mold
A standard mold has one parting line where it splits open to release the part. A 3-plate mold is more complex, introducing a second parting line specifically to manage the runner.
The Three Main Plates
The name comes from its three primary components, which work in sequence:
- Stationary (Clamping) Plate: This is fixed to the stationary platen of the injection molding machine and contains the sprue bushing where plastic first enters the mold.
- Runner Plate (or Floating Plate): This middle plate is not attached to either platen and "floats" between the other two. It houses the runner system that channels plastic to the cavities.
- Moving (Core) Plate: This is attached to the moving platen of the machine. It typically holds the core half of the part cavity and the ejector system.
The Two Parting Lines
The genius of the design lies in how these plates create two distinct openings:
- The Runner Break: This is the first opening, occurring between the stationary plate and the runner plate. Its job is to break the small pin-point gates that connect the runner to the parts.
- The Main Parting Line: This is the second opening, occurring between the runner plate and the moving plate. This is where the finished parts are exposed for ejection.
The Operational Sequence: A Step-by-Step Breakdown
Understanding how these plates move in a coordinated sequence is key to understanding how the mold functions.
Step 1: Injection
The mold is closed, with all three plates held together under clamp pressure. Molten plastic is injected through the sprue, flows through the runner system in the runner plate, passes through the tiny pin-point gates, and fills the part cavities.
Step 2: The First Opening (Runner Break)
After the plastic cools and the gates solidify, the molding machine begins to open. A system of latches or locks holds the runner plate and moving plate together initially.
This causes the first opening to appear between the stationary plate and the runner plate. As these plates separate, the small, frozen gates are cleanly snapped off from the parts.
Step 3: The Second Opening (Part Exposure)
Once the first opening reaches a set distance, the latches release. The machine continues to open, now creating the second opening—the main parting line—between the runner plate and the moving plate.
This action fully separates the runner system (still on the runner plate) from the finished parts (which are carried on the moving plate).
Step 4: Ejection of Part and Runner
With the main parting line fully open, the ejector system on the moving side activates, pushing the finished parts out of their cavities.
Simultaneously, the runner system is stripped from the runner plate and is ejected separately. Because it is now isolated, it can simply fall free without interfering with the parts or requiring robotic removal.
Understanding the Trade-offs
A 3-plate mold is a specialized tool. Choosing it requires understanding its benefits and drawbacks compared to a standard 2-plate mold or a hot runner system.
The Key Advantage: Gating Flexibility
The primary reason to use a 3-plate mold is its ability to place a gate almost anywhere on a part. It allows for a central pin-point gate on a flat part, which provides a balanced plastic flow and is ideal for multi-cavity tools that need to fill uniformly. This is impossible with a standard 2-plate edge gate.
The Disadvantage: Complexity and Cost
The extra plate, puller bolts, latches, and positioning systems make a 3-plate mold significantly more complex and expensive to design, manufacture, and maintain than a 2-plate mold.
The Disadvantage: Cycle Time and Material Waste
The large runner system is made of solid plastic (a cold runner) that must be cooled and ejected every single cycle. This adds to the overall cycle time and creates more scrap material compared to a hot runner system, which keeps the runner molten.
Making the Right Choice for Your Goal
Selecting the correct mold type is a critical decision based on part design, production volume, and cost targets.
- If your primary focus is the lowest mold cost and simple parts: A standard 2-plate mold is almost always the most economical and straightforward solution.
- If your primary focus is cosmetic quality or balanced flow in multi-cavity tools: A 3-plate mold is an excellent choice for enabling pin-point gates where they are needed most.
- If your primary focus is high-volume production with minimal waste and fast cycles: A hot runner mold is often the superior long-term investment, as it eliminates the runner scrap entirely.
Ultimately, choosing a 3-plate mold is an engineering decision to prioritize gating location and part quality over tool simplicity and raw material efficiency.
Summary Table:
| Feature | 3-Plate Mold | 2-Plate Mold |
|---|---|---|
| Primary Advantage | Pin-point gating flexibility for balanced filling & aesthetics | Simple, low-cost design |
| Parting Lines | Two (Runner Break & Main Parting Line) | One |
| Runner System | Cold runner (ejected as scrap) | Cold runner (ejected with part) |
| Best For | Complex parts requiring central gating, multi-cavity tools | Simple parts with edge gating |
Need a precision mold for your next project? KINTEK specializes in high-performance lab equipment and consumables, including advanced injection molding solutions. Our expertise ensures your laboratory tools are manufactured with the highest quality and precision. Contact our team today to discuss how we can optimize your production process and deliver superior results for your laboratory needs.
Visual Guide
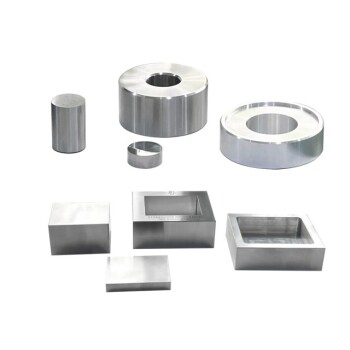
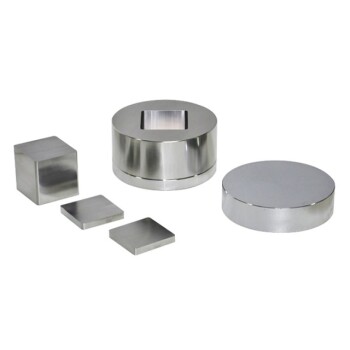
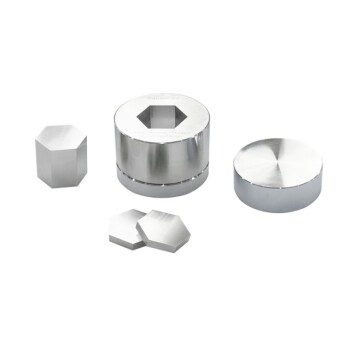
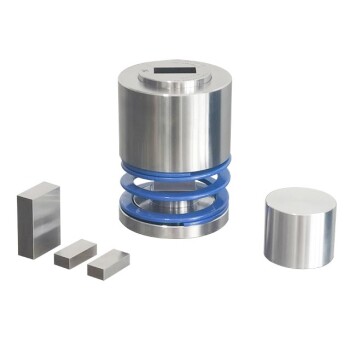
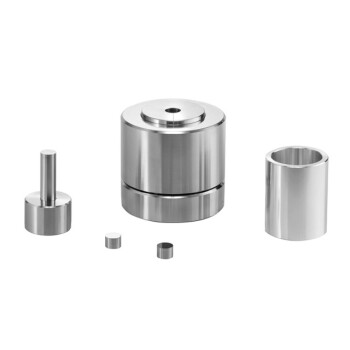
Related Products
- Double Plate Heating Press Mold for Lab
- Special Heat Press Mold for Lab Use
- Multi-Punch Rotary Tablet Press Mold Ring for Rotating Oval and Square Molds
- Ring Press Mold for Lab Applications
- XRF & KBR steel ring lab Powder Pellet Pressing Mold for FTIR
People Also Ask
- Why are pressure molds with non-conductive resin inner walls required for battery testing? Ensure Data Accuracy
- What is the function of press molds during the preparation of SiCf/Ti-43Al-9V composites? Achieve Structural Precision
- What is the purpose of specialized pressure devices in sulfide solid-state batteries? Ensure Chemo-Mechanical Stability
- How to use a press mold? Master the Art of Creating Consistent Ceramic Forms
- What is a press mold used for? Achieve Repeatable Precision and Efficiency